For people who are new to cosplay, the huge variety of costume designs, tools and materials to choose from can be a challenge. How do you know which costume is the right one for you and your skill set?
When I plan a new build or a sewing project, I take a good hard look at the reference images and start researching materials and techniques. I want to know what I’m in for:
- How expensive is it going to be?
- How much time will it take to make this?
- Does it require a skill (or skill level) that I do not yet have?
Last but not least, will it be comfortable or impossible to wear at a con?
Here’s a list of „warning signs“ that you should pay attention to when you look at a costume design. Every one of these can break the bank and test your patience! Watch out for:
- the dimension of the build
- the use of color
- the level of detail
- the pattern and fit
- the type of fabric you use
- props and wigs
Note: This absolutely doesn’t mean that you shouldn’t attempt a „hard“ costume, only that it will require more effort to finish it. If you’re only starting out, you may want to pick an easier costume that you can finish in a few days or weeks without too much frustration and a hole in your wallet.
I hope you’ll find some of my tips helpful!
Dimension
Big costumes look awesome, but unless you make them entirely from bedsheets or cardboard, they’re also expensive. Before you start working on something, break down the amount of material you’re going to need. Princess dresses eat a lot of fabric and require even more fabric for support. It’s not unusual for a long, wide skirt to eat up 6-10 meters of fabric. Add to that dozens of meters of tulle and cotton for the petticoat(s) and hoop skirt, look at the price tags in your local fabric store and you can imagine the bill!
If you’re unsure how much material you’re going to need, draft the pattern first or look for similar (store-bought) patterns that you can alter. Commercial patterns have the amount of fabric listed on the back, so you can estimate the cost before you commit to buy the pattern.
Aside from the cost of materials, be prepared to spend more time on big builds, simply because every step takes longer. Be it sanding your 6-foot buster sword or attaching the trim on a ball gown hem… it’s the stuff that long and boring TV nights are made of! As a reward, you’ll definitely make an entrance when you wear the finished costume at a con.
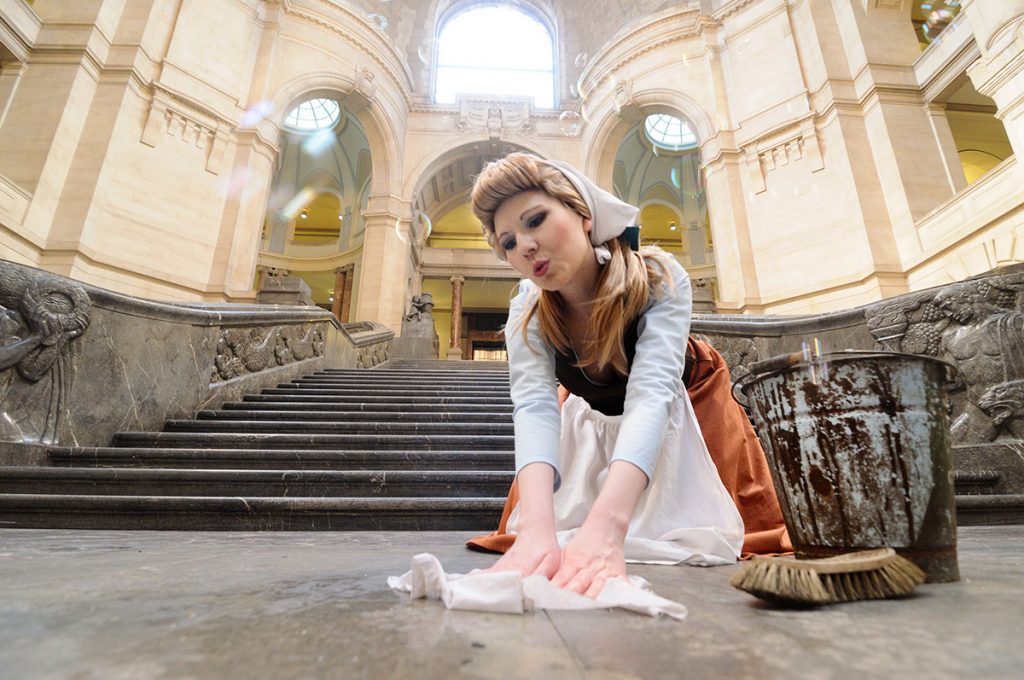
Cinderella’s ball gown has always been a dream costume of mine. Until I tackle that monster, however, I feel comfortable in her casual dress. Many characters have an alternate outfit that is smaller and less complex than their full form. You can also look for fan art of that character or draw your own – original designs are widely accepted in the cosplay community as long as people can tell which character you portray!
Colors
The more colors your costume has, the more different fabrics, paints or dyes you’re going to need. Unless you have a huge stash of materials (like many long-time cosplayers do…) that means a lot of time and money spent buying and researching fabrics and testing dyes.
More colors can also mean cutting and sewing more pieces and adding trims or embellishments. Unique patterns and gradient dyes are particularly hard to achieve.
Matching colors can be quite the challenge if your character has 5 different shades of pink, for example, and you need them all to be a specific fabric type. This is one of my favorite aspects of researching materials for a costume, but a fair warning that it can be tedious if you’re a perfectionist like me!
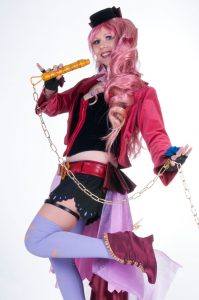
My Sheryl (Wings of Goodbye) costume was made with at least 14 different fabrics in various colors and fabric types. I actually had some in stock, the others were lucky finds!
Details & Decorations
Anime and video game designers love costumes with intricate detail. HD gaming has only made things worse for us cosplayers – sometimes I think a design is meant to troll us!
Decorations may include any of the following on a fabric costume:
- decorative buttons, studs, belt buckles
- gemstones and jewelry
- textured or patterned fabrics (that you probably won’t find in a store)
- decorative stitches (indicated by dotted lines, for example)
- beading and sequins
- embroidery, appliqué and decorative patterns of any kind
- lace, trim or bias tape (stripes or embellished edges)
- other parts of the costume that are a different color or texture
Some of these things (like a patterned trim or lace, or a fabric with stripes or checkers) can be exchanged for something close if you don’t need it to be 100% accurate. Recreating the exact pattern will often take a lot of extra time and/or money, so think about how important these details are to you.
If you don’t feel skilled enough to try your hands on fabric appliqué, beading or embroidery, a lot of these details can also be painted on using fabric paint or acrylic paint. But that still takes skill and patience to make it look good. A sloppy paint job can ruin your costume and make the fabric stiff and uncomfortable to wear. Another easy way is heat transfer vinyl (flex or flock foil) that you can cut out and iron on, but it has its limits if you don’t own a plotter (programmable cutting machine).
Whichever technique you use, you’ll want to test it on a small project first, like a t-shirt with a logo, before tackling a super detailed costume.
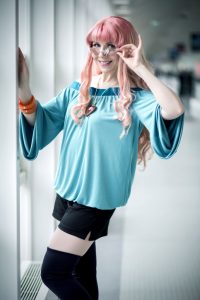
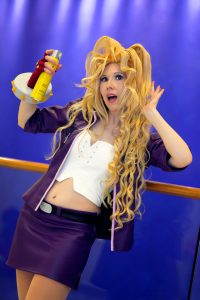
Star Date Sheryl is a simple costume because it does not have any patterns or decorations, aside from the teal trim and waistband which I made myself from two long fabric strips.
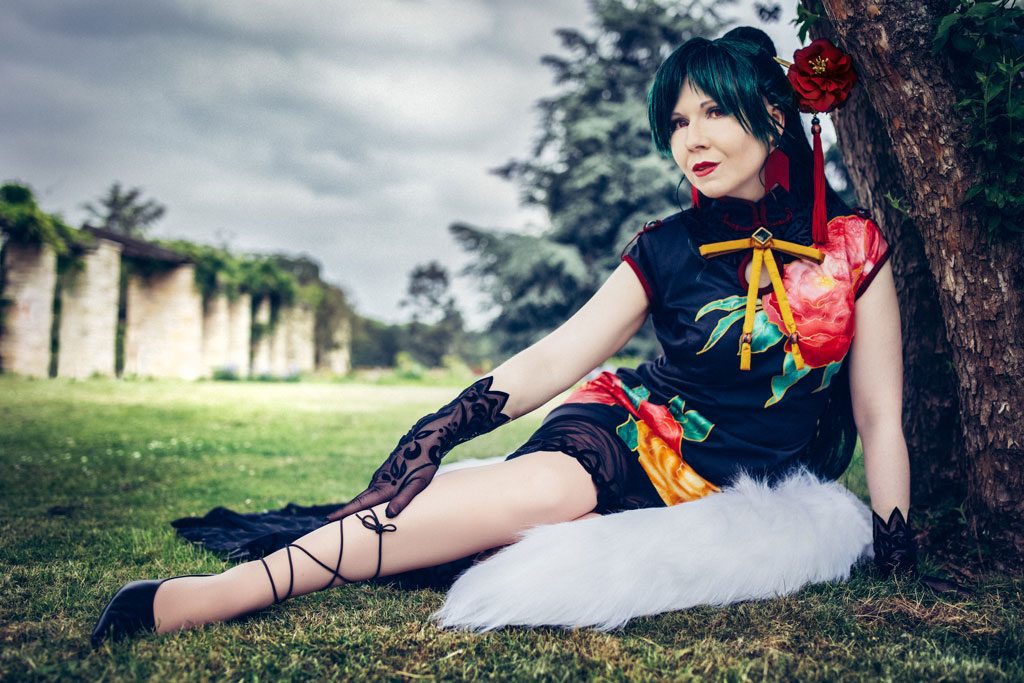
Cheongsam Pluto, on the other hand, is a complex design that involved multiple decorating techniques: silk painting and fabric appliqué for the flowers, plotting and applying heat transfer vinyl for the filigree pattern on the gloves and dress, finishing the edges with self-made red bias tape, learning to make Chinese frog closures and casting gemstones.

Pattern and Fit
Regardless of a costume’s dimensions and level of detail, the complexity of the pattern is a huge factor. What looks very plain can actually require a lot of patterning and sewing skills to make – like a fitted dress or an elegant suit.
Easy patterns:
- loose-fitting tops and pants
- wide skirts (careful: circle skirts require some skill to hem them!)
- capes
- simple geometric shapes (example: a kimono is made entirely of rectangular pieces of fabric)
- arm- or legwarmers
- ruffles
- the less seams, the better!
Advanced patterns:
- fitted tops and dresses
- bodices and corsets
- bodysuits
- tight pants
- gloves
- men’s suits
- shirt collars and details like pockets or cuffs
- unrealistic, gravity-defying pieces
- patterns with many seams / pieces
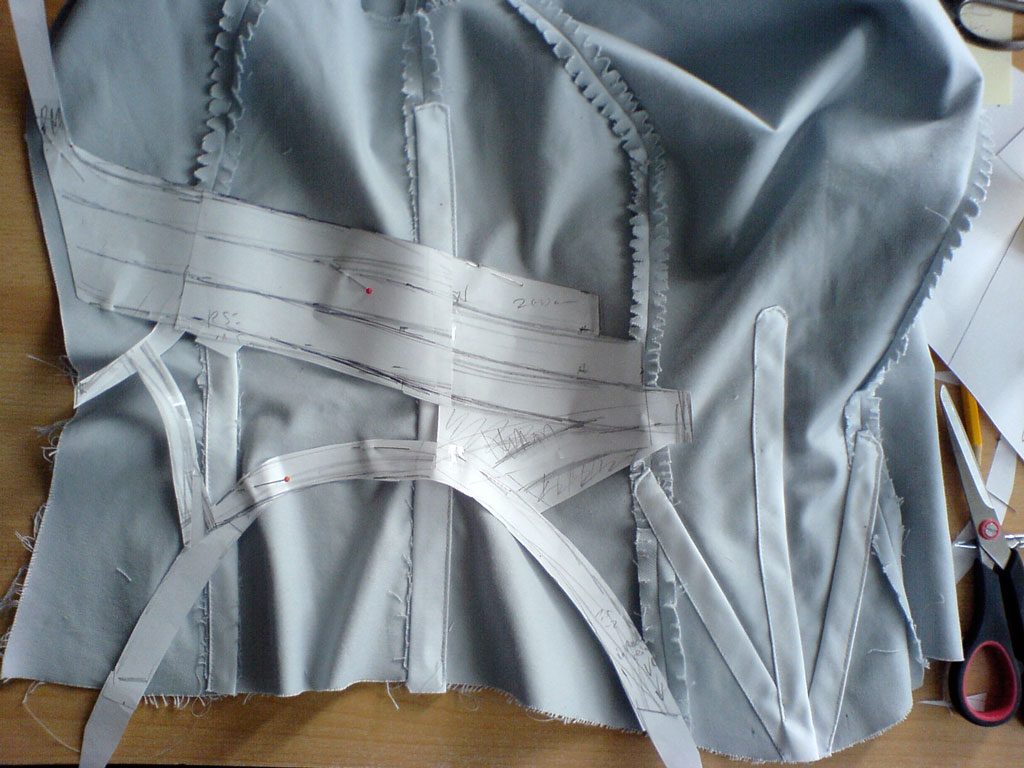
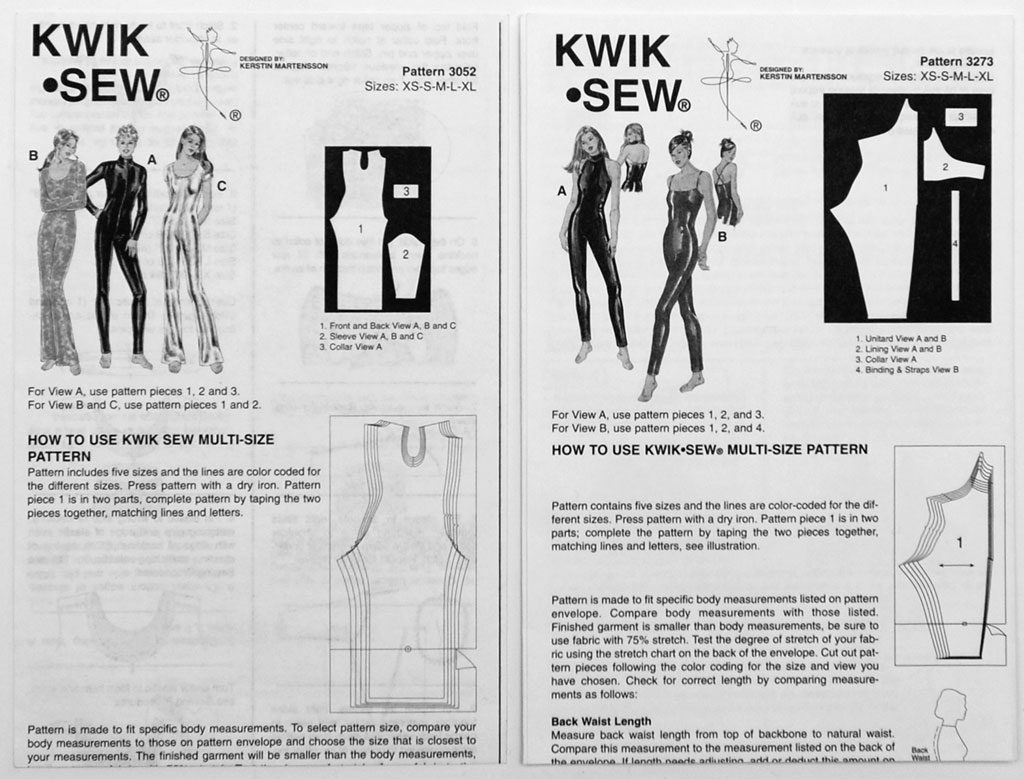
I recommend buying commercial patterns for anything but the most simple shapes (like a kimono or circle skirt). They come with instructions how to put the pieces together and they’re drafted to fit a human body, you’ll just need to alter them to your measurements. The lingo will be confusing at first, but it pays off later when you tackle more complex patterns. Pattern instructions will also help you learn basic sewing techniques like how to properly attach sleeves or how to line a garment.
Once you’ve put together a collection of generic sewing patterns, you can use them to create almost any outfit a designer could come up with!
Fabric Type
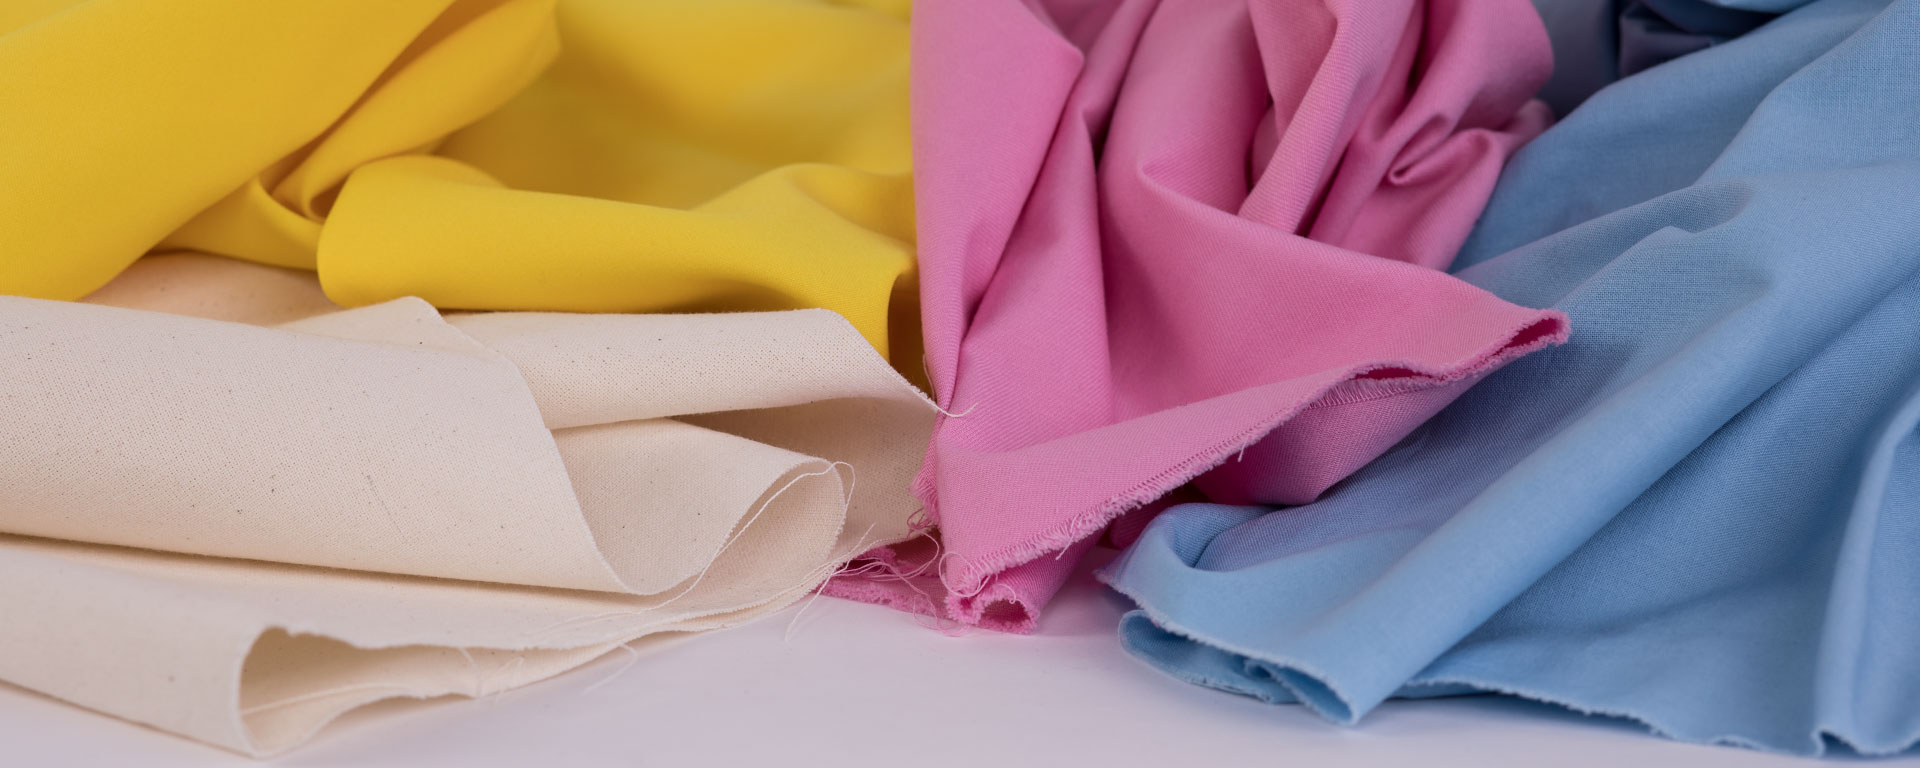
The range of fabrics available to hobby seamstresses and cosplayers can be overwhelming. However, there are only a few types of fabric you need to know for your first projects. Try to steer clear of the more expensive or specialty fabrics (like vinyl, silk or velvet) until you’ve completed a few simple sewing projects and feel comfortable using patterns and a sewing machine.
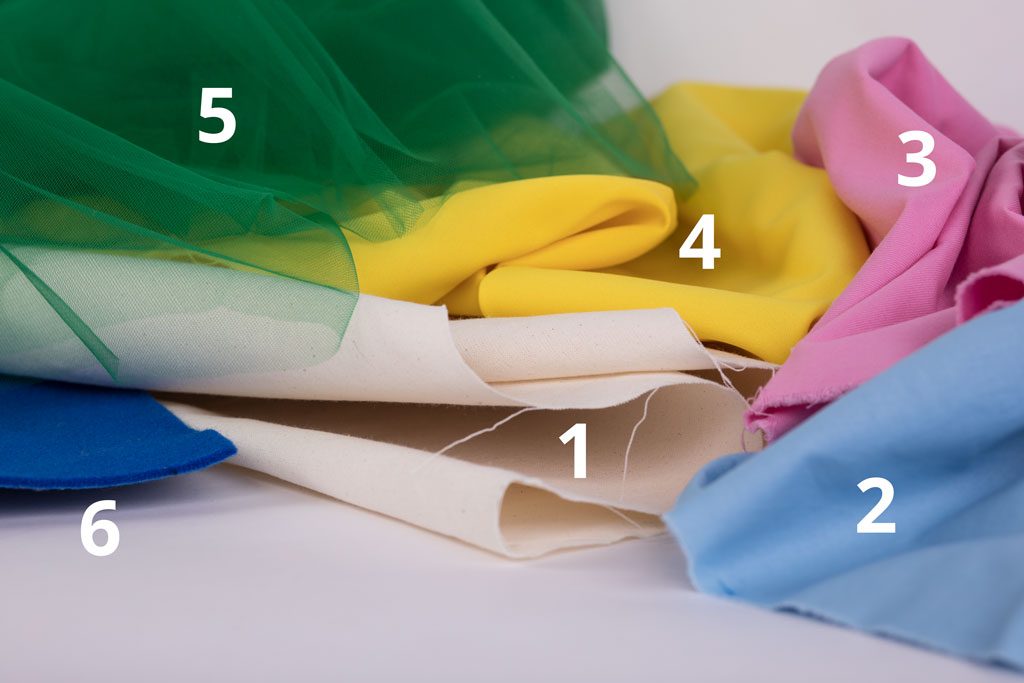
Fabrics that are great for beginners:
- cotton broadcloth (1, 2)
- cotton/polyester blends and other types of medium-weight, non-stretch (or slightly stretchy) fabrics (3, 4)
- tulle (for petticoats, bows, veils – 5)
- felt (for decorations, hats – 6)
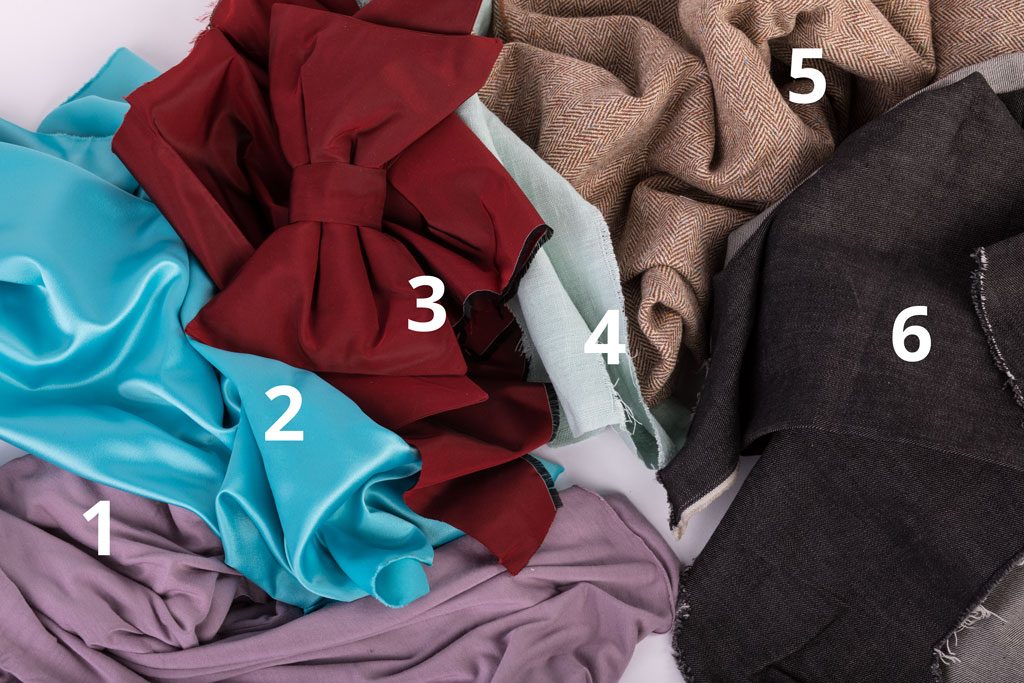
Fabrics that require some skill:
- stretch fabrics, like knit jersey / spandex (1)
- satin and taffeta (2, 3)
- linen and wool, especially if they’re very heavy or wobbly (4, 5)
- heavy-weight fabric, like denim (6)
Fabrics that are a pain to work with:
- velvet (1)
- faux fur (2)
- leather and vinyl (3, 4)
- delicate and flimsy fabrics, like chiffon or organza (see below)
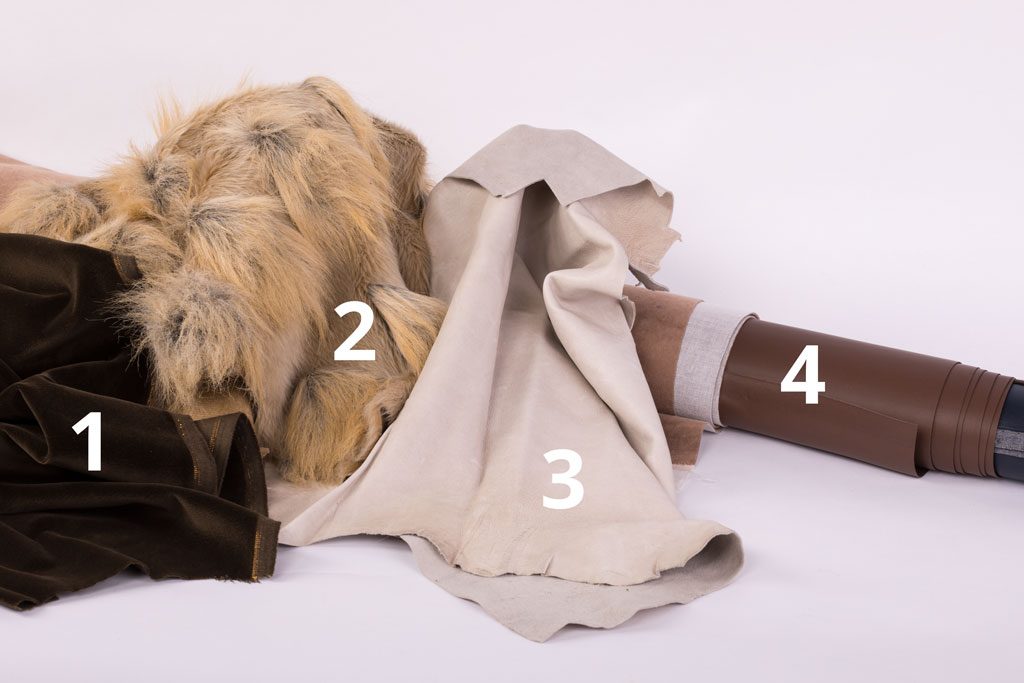
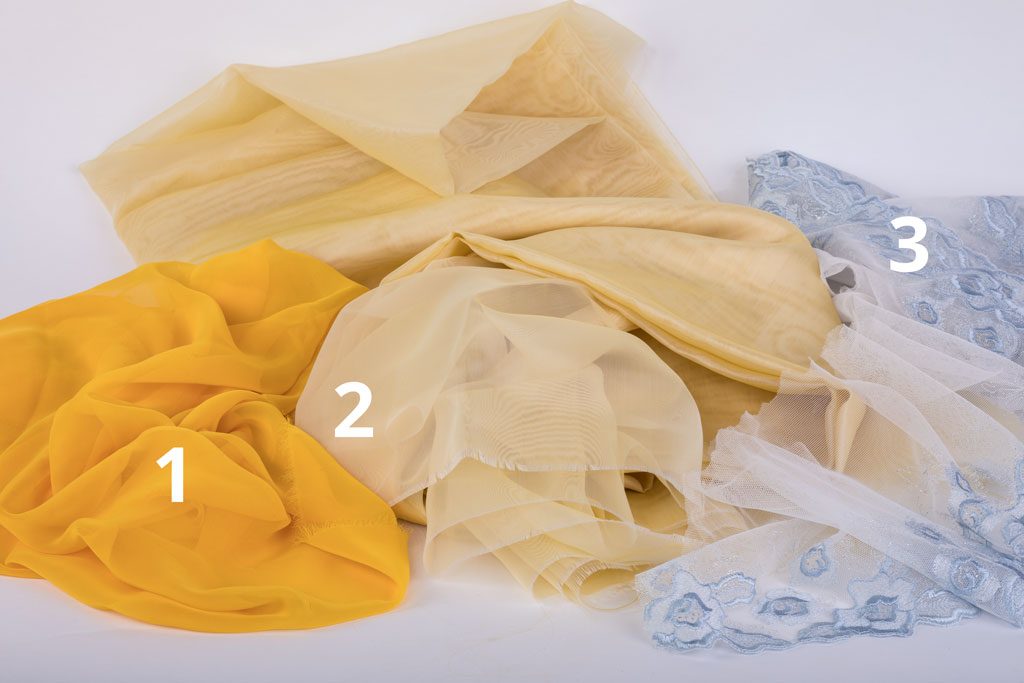
Beginner fabrics are easy to cut, they don’t stretch or warp when you sew them, they don’t require special care or tools and you can easily unpick the seams. Most of them are quite affordable so hopefully it won’t hurt your wallet if you mess up.
If your design is based on historic fashion, polyesters and cottons may not be the most accurate choice. Linen, wool and real leather (even good faux leather) can make or break the look of a warrior costume, but they’re all quite expensive and can be difficult to find in the right weight and color. A princess will look much more elegant in real silk, but the price of heavy silks used for ballgowns is prohibitive. So these are costumes you may want to save for later if you’re a stickler for accuracy.
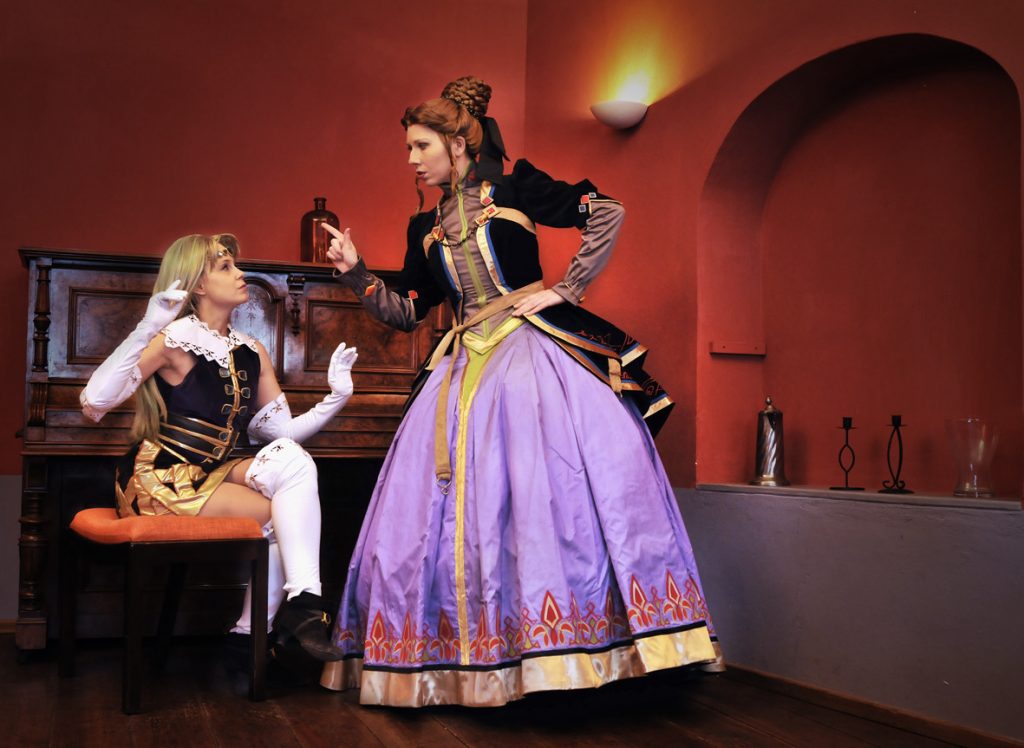
Lorenta (Valkyrie Profile) is one of my most expensive costumes to date. I spent EUR 200.- on the lilac silk for the skirt alone, and I got it for a bargain price because I bought 8 meters!
Armor / Props
Depending on your skill set, crafting may actually be easier for you than sewing, so take my advice with a grain of salt. Still, modern armor-making materials like HD foam and worbla are expensive. When you plan a big build, definitely draft the pattern first and calculate how much material you’re going to need. Keep in mind that big pieces may require multiple layers of material for added support.
As with any new material you use, practice on a small project first to get a feel for the material. Priming and sanding props or armor pieces is very time consuming and you may have to test multiple methods until you’re satisfied with the finish.
The size and number of individual pieces is a huge time factor, so a set of full-body armor can easily take several months to make. Don’t underestimate the trial-and-error part of learning how to attach the armor to your body, how to move in it and how it all fits together.
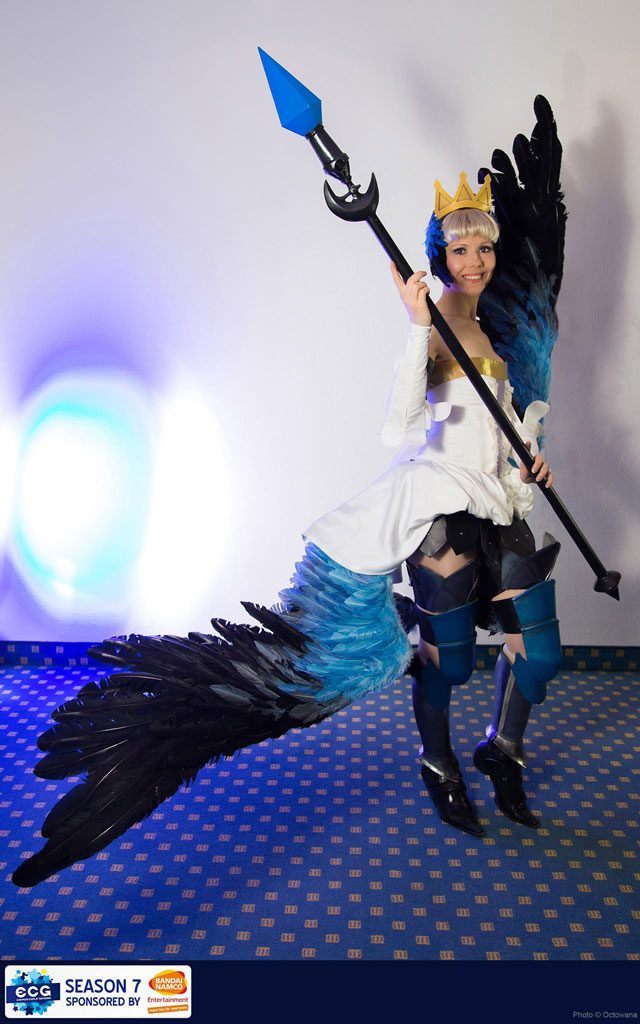
Not a beginner’s costume: Gwendolyn (Odin Sphere) has large wings, full-leg armor, light-up prop and complex sewing parts (corset), so it required a fully developed skill set… and a deep wallet. The hand-dyed feathers for the wings were the most expensive part, followed by the materials and airbrush paints for the lance and armor. It looks great on stage but it’s very cumbersome to move in!
Large wings and electronics (like moving parts or LED lights) are the stuff that dream costumes are made of! They can get very expensive very fast. There are some great beginner’s guides for LEDs, but creating your own circuit and integrating it into your costume does require some research and development. The same is true for wings: there are a number of techniques you can use but you’ll need to figure out the right one for your cosplay and how to attach the build to your body. Then comes the tedious (and costly) process of covering it with feathers for a realistic look. If you really want to make wings for your first costume, I recommend starting with small, light-weight wings (like fairy or bat wings) that you can wear like a backpack.
Wig / Hair
I love styling wigs, so in my book a character gets bonus points for a complex or fun hairstyle! I know that a lot of cosplayers feel differently, however – even seasoned cosplayers might shy away from a costume that involves new wig-styling techniques they’ve never tried before.
As you know, I encourage everyone to grab a can of hairspray and start learning today! Just keep in mind that a complex wig can take as much time as the rest of a costume, and some of my wigs cost more than all the fabrics in that costume because I had to use multiple wigs or extra hair, wig dye and special tools. Before you buy a base wig for styling, read up on how other cosplayers have done it and research those styling methods.
Easy styles:
- short to medium length
- straight hair or natural curls / waves
- classic braid or low ponytail
- natural colors or generic, easy-to-find colors
- anything you can buy a ready-made „character wig“ for
Keep in mind that store-bought wigs may require extra work, even for simple styles. They may be styled for the picture but usually come unstyled in a plastic bag!
Complex or expensive styles:
- high ponytail or updo
- very long or thick wigs
- gravity-defying curls, spikes and ridiculous volume
- exposed hairline (may require a lace-front wig or glued hairline)
- rare colors and multi-color wigs (may require dyeing or sewing wigs together)
- any wig if you have a big head (60cm+) or thick, long hair that you need to put under the wig
I hope this list doesn’t look too intimidating! You can actually find tutorials for all of these techniques if you want to learn how to tackle your next cosplay project. Browse the tutorials on my blog or Facebook (or buy my books!) for more wig-styling advice.
Here’s my top 10 tips for wig noobs and what to watch out for when you buy a wig.
Now, go forth and make your own costumes! Feel free to save my checklists and please let me know if you missed anything in this post! I love reading your comments.
5 Gedanken zu “What are good and bad costumes for beginners?”