Are you new to wig styling? Or do you have a love-hate relationship with cosplay wigs? Do you feel like you can never get them to look just right? Then this is for you!
- Buy a large enough wig head for styling
- Learn a cutting technique
- Use hairspray, but don’t overdo it
- Don’t use products just because they’re good for real hair
- Don’t use brute force
- Use moderate heat for styling
- Plan your styles
- Cut your bangs longer than you think
- Secure your wig with pins
- Buy cheaply – pay dearly
Buy a large enough wig head for styling
If you’re planning to do any wig styling at all, even just cutting the bangs, you’ll need to invest in a wig head. Cutting the wig directly on one’s own head gets tiresome and it doesn’t yield very clean results.
Foam heads are cheap, but make sure to buy one that has realistic proportions and is roughly your own head size. The head circumference is usually mentioned in the item description. I find that male wig heads have the most realistic features, which helps me when I try to envision the wig on the wearer’s head.
If your wig head is too small, you’ll end up cutting the wig too short or making it too tight when you sew in wefts or style an updo. As a quick fix, you can stuff paper under the wig to stretch it in the back. A larger foam head, canvas head or wig block will be more accurate and is worth the extra $$$.
In addition to the wig head, I recommend buying a stable wig stand that will keep the head from tipping over while you work on it.
Learn a cutting technique
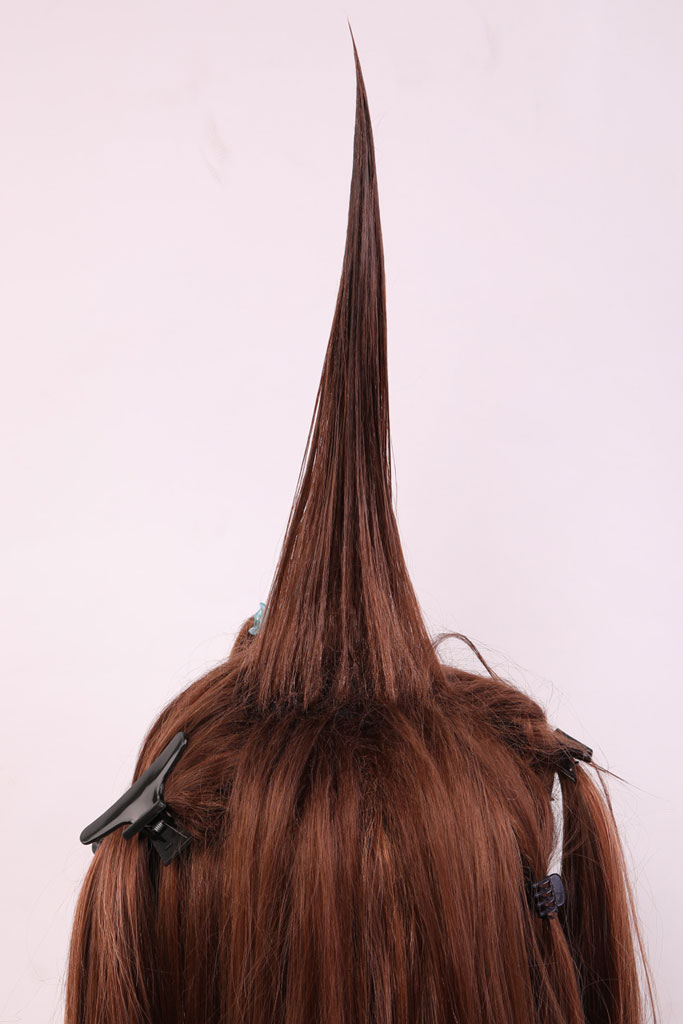
Sooner or later, you’ll need to trim a wig because it’s too long, or because it doesn’t come in the style you want. Cutting wigs may seem intimidating at first, but you have to remember: it’s only plastic, it’s not going to be mad at you if you mess up!
To make the style look natural, avoid cutting the fibers all the exact same length. There are multiple ways to do that:
- move your scissors up and down while cutting
- use a razor and pull the blade across diagonally (scratch and cut)
- give it a rough cut and feather the tips later
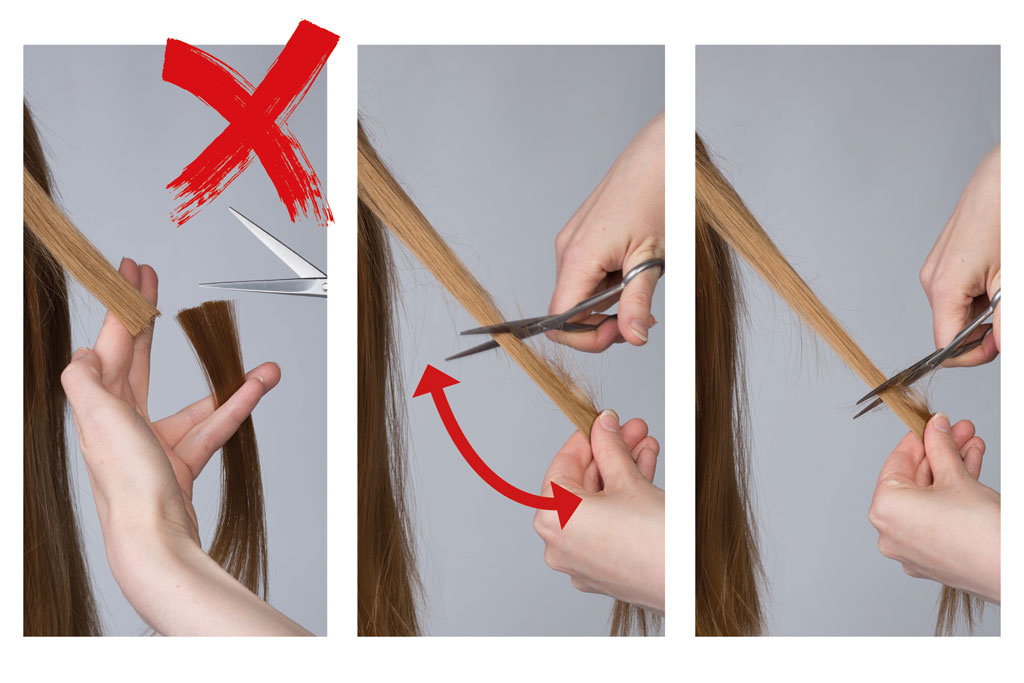
Sharp blades are essential. If you’re unsure about your cutting technique, leave the wig a little longer than you want and you can always trim the tips some more to give them a natural feathered look.
Find out which method works best for you and practice, practice, practice!
Use hairspray, but don’t overdo it
Cheap, strong hairspray is my go-to styling product for cosplay wigs. There is no need to buy special wig spray or care products for real hair since they won’t do the synthetic fiber any good!
I use 1-dollar-a-can hairspray for most styles, of the “ultra – super – extra strong hold“ variant. The strongest grade of hairspray is often called hair lacquer, that’s what I use. For extreme styles like spikes or gravity-defying bangs, I recommend got2b Glued Blasting Freeze Spray (yellow can).
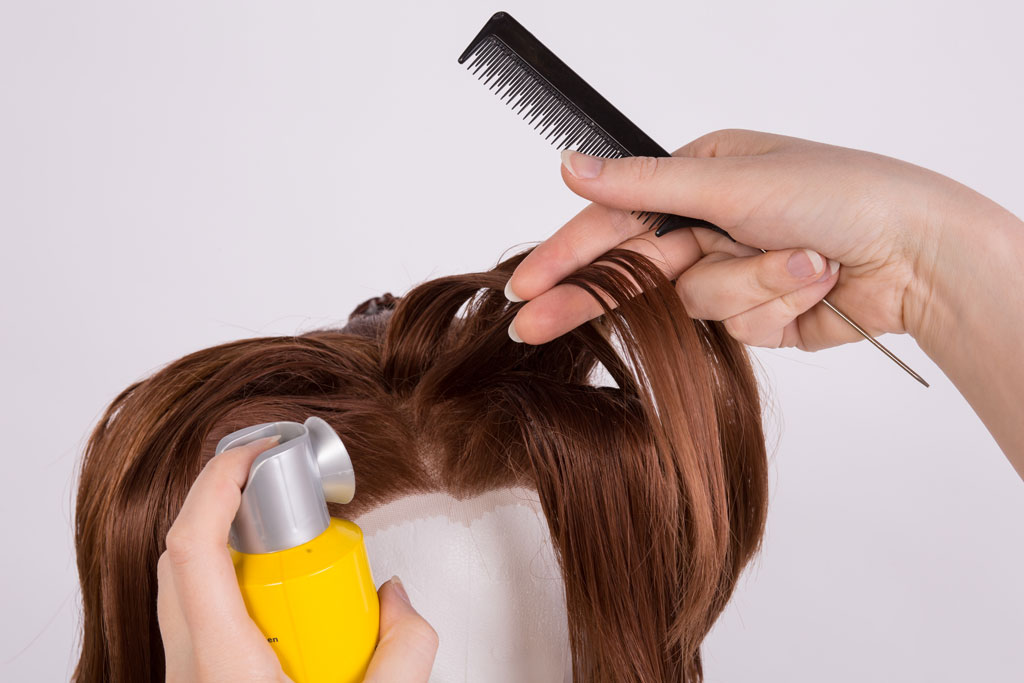
The thing to keep in mind about any kind of hairspray (no matter how strong or weak) is that it can make the hair look stiff and shiny – like it’s been glued. So you’ll want to use it sparingly, at least where you can see it later. Apply hairspray in thin layers, mist it on by constantly moving the can as you spray.
For big hair styles that require a lot of product, don’t attempt to style all of the hair at once. Take a thin layer of hair, apply a bit of hairspray, then cover it with the next layer of hair and so on – the light misting of strong hairspray will literally glue the hair together. But unlike real glue, the product can always be brushed out if you’re not happy with the style.
You’ll find in-depth cutting and styling tutorials in my 2021 book, Wigs 3D!
Don’t use products just because they’re good for real hair
Some styling products that work on real hair like a charm, don’t have any effect on synthetic hair or worse, they make it look dull and gross.
Most conditioners and shampoos for real hair contain „nurturing“ ingredients that are meant to be absorbed by your hair. On synthetic fiber, they build up on the outside instead. Soaking your wig in anything for an extended period of time won’t do it any good, since nothing can penetrate the plastic fibers and magically improve their structure.
Use very mild, neutral shampoo (baby shampoo or wig shampoo) to wash your wig. The less additives, the better.
To detangle your wig, spray on wig conditioner or oil sheen spray (from the ethnic beauty supply store). Both create a thin film on the fiber that will make it easier to brush and separate the fibers.

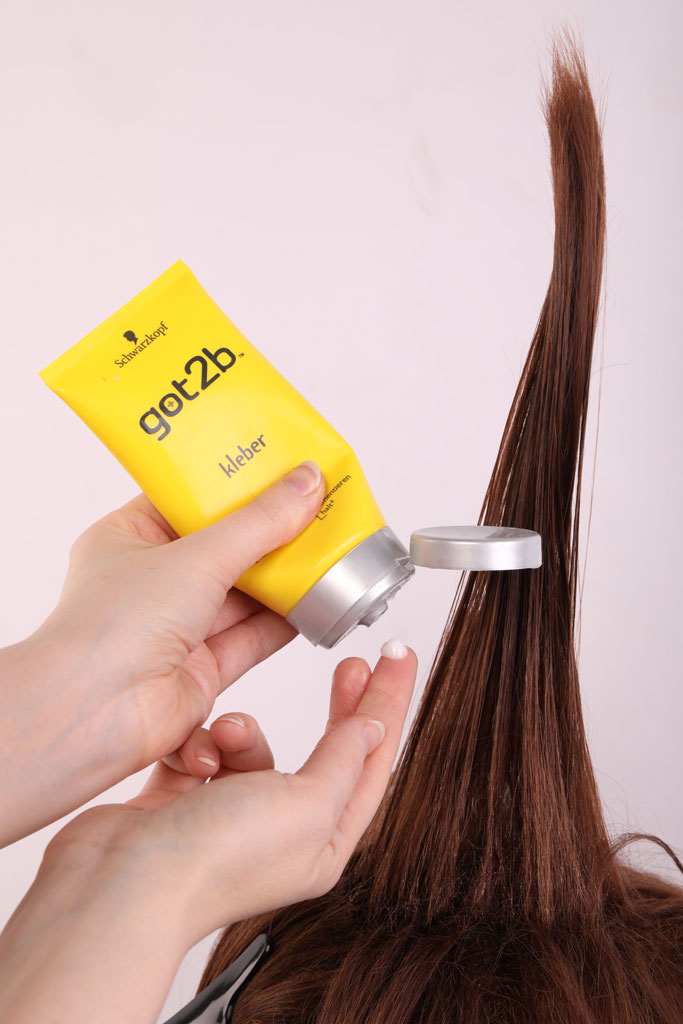
Spiking glue actually works for synthetic wigs, regular hair gel does not.
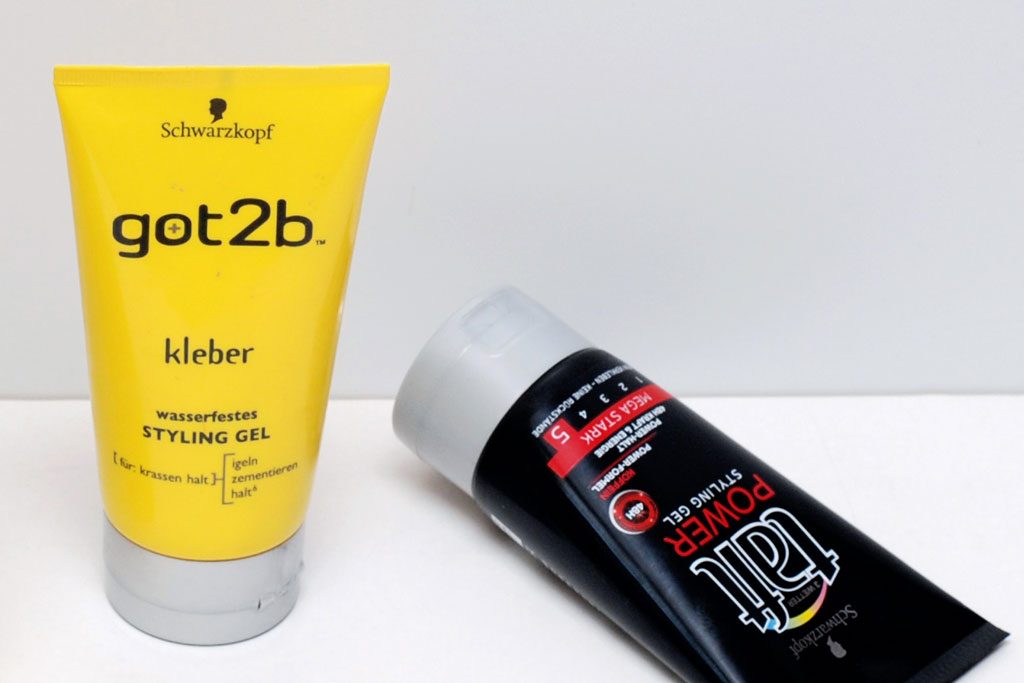
Hair gel needs to bond with the natural scalp oils in your hair (yuck). It can’t do that on a wig so it will only weigh down the fiber and create a greasy look. To shape or slick back synthetic wigs, use a combination of heat and hairspray instead. Or use an extreme spiking gel like got2b Glued Spiking Glue: it looks and feels similar to regular hair gel, but its polymer structure really defies gravity. It can bond even to synthetic hair. Use only a pea-sized drop to shape a spike or knead it into a short wig to create instant volume.
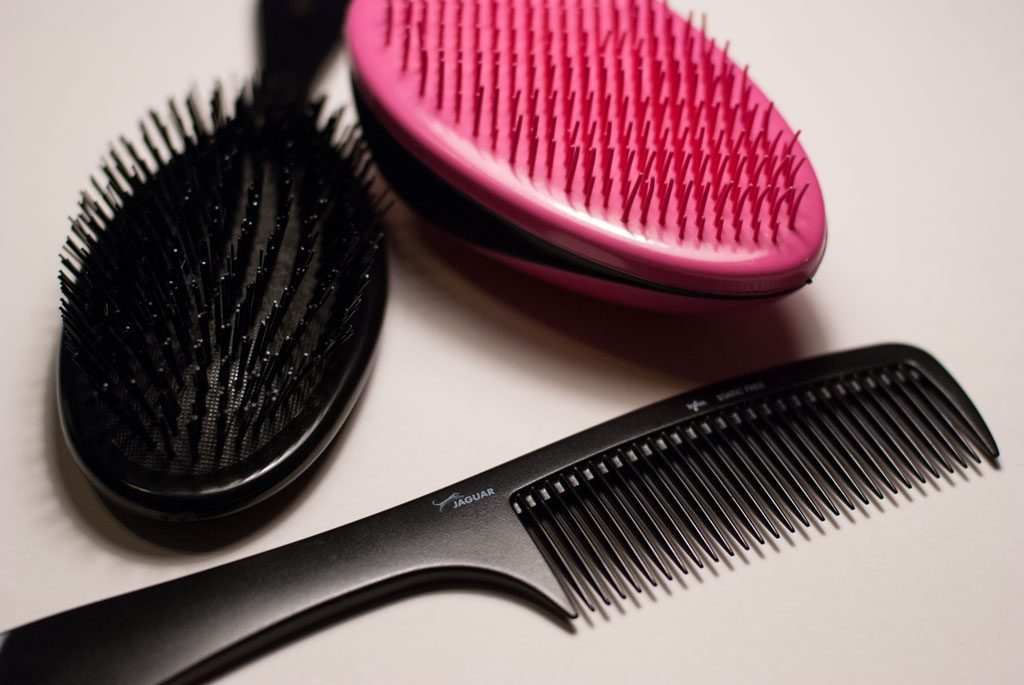
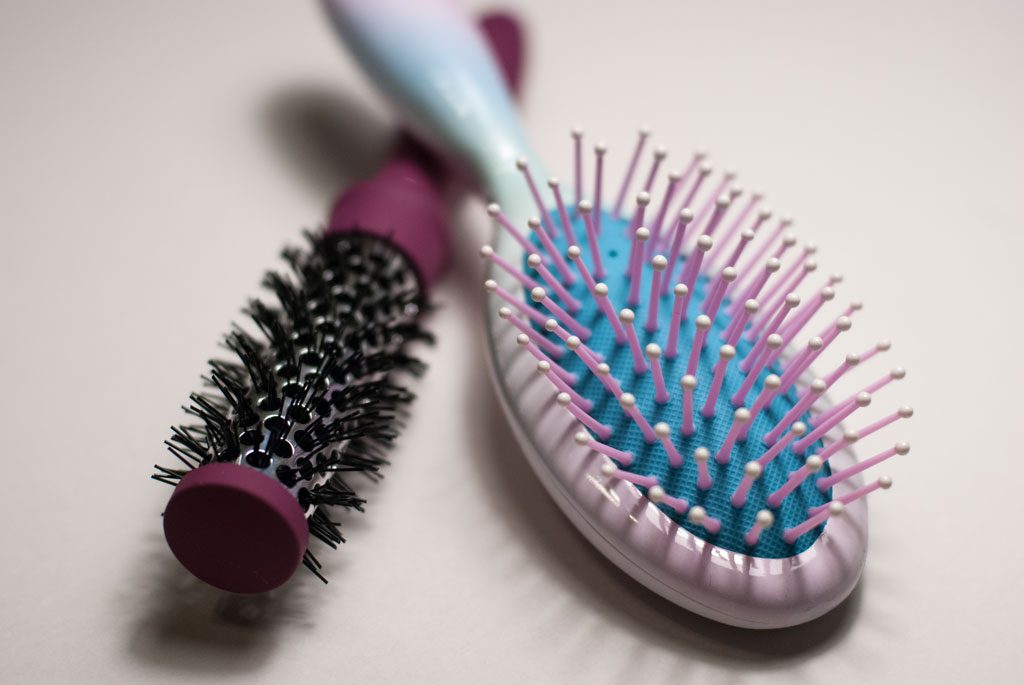
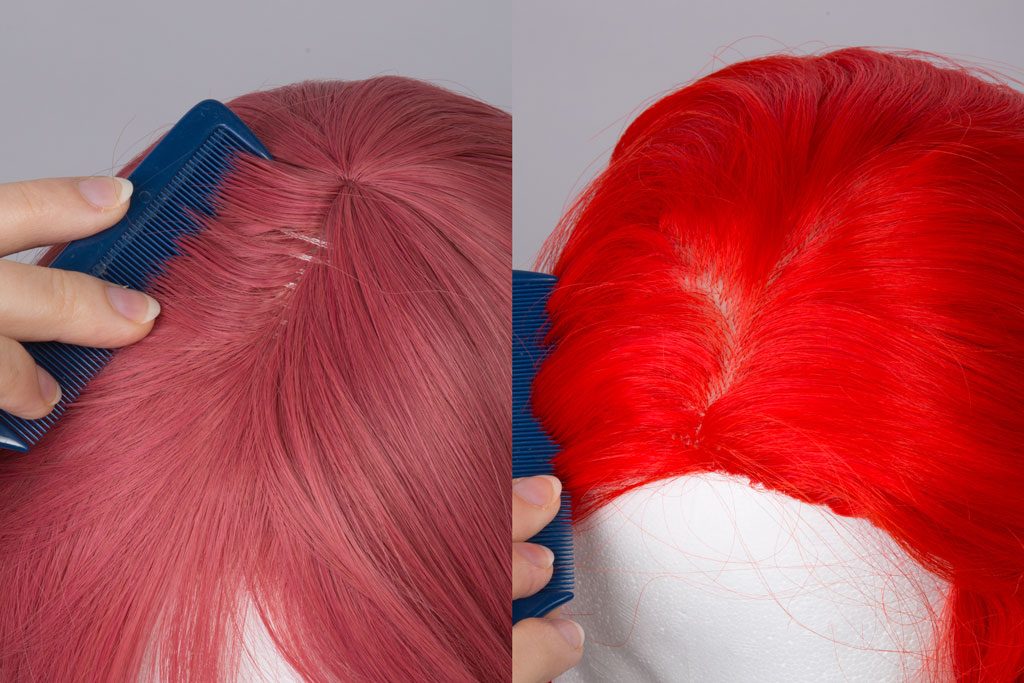
When it comes to brushing your wig, avoid any type of round brushes, brushes with nubs on the bristles or combs with very fine teeth. Use a wide-tooth comb or a detangling brush (with short, parallel bristles) instead.
Good brush: detangling brushes for extensions and real hair, wide-tooth comb Bad brush: round brush and brush with nubs
We constantly grow and lose hair, every day. That is why most brushes and combs for real hair are meant to pull out loose hair. For wigs, on the other hand, everything that puts strain on the fiber is counterproductive: it will pull out hair that can never grow back.
Which brings me to…
Don’t use brute force
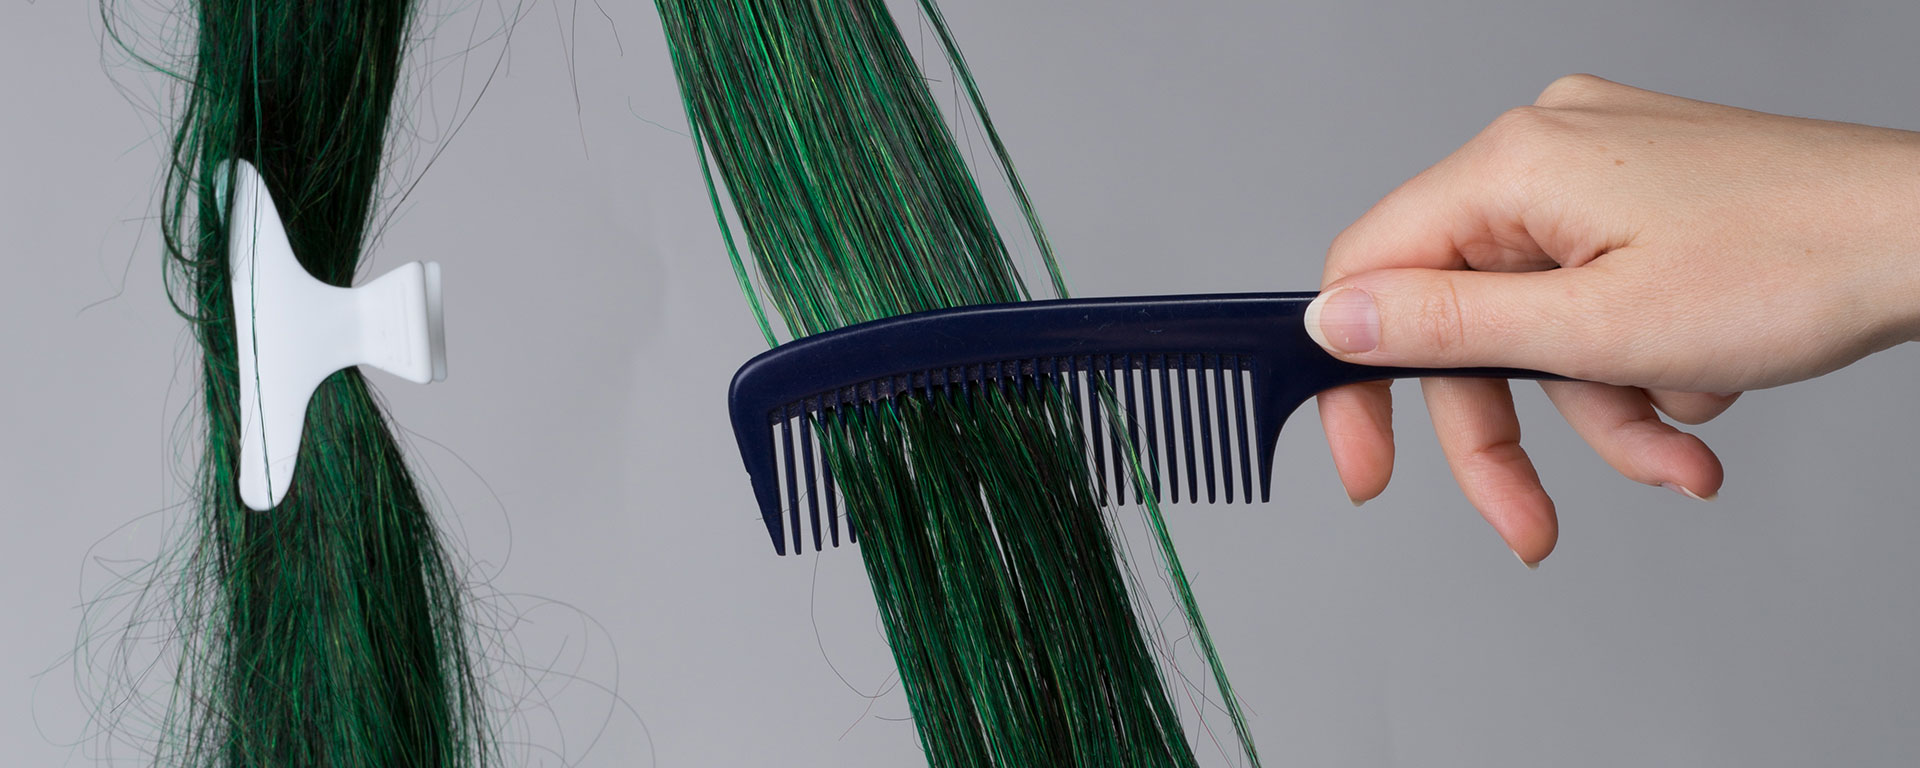
A badly tangled wig is not a pretty sight. I know you just want to brush it out and be done with it, but please, put away your brush and take a deep breath!
First, apply a generous amount of oil sheen spray or wig conditioner to help with detangling. When I have badly matted hair, I gently tap the knots with my fingers or the flat handle of a comb to loosen them.
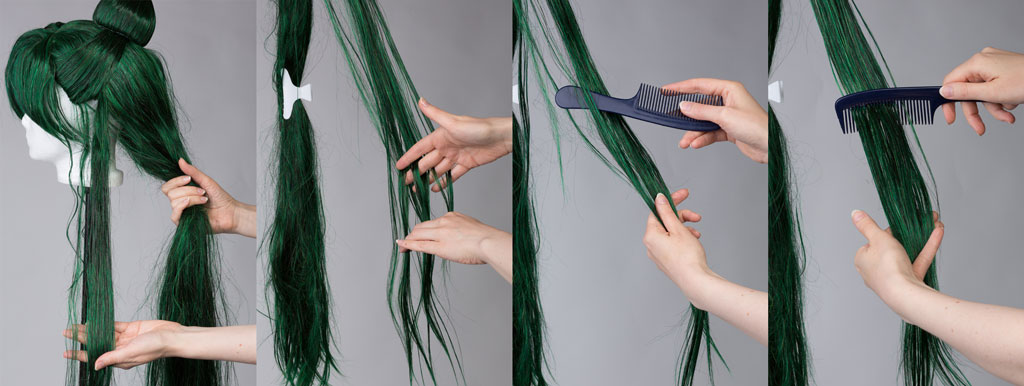
Next, I use a wide-tooth comb or detangling brush that will easily glide through the hair. If it doesn’t go smoothly, start at the tips and work your way towards the top. Resist the urge to pull on the fiber with force!
If you put too much strain on the fibers, they will stretch or break. Damaged fibers must be cut out or straightened, or else they’ll just cause more tangles.
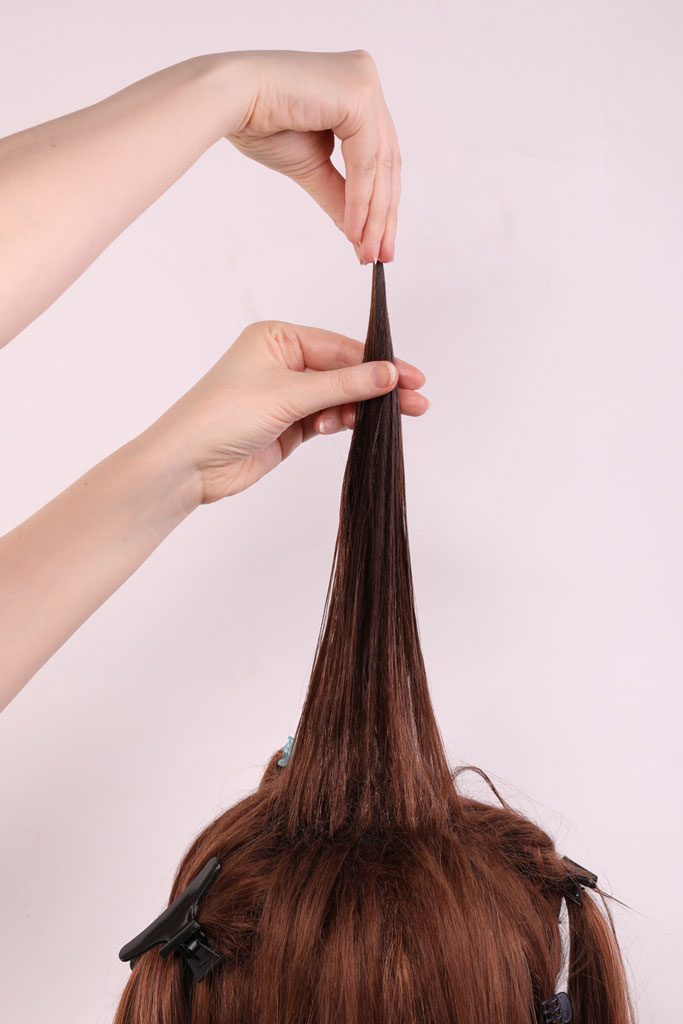
Use moderate heat for styling
Synthetic wig fiber is made of plastic, so you can shape it with heat. There are multiple ways to do this:
- hair dryer (blow dryer)
- hot water
- steam
- hot curlers
- straightening iron
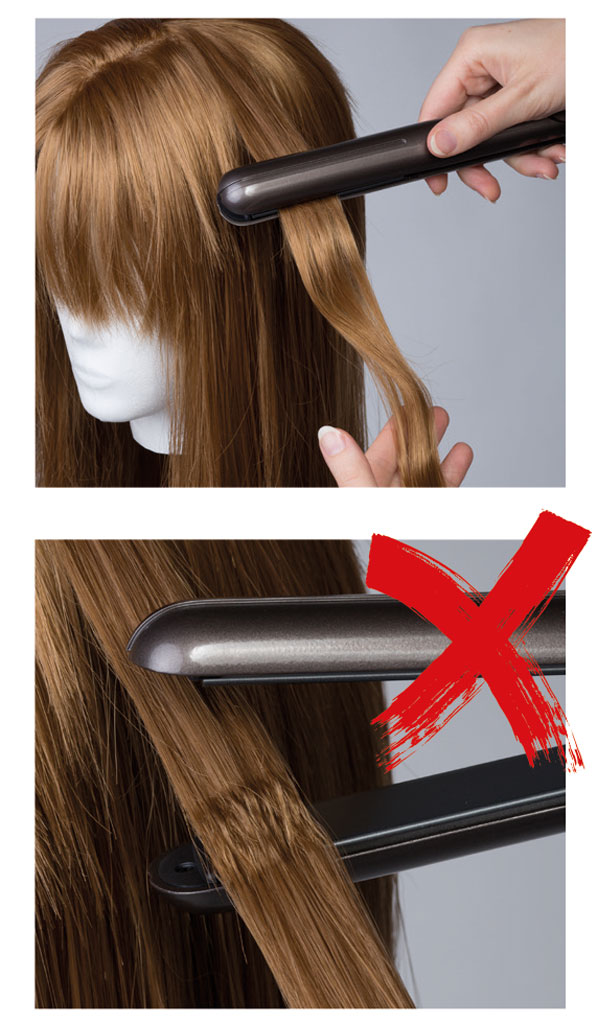
Hot water or a normal hair dryer are both very safe to use, even for beginners. They don’t get quite as hot as an iron, you can control the heat better and you don’t have to work as fast.
The trick is to heat the fiber for a few seconds, then let it cool down in the shape you want.
The safe temperature for wigs made of kanekalon (a common wig fiber) is 70–85°C / 160–185°F. Heat-resistant fibers will take more heat, but you should always test the temperature on a strand first. If it says in the item description, „heat-resistant up to xx degrees“, what this means is often the temperature that will positively melt the fiber! It can take irreversible damage long before that.
Learn about safe ways to style your wigs in my books! My tutorials walk you through every step and I’ll let you know what to watch out for when you work with heat and styling tools.
Plan your styles
Before you go wig shopping, find out what kind of base wig you need. How long and how thick, which cut, which shape of top and style of cap (for example, a button top, a side part or a versatile, large skin top? A lace front or a hard front?) You don’t want to spend too much time fixing an unsuitable wig when the perfect base wig is only a click away.
Small vs. large skin top: a wig with a large skin top (right) is much more versatile for parting
Divide each style into multiple projects: cutting the bangs, putting the wig in a high ponytail, styling curls. Look up tutorials for individual techniques. You’ll want to know how you’re going to approach each step and what tools and materials you need.

Section off the hair you’re going to need for each part (the bangs, side bangs, ponytail, etc.). When you’re planning to style big curls or spikes, it can be a good idea to part and section off the hair for each strand or individual spike, at least the biggest ones. This will give you a better idea of their placement on the head and where you may need to thicken up the wig or change the parting to cover up holes.
Determine the order in which you’re going to tackle each part of your wig, and which steps to complete first. For example, I straighten wavy wigs first so that I have a clean slate to work with. Then I add any extra thickness that I need for my style (by sewing in extra wefts). And I’m quite picky about my bangs, so I always cut and style them last so that I do not ruin their style when I move and touch the wig.
Everyone does their wigs a little differently, so find out which way is the most efficient for you!
Cut your bangs longer than you think
Cutting bangs is tricky: a few millimeters can make a huge difference in how natural they look. It’s easy to cut them too short by accident.
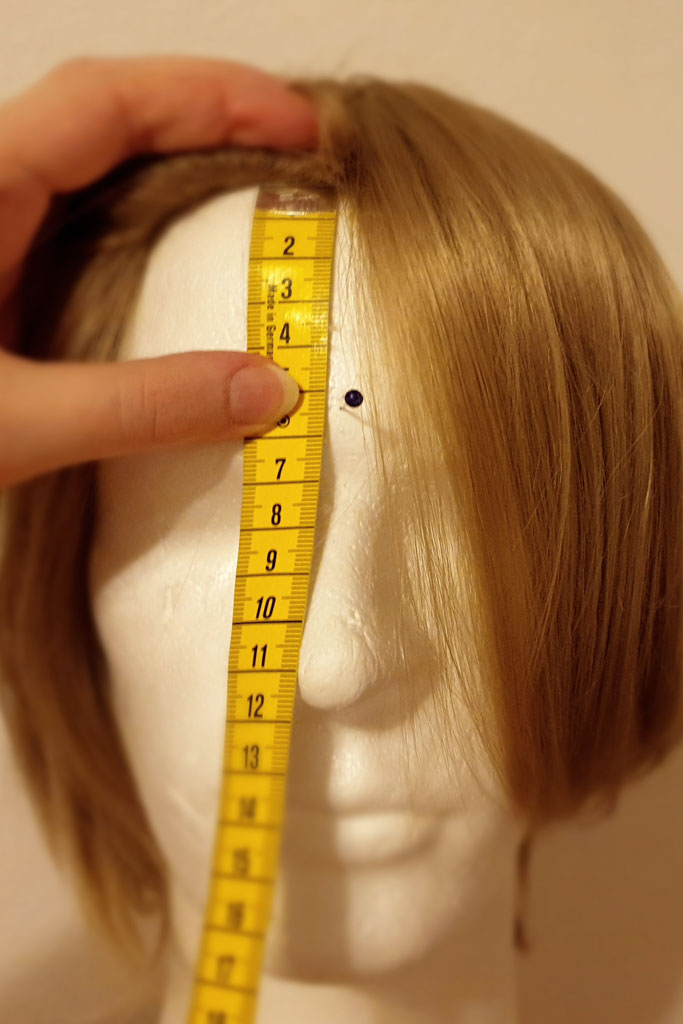
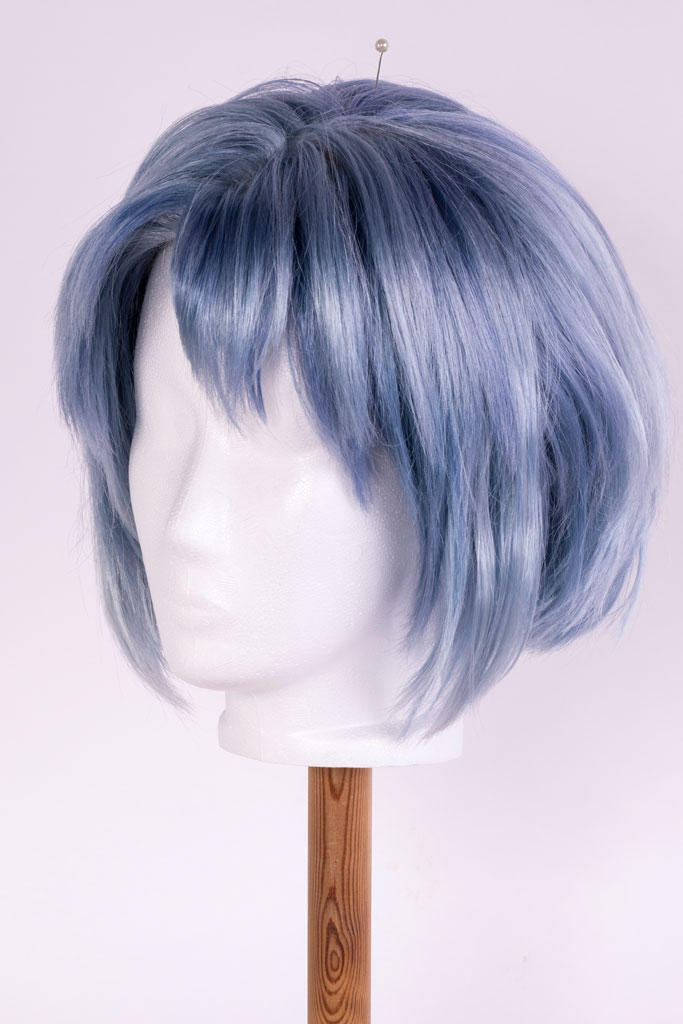
We’ve already talked about wig head sizes and proportions that can be misleading. Play it safe and use a tape measure to learn the distance from your front hairline to your eyebrows (usually around 5–7cm, or 2–3″) and mark that on your wig head with a pin. This indicates a nice natural length for bangs and provides a good orientation for cutting.
Bangs are usually curled inwards, thus reducing their length. For big, poofy anime bangs, the curve can get very impressive, making the bangs quite a bit shorter in the styling process. So when you cut your bangs before curling them, make sure to add an inch or two.
You may also want to taper the bangs towards the ears to frame your face more nicely, so you’ll need extra length on the sides.
Tapered bangs give this Pluto wig a natural look

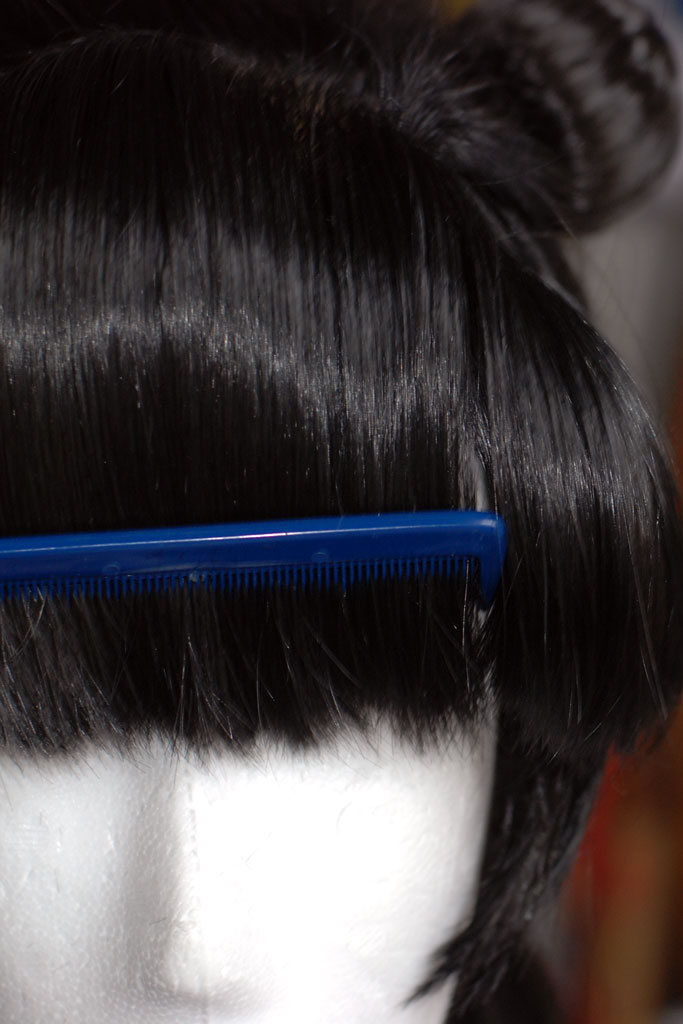
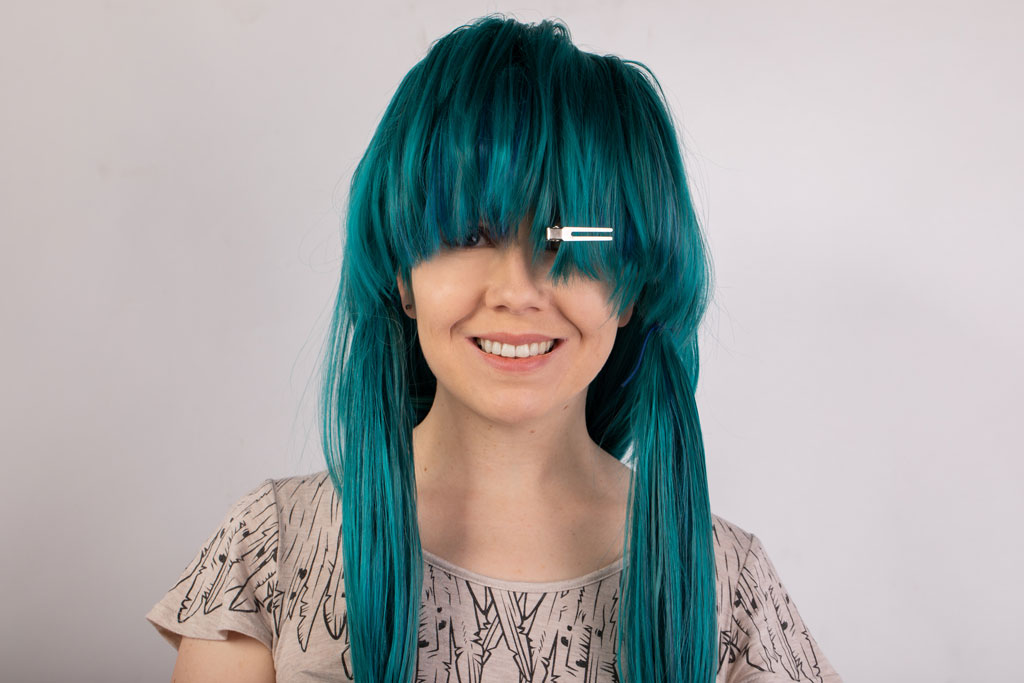
I recommend leaving the bangs longer at first, then trying on the wig in front of a mirror. Align the wig so that it just covers your front hairline (it shouldn’t sit too far in the back or pulled down over your forehead). If the bangs are too long and poke into your eyes, mark the right length with a small clip. Take off the wig and trim the bangs or curl them inwards to reduce the length. Try it on again and repeat until you’re happy with the length and the bangs look symmetrical.
Tip: mark the perfect length with a clip
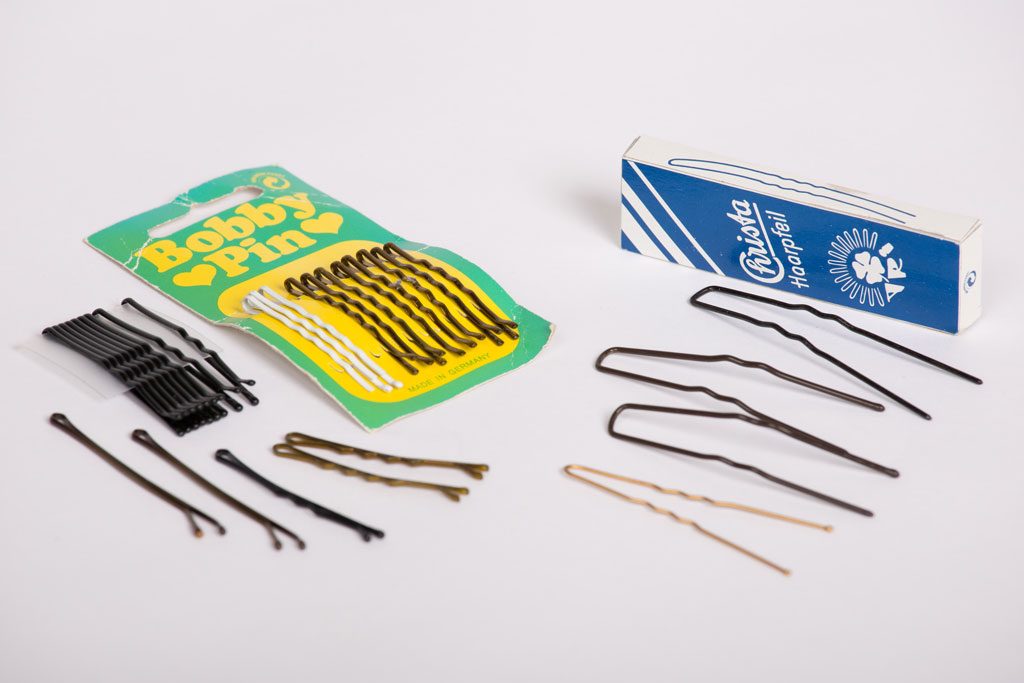
Secure your wig with pins
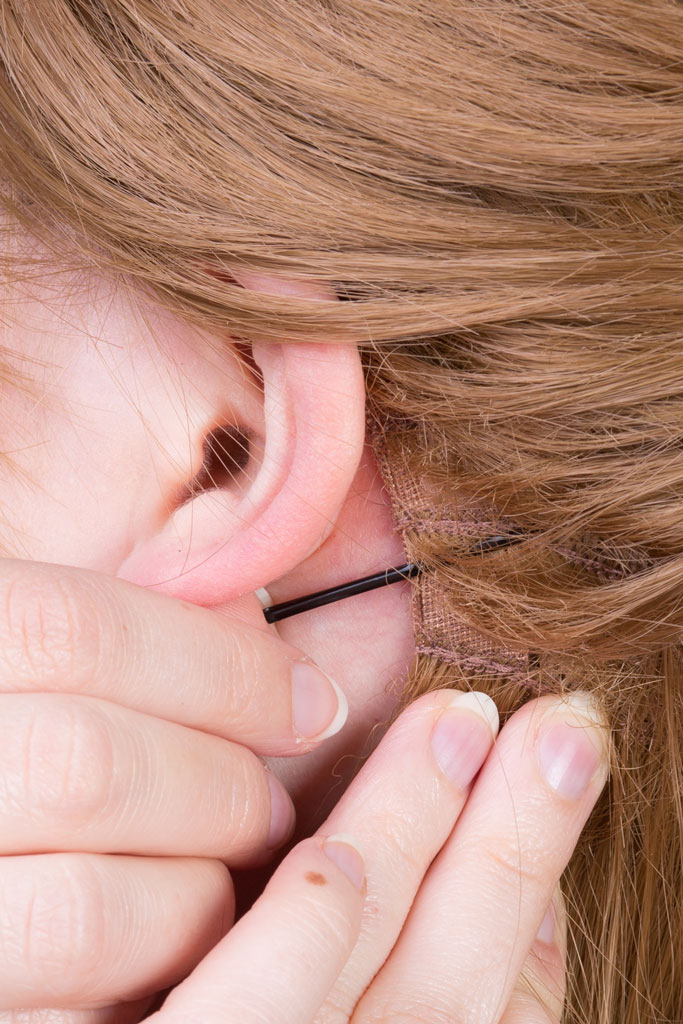
I can’t tell you how many wigs I’ve seen that sat lopsided on the head, or that fell off on stage during a contest because the wearer couldn’t be bothered to use bobby pins or hairpins. A wig that isn’t secured properly might just ruin your con day!
When your wig is back-heavy, securing it with U-shaped hairpins or wig clips is vital to keep it from sliding off your head. Watch this short video on how I use hairpins on a ponytail wig.
Wigs require a solid foundation. Read this tutorial on how to put up your hair properly to fit it under a wig, and to give the pins something to hold onto.
Bobby pins and hairpins
Buy cheaply – pay dearly
Quality has a price. Thickness has a price. The more hair there is in a wig, the more expensive it’s going to be.
Yes, you can buy two or three thin wigs and patch them together, but is it really worth the extra work? And will it be cheaper in the end?
The longer your wig, the more you should be willing to pay for it. Fiber quality is especially important for long wigs, and for any wigs that will see a lot of wear. Low quality fiber tangles more easily and is harder to take care of. It can also be harder to style.
Good sellers give advice and answer questions. They don’t have misleading or stolen photos, they have a consistent portfolio and color charts for reference. Ask for shop recommendations, find a few wig sellers that you like and always come back to – this will save you a lot of frustration in the long run!
Do you want more easy-to-follow styling tips?
6 Gedanken zu “10 Tips for Wig Noobs”