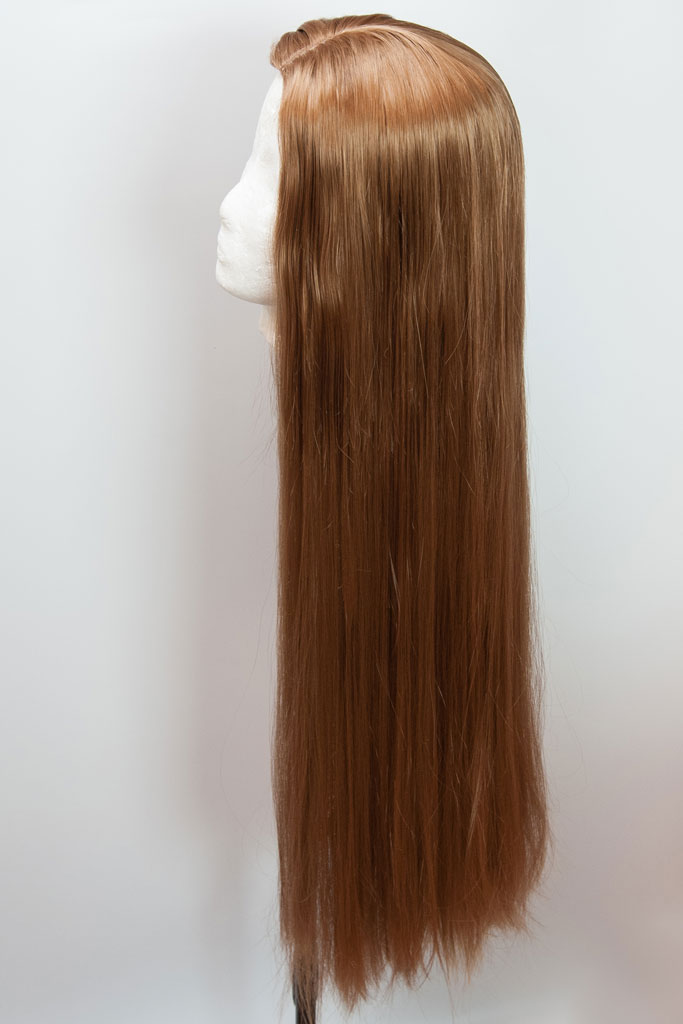
Elves and other characters in fantasy tales like to wear artfully braided hairdos. To make these work on a wig, you need lots and lots of hair so that you don’t expose the foundation of the wig by parting and braiding it. When you buy a base wig, make sure it is very thick (with a densely woven top and lots of wefts in the back) and not layered. Shorter layers of hair will poke out of the braids later, resulting in a messy look.

Custom-colored and braided wig for Angelique (Neo Angelique Abyss)
Braiding
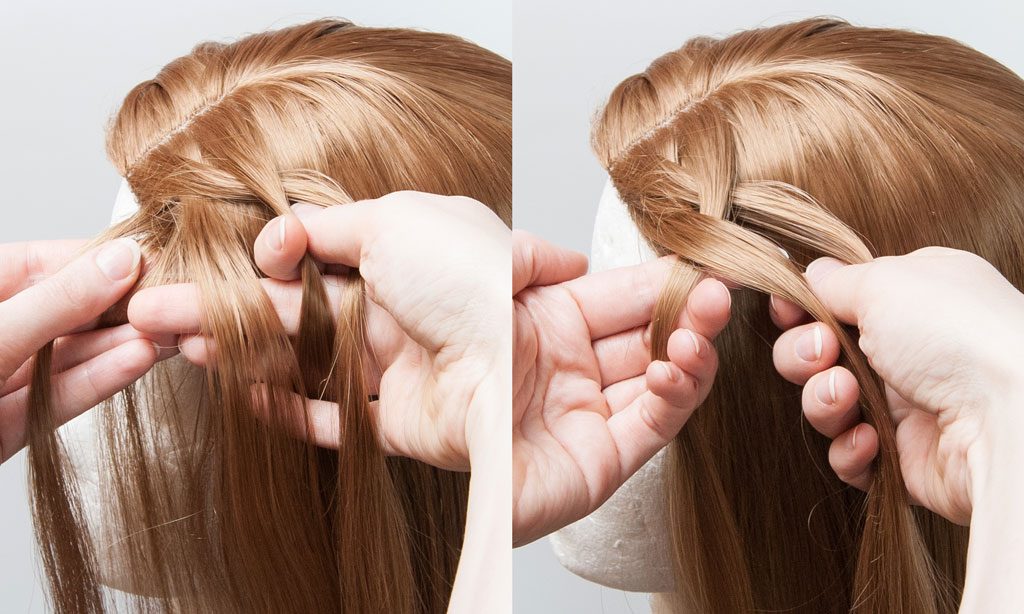
For my French braids, I’m going to braid the wig on both sides, starting high on the head. First step is to part the wig down the middle to make sure I have an equal amount of hair on the left and right side of the head. On one side, I section off three thin strands close to the front hairline.
Apply a little hairspray to the three sections and smooth them out with your hand. Start braiding by crossing the left section over the middle section, next cross the right section over the middle – like a classic braid.
Start with the classic braiding technique: left over middle, right over middle
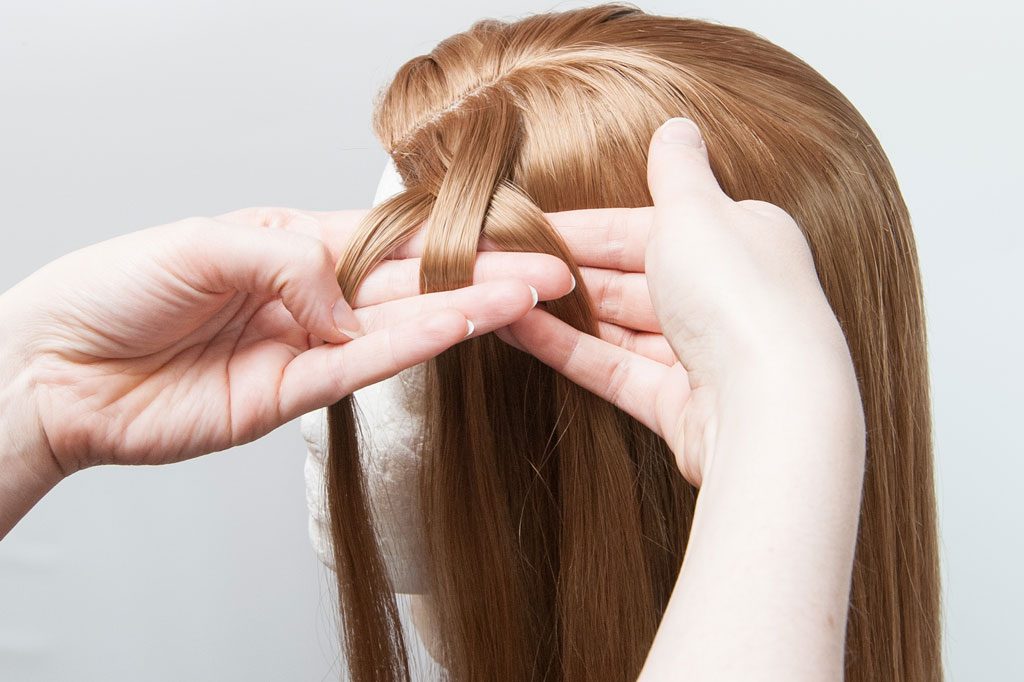
Repeat by crossing the left section over the middle, except this time you add a little wig hair from the left side (the front of the wig in this case).
Start adding more hair from the wig to the braid
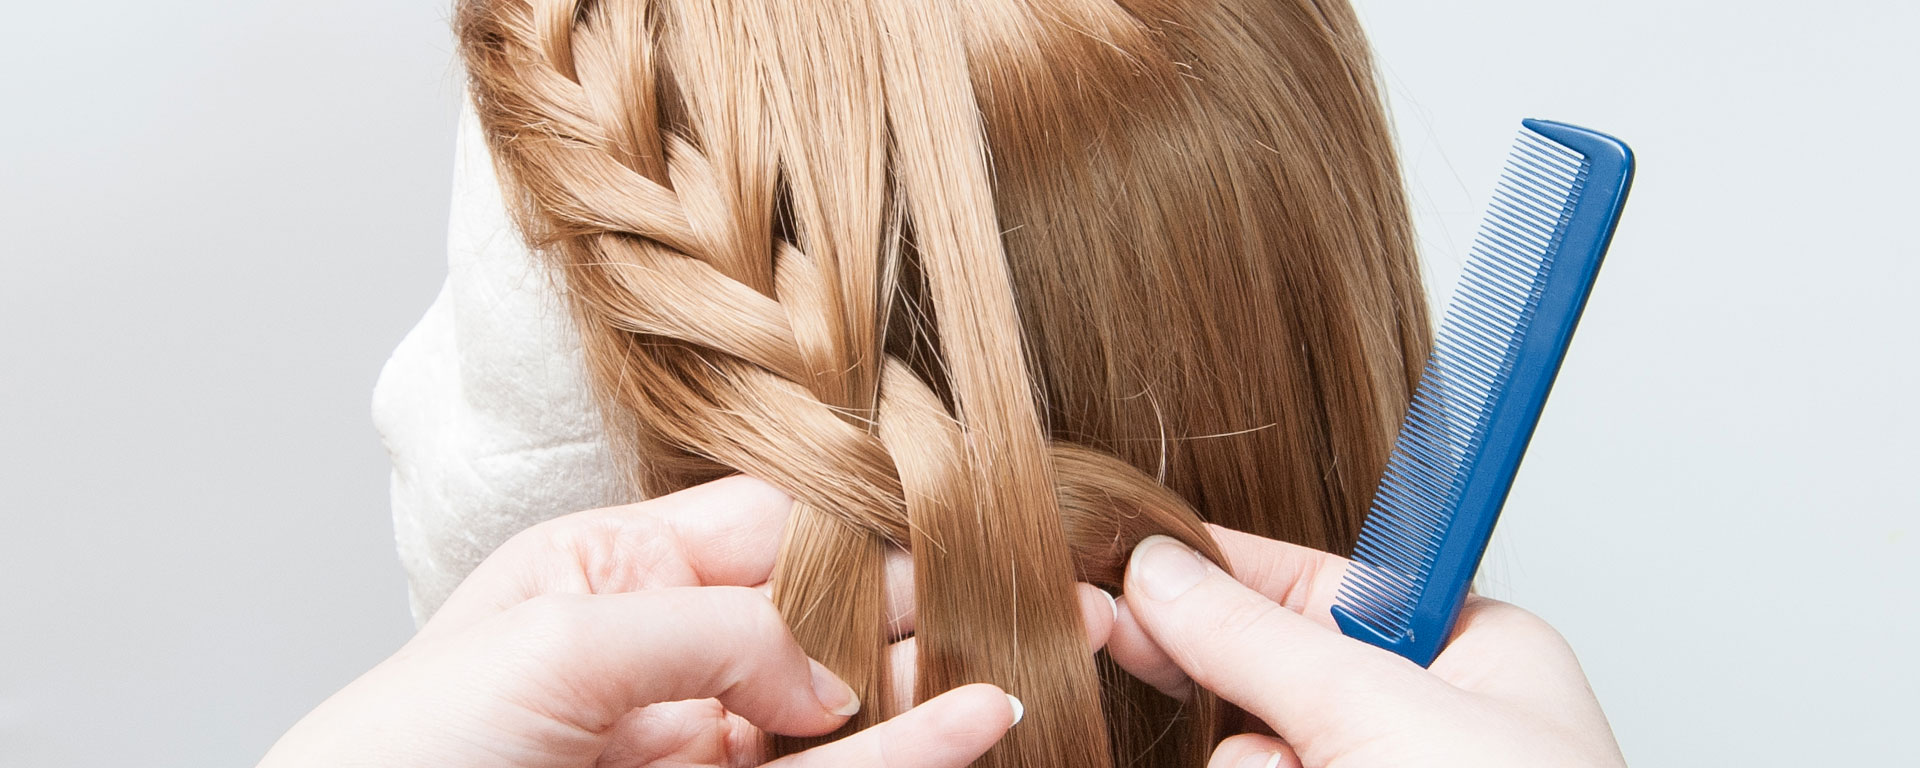
Next, cross the right strand over the middle and add new hair from the right side (the back of the wig).
Same on the right side: pick up new hair as you braid

Keep braiding and adding new hair to the braid
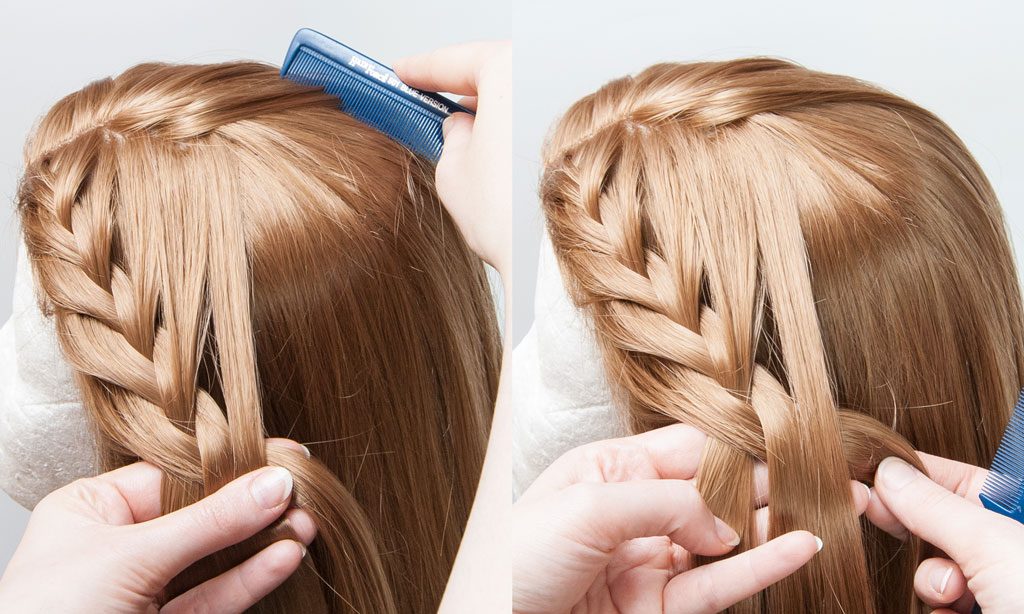
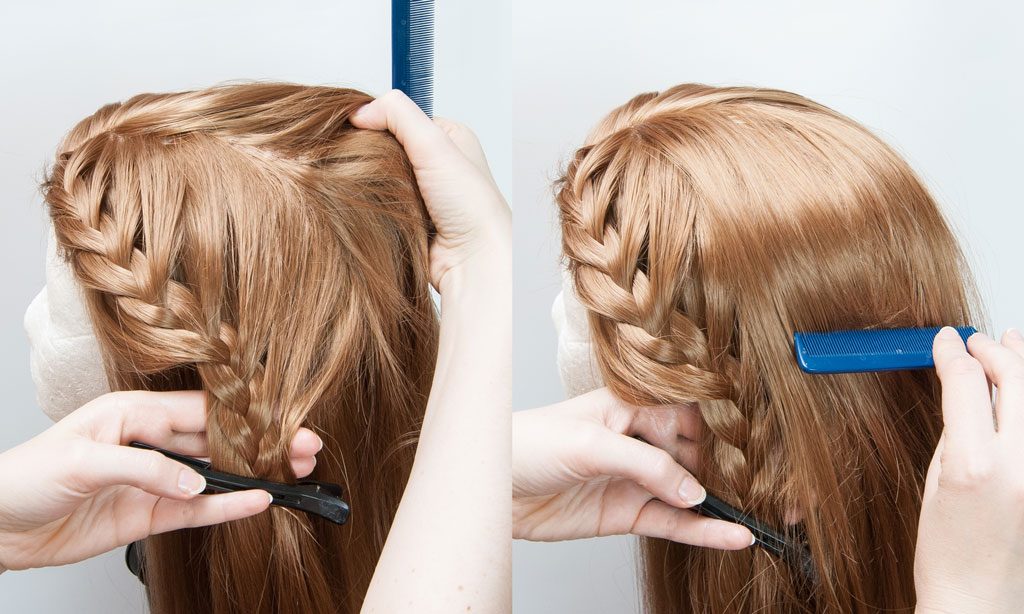
Repeat these steps by adding new hair to the braid every time. Use hairspray and a comb to keep the hair straight and smooth before you add it to the braid. Secure the already braided hair with a section clip to free your hands while you brush the wig.
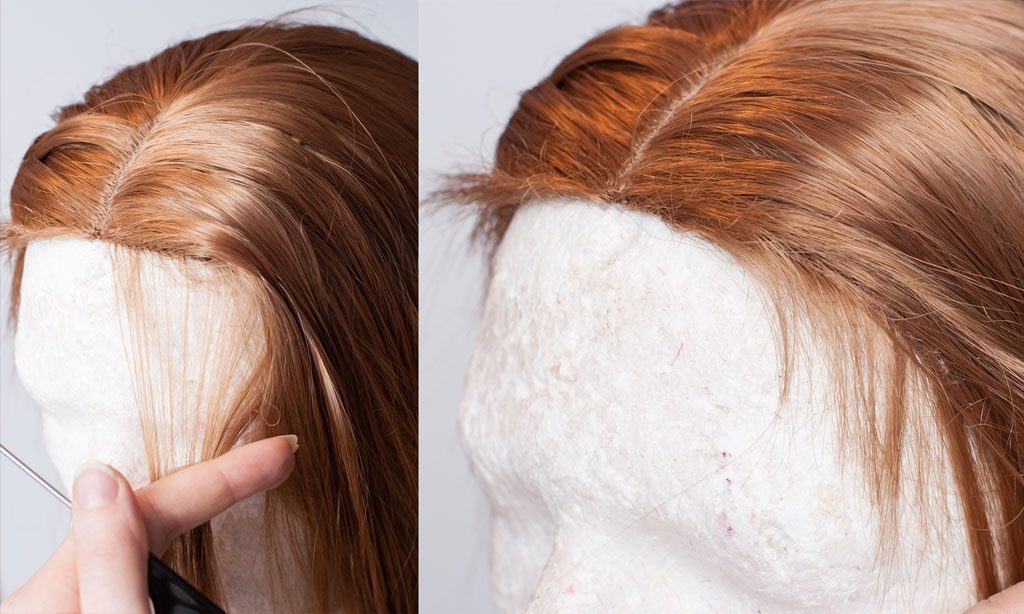
Tip: When you section off a strand of hair, always leave a bit of loose hair on top to cover up the holes in the wig. The new hair that you add to the braid should be taken from the layer that is a bit lower on the head. Never try to make a straight parting in the back, part the hair in a slight zigzag pattern instead.
Leave a bit of hair on top to conceal the parting
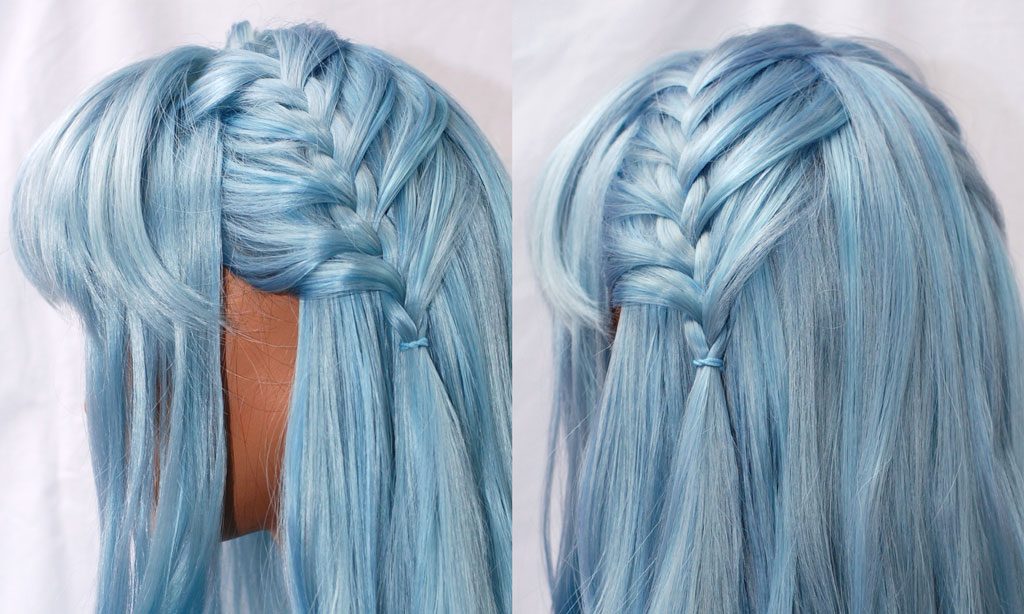
Finishing Touches
Braid both sides of the wig this way. I put the last part in a classic braid and joined both ends at the nape of the neck: first, I tied off each braid with an elastic cord so that it wouldn’t unravel. Second, I tied the braids together with a matching leather cord.
Tie off the braids with elastics
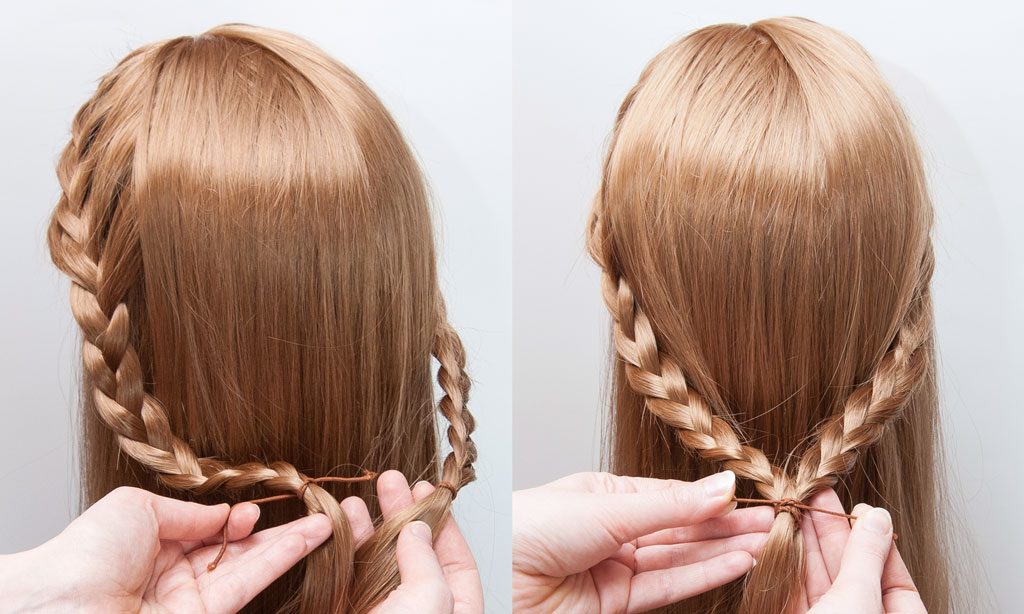
However you decide to finish the braids is up to you (and your costume reference), of course.
If your hairdo does not have bangs, it’s best to use a lace-front wig with a hand-tied (ventilated) hairline. If you can’t afford to spend that much money on a base wig, there’s an easy way to hide the hairline with baby hair! Brush a few individual hairs towards the front, into the face. Trim the hair short, then shape it with hairspray and heat (blow dryer or straightening iron) so that it doesn’t stick out at odd angles.
Baby hair: a quick fix to make the hairline look more natural!
Styling Examples
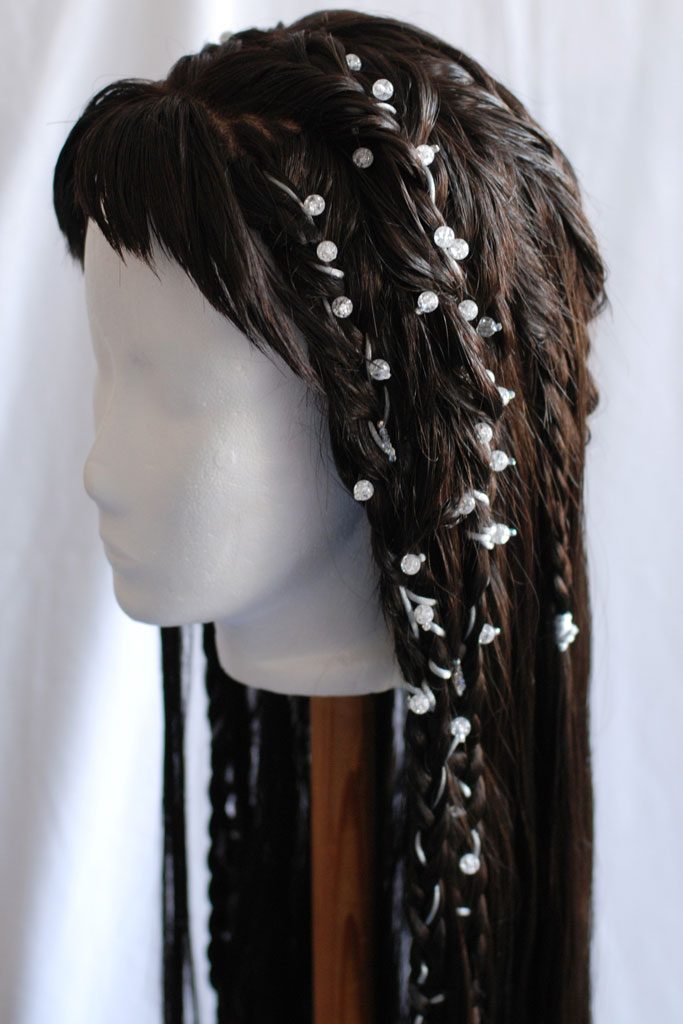
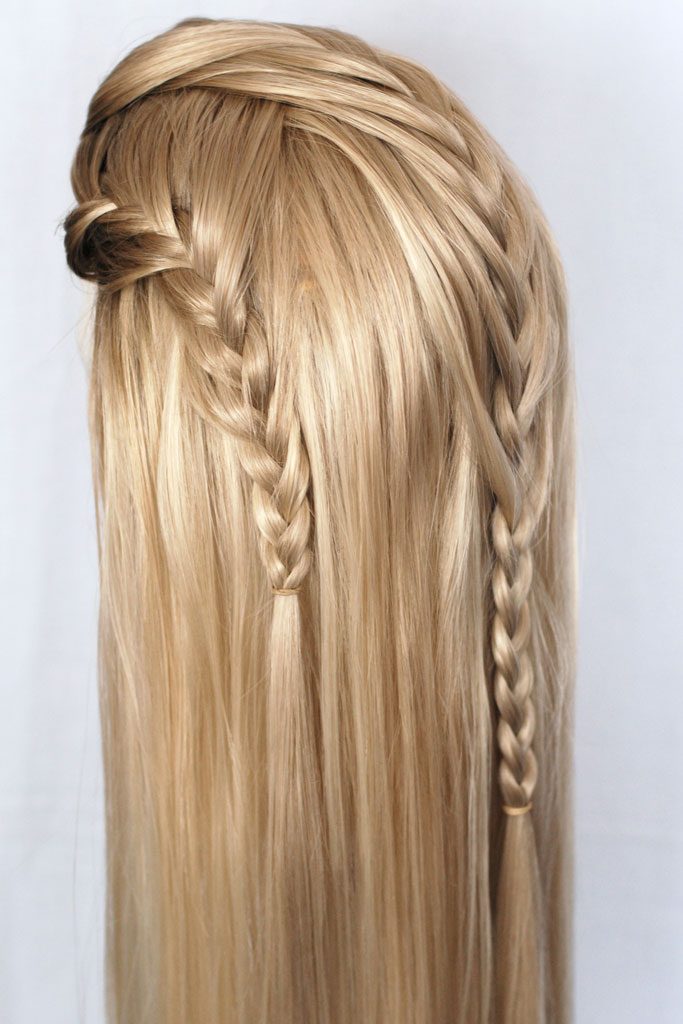
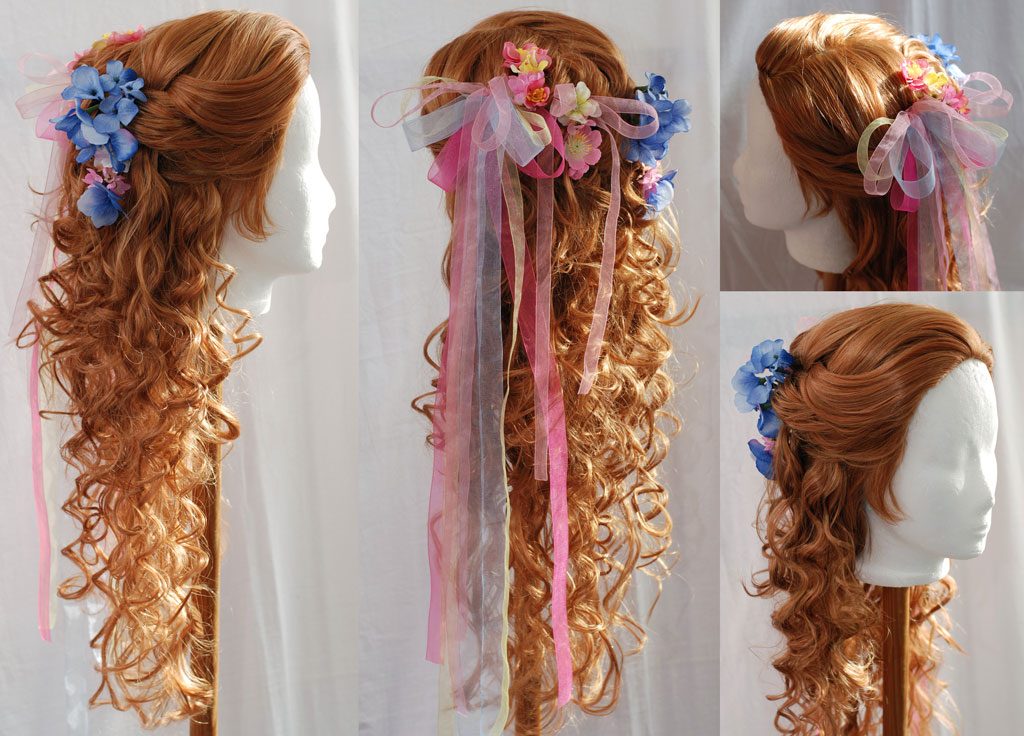
Given a nice, thick wig and a bit of finesse you can create all kinds of braided hairstyles. Try new techniques like braiding with more than three sections or joining multiple small braids into one big braid. Add ribbons, flowers or beads to the braid. Or simply sew in extra braids that you made with extension hair.
A simple, braided wig for reenactment or LARP (model: Giana for myCostumes) For Tamina (Prince of Persia) I spiced up the braids with glass beads and satin chord For Haldir (Lord of the Rings) I dyed the roots darker with Copic ink Giselle (Enchanted) wears her flower hairclips with pride

Read my tutorial for a classic braid where I demonstrate the basic technique and throw in helpful tips for braiding synthetic hair!
An earlier version of this tutorial was published in German magazine LARPzeit #50, in collaboration with myCostumes.