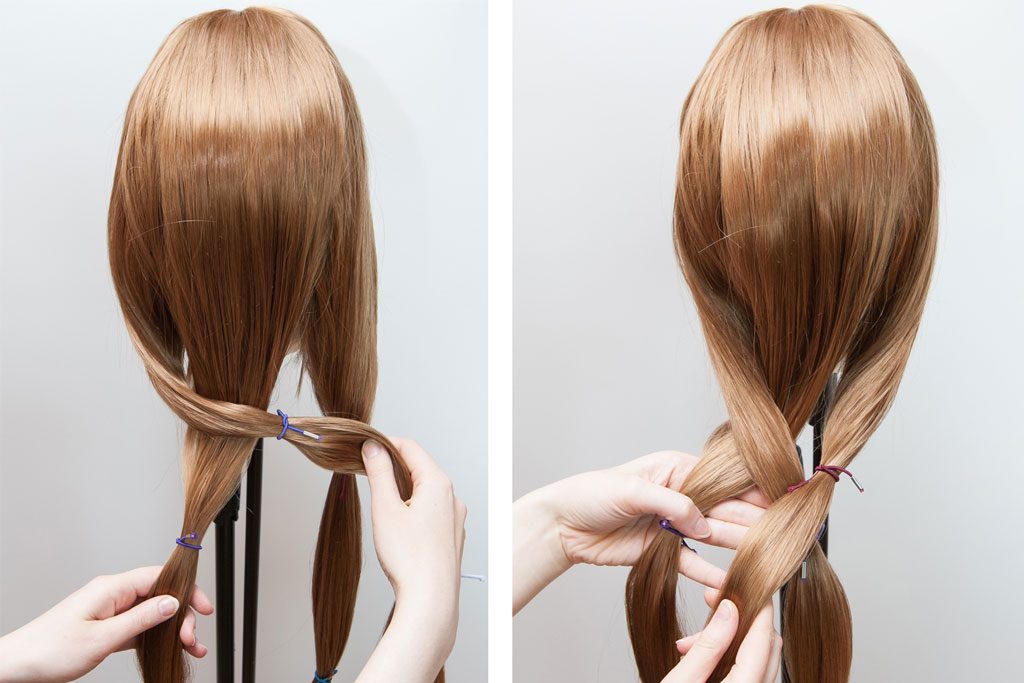
In this basic braiding tutorial, I’ll show you how to put a wig or hair extension into a clean, straight braid. When you pick a base wig for braiding, choose a straight wig that does not have a fashionable, layered cut. If the product description doesn’t say so, you can tell that a wig is layered if it looks thinner towards the bottom. You’ll want all of the hair to be roughly the same length, or else you will see shorter hairs sticking out of the braid.
Preparing the Wig
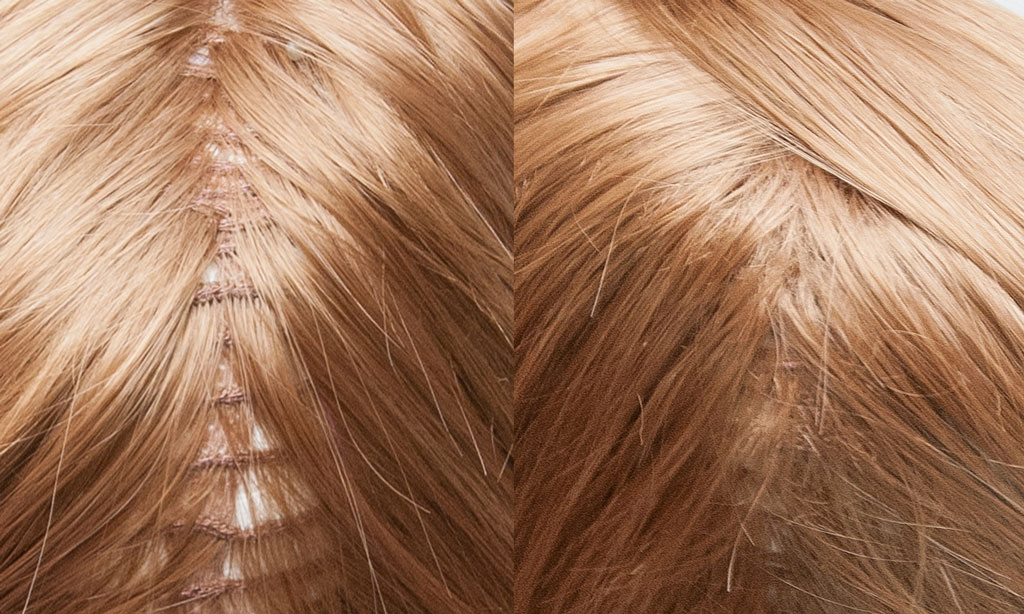
For a classic, 3-strand braid, separate the hair into three evenly thick sections. When parting the wig, make sure the foundation (the inner workings of the wig) is not exposed. Wigs are not made to be parted straight in the back. To fix this, always part the hair in a slight zigzag pattern. Use a tail comb to brush a little bit of hair from the left, from the right, from the left… towards the center so that the strands crisscross and cover the foundation. The thicker the wig, the better!
Once you have sectioned off the three strands for braiding, brush them with your fingers, a comb or a wig brush (detangling brush). Not a single hair should be sticking up when you’re done. Next, give each of the three strands a thorough coating with hairspray to fixate them and smooth them out with your hands. Put some effort into making the hair look really smooth and straight. This prep work is super important for a clean result and it should take longer than the actual act of braiding!
Braiding
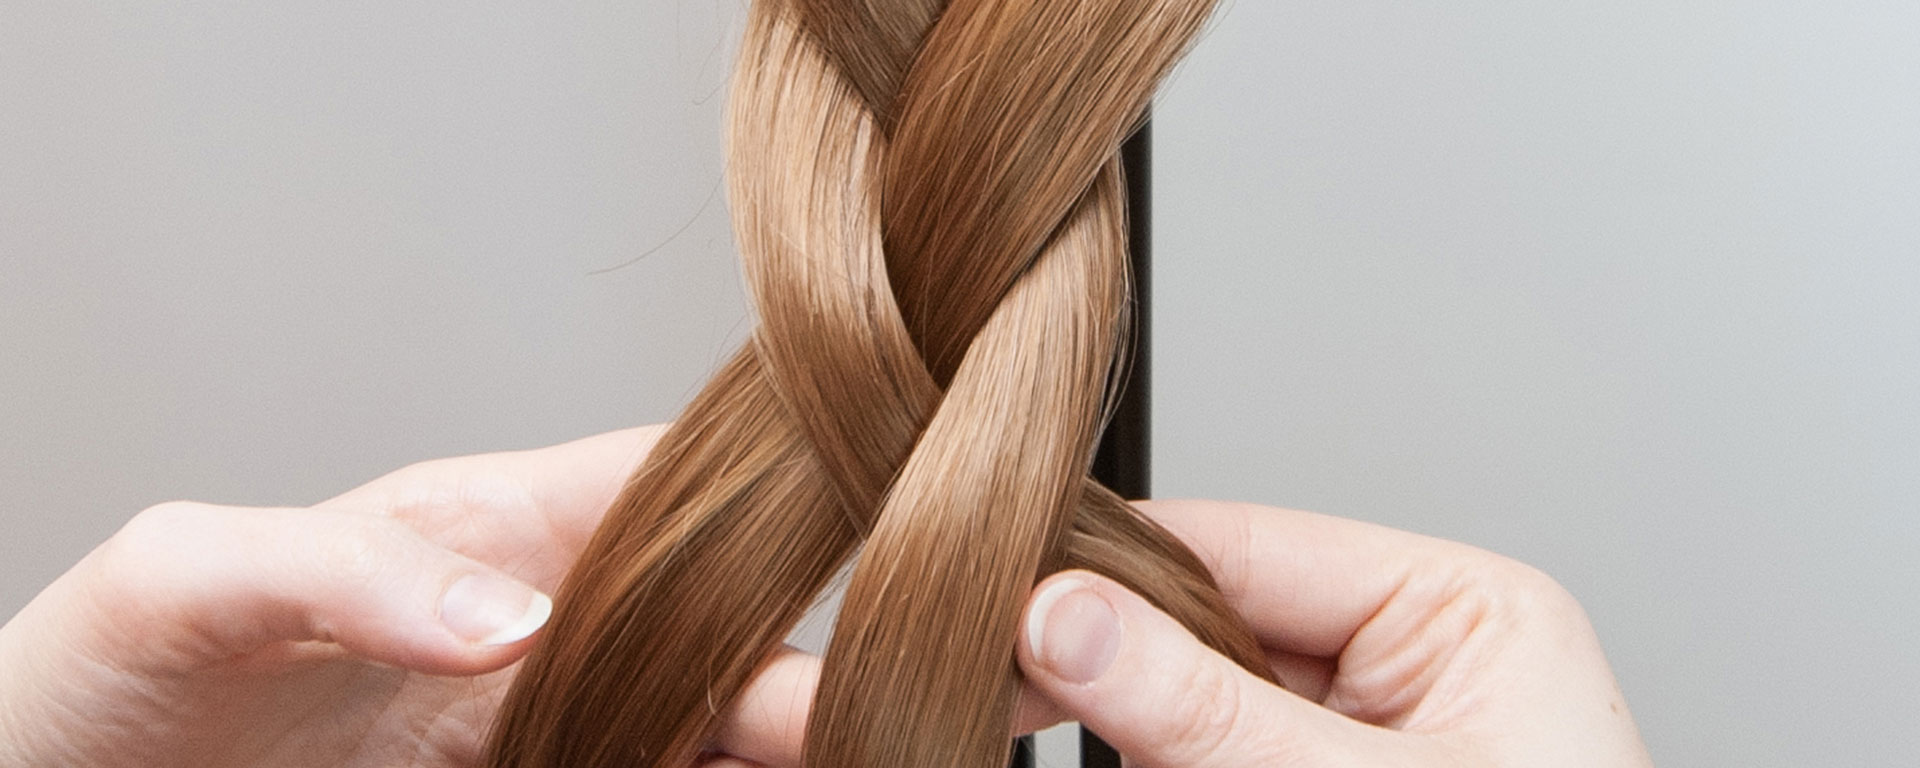
Now you can start braiding: Take the left section of hair and cross it over the middle section. Next, take the right section and cross it over what is now the middle section. (What started out as the left strand has now moved to the far right.)

Classic braiding technique: left and right section crossing over the middle section
Next, it’s the left section’s turn again. Cross it over the middle, then cross the right section over the middle, left, right, and so forth. Try to keep your hands on the left and right strands all the time, switching hands as you braid but never letting go.
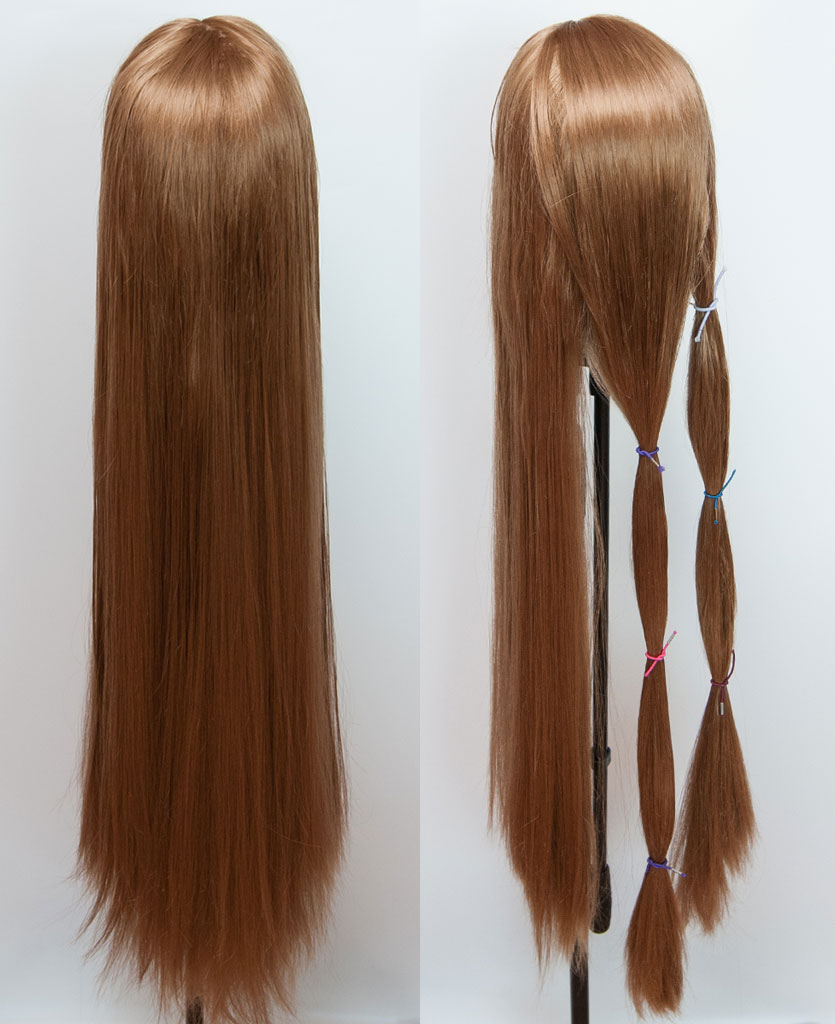
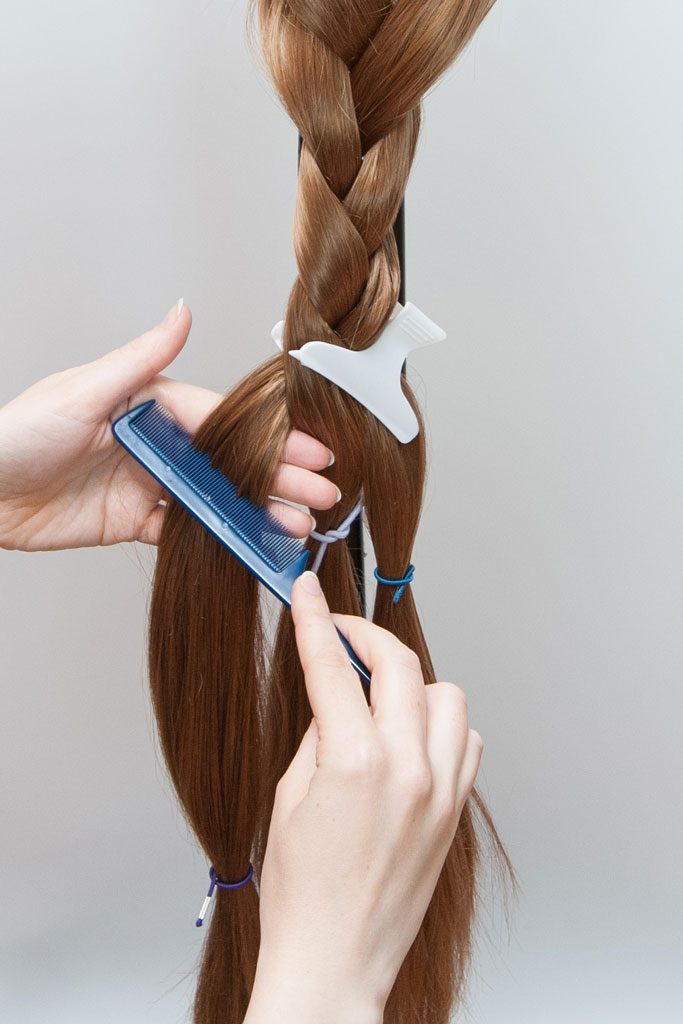
When braiding a long wig, I like to tie off the sections with ribbons before I start in order to keep them separated. Brush off the ribbons with your hands as you braid your way towards the bottom. You may as well use elastic cord or cut-open elastic hair ties to tie off the hair. However, you should not use closed elastic hair ties or else the hair may tangle when you pull it through the loop.
Take little breaks to smooth out the strands of hair and to make sure they do not cross and tangle at the bottom. Hold the braid together with hair clips or section clips to free your hands for detangling and brushing.
Use elastics to keep the strands separated and remove them as you go Take a break from braiding to smooth out the strands


Finishing Touches
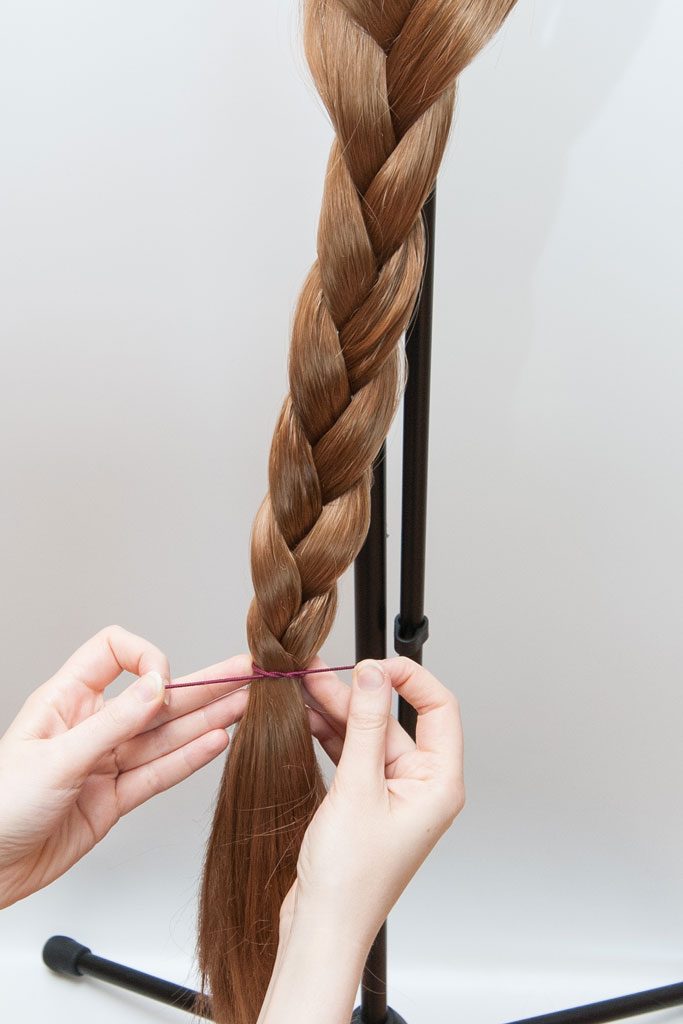
When you’ve run out of hair to braid, tie off the braid very tightly using elastic cord. You can also use heavy-duty thread. When you’re done styling the wig, cover the elastic or thread with a hair tie that matches the character’s style. I advise against using glue, however, so that you’ll still be able to undo the braid and detangle your wig later.
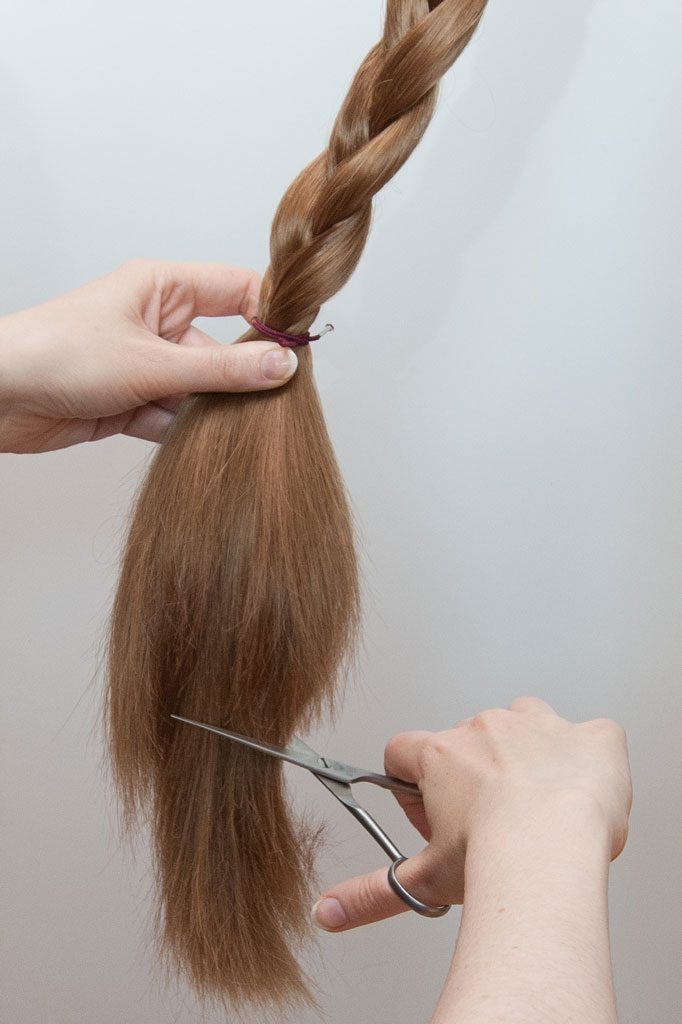
Brush the tip of the braid and trim it into shape. I like to cut diagonally into the hair so that it tapers towards the end for that fluffy paintbrush look. If you do not want a tapered braid, I recommend at least thinning out the tips to make them look more natural and less chopped off.
Tie off the end with an elastic ribbon Trim the tips to give the braid a tapered shape Finish the look with hairspray
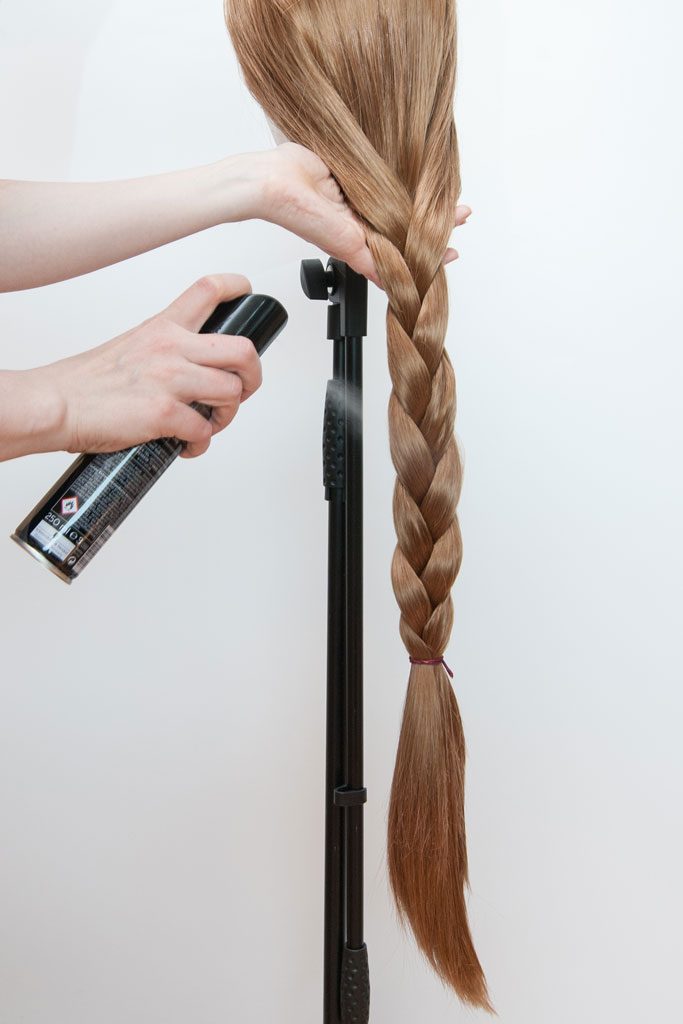
Fixate the style with a generous coating of hairspray, including from the underside, to help the braid retain its smooth look for as long as possible.
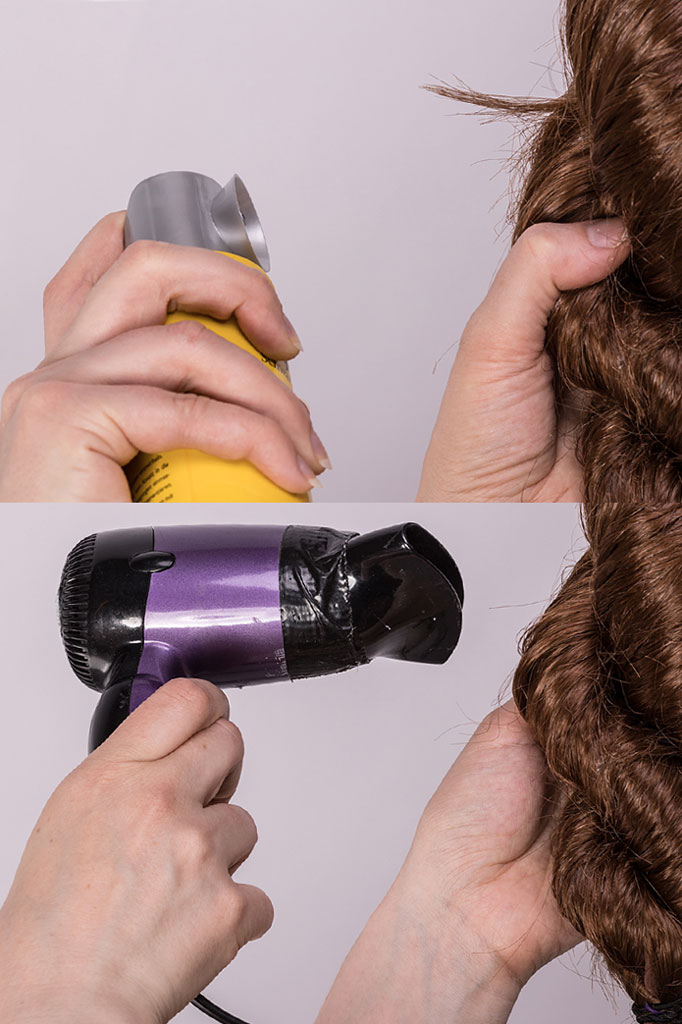
Braided wigs are much more durable than open hair, but they too can use some love (and sometimes detangling) after you’ve worn them. Hairs that stick out can be brought back in shape by applying hairspray and heat from a blow dryer. When the hair is matted on the underside of the wig, it’s time to undo the braid, detangle and straighten the wig and re-braid it.
Now that you’ve mastered the classic braiding technique…
…do you want to level up and create a really thick braid for your cosplay?
Rapunzel (Disney) wig with foam braid, styled by me

Beautiful Aerith (Final Fantasy) cosplay, wig with foam braid styled by me (Cosplayer: Waldnymphe, Photo: _bild_er_leben_)

For crazy voluminous styles, hair alone will not be enough. Learn how to thicken up wigs and hair extensions with foam core (like foam rubber) and how to style updos and ponytail wigs. My wig book no. 2 will show you how!
For natural-looking fantasy styles, read my French-braiding tutorial.
An earlier version of this tutorial was published in German magazine LARPzeit #50, in collaboration with myCostumes.