In my basic tutorial, I showed you how to make fabric appliqué: join two layers of fabric with the help of double-sided fusible web (e.g. Vliesofix), then satin-stitch the outline for a more durable bond. Use this to create big or small ornaments, stripes, circles, flowers – you name it!
The appliqué method is so versatile, I thought I’d show you my favorite variants and helpful tricks that I’ve learned over the years.

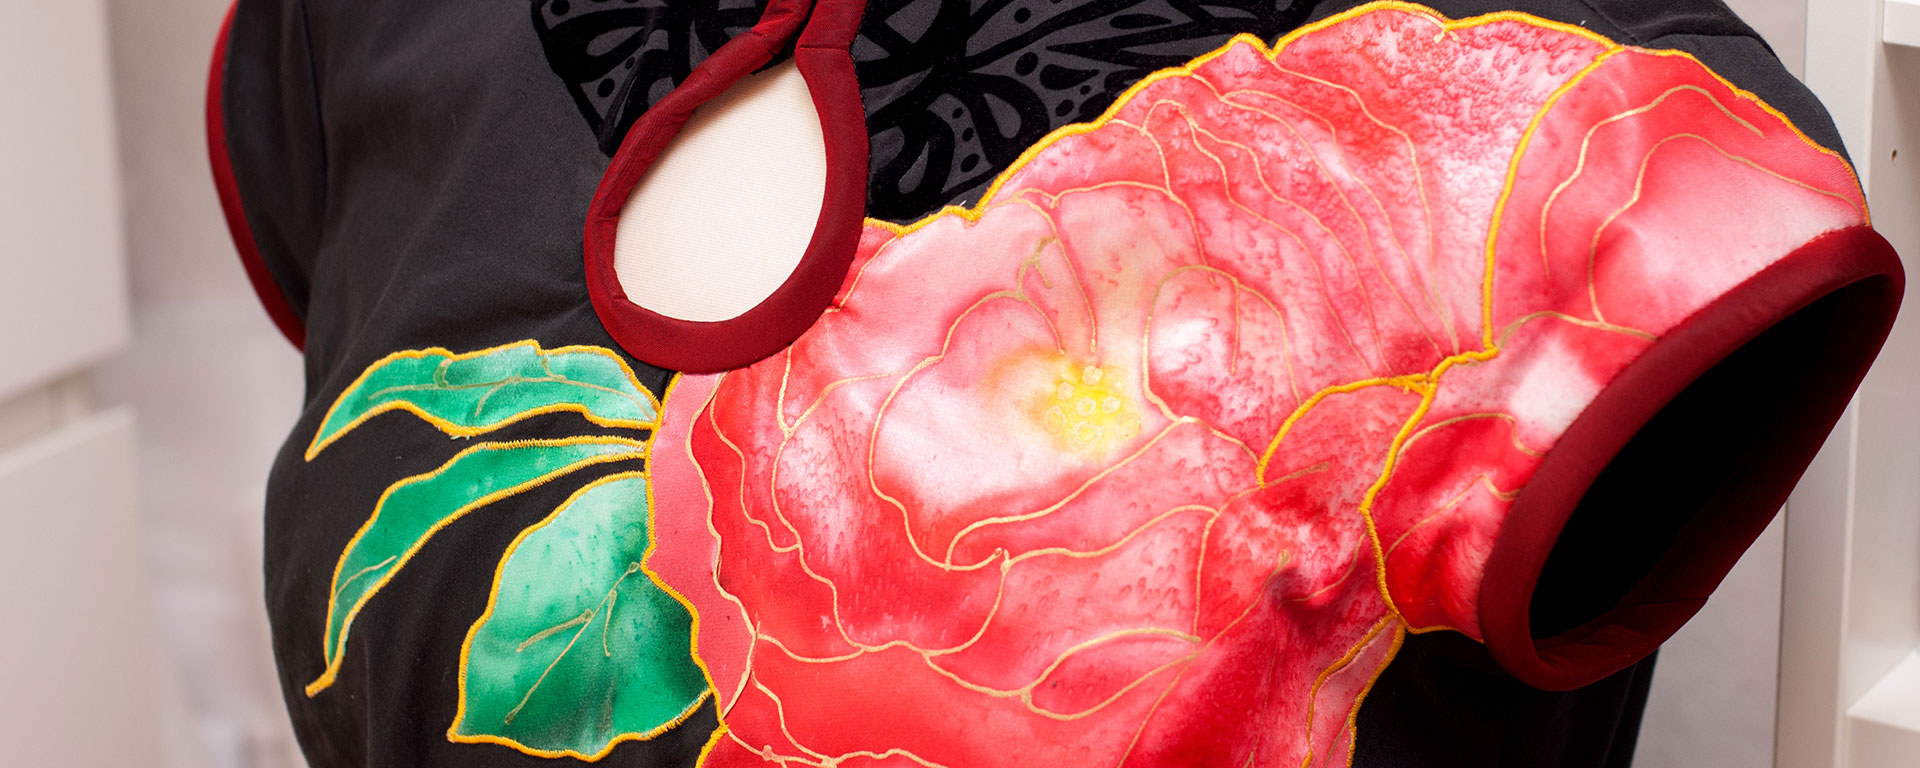
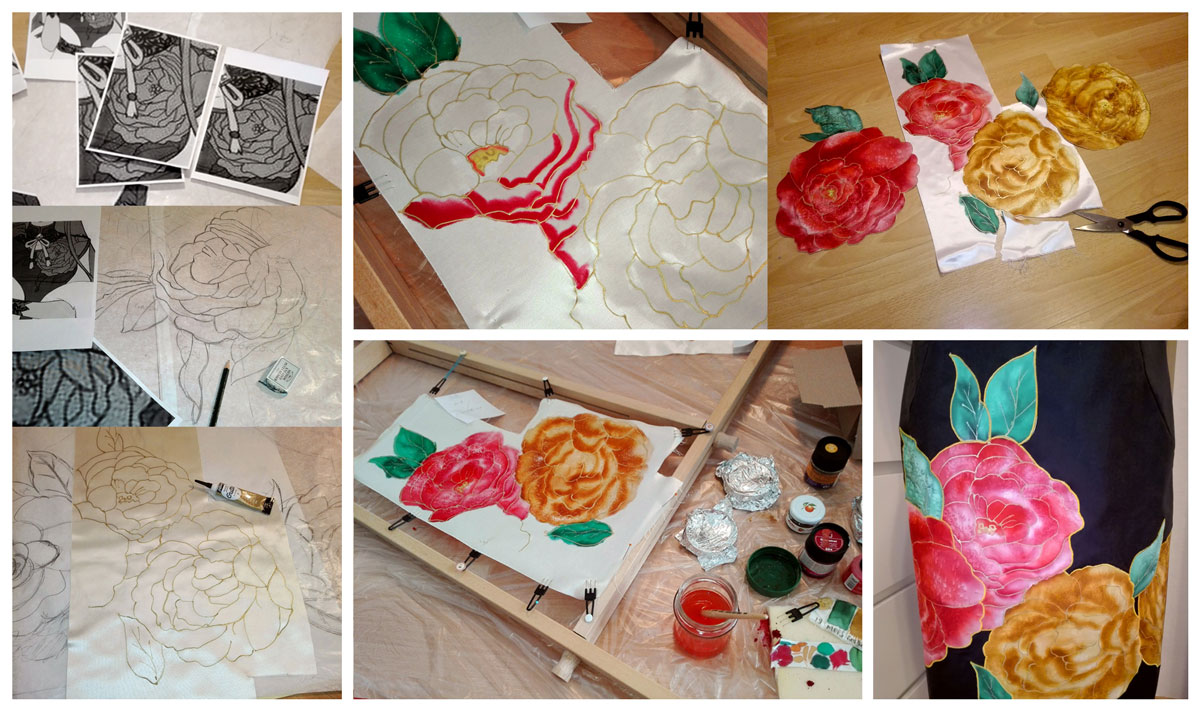
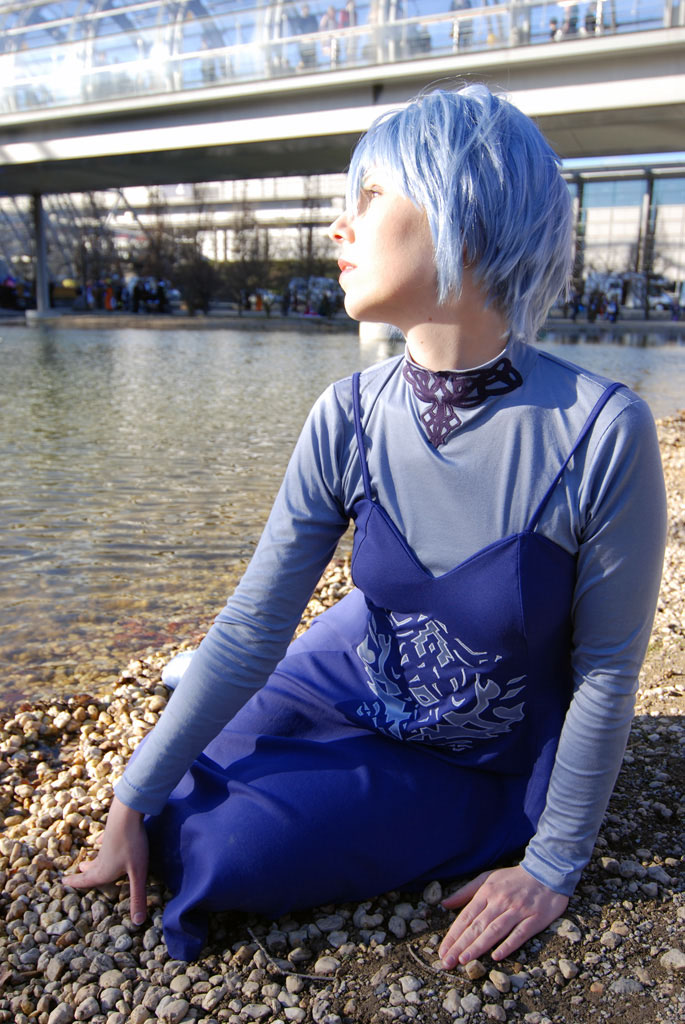
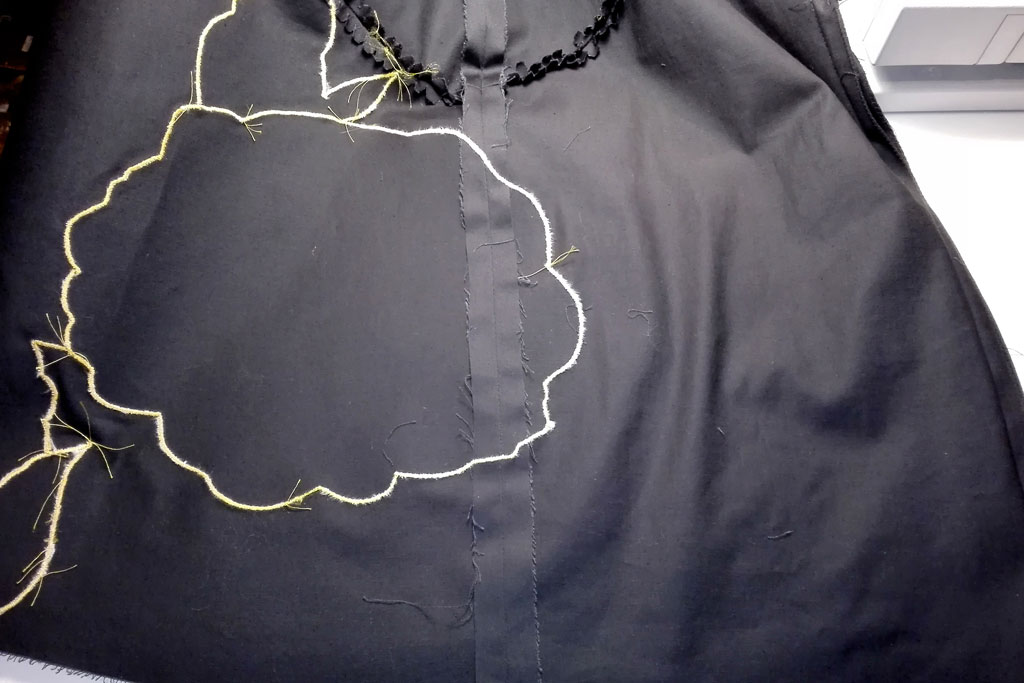
Multi-color appliqué for Lorenta (Valkyrie Profile) Satin-stitching the appliqué outlines on the skirt
Layering
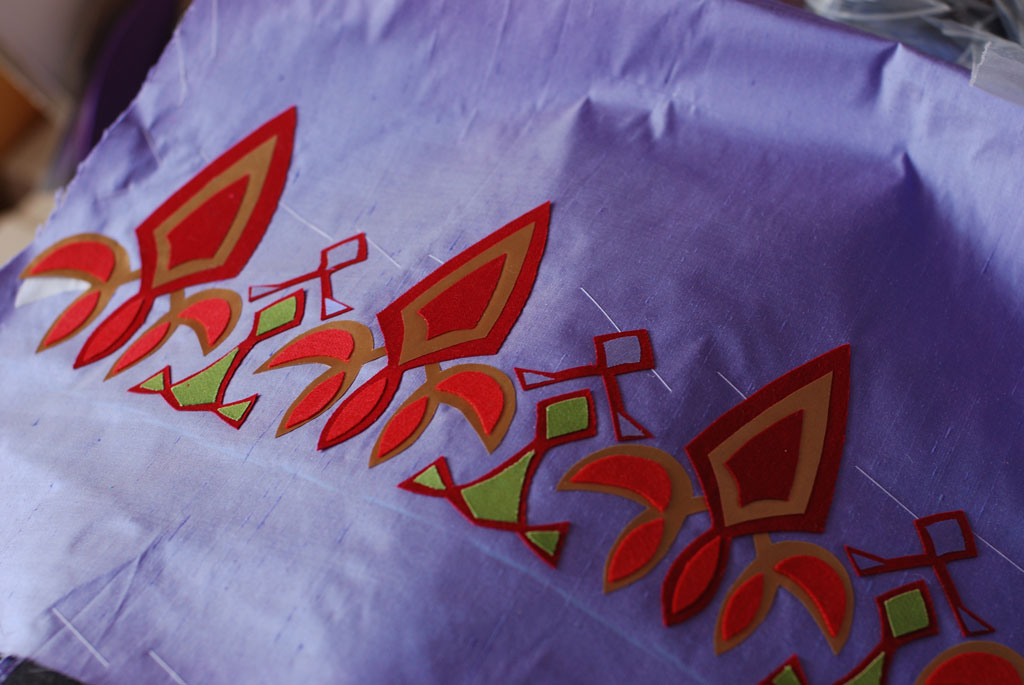
You can of course combine multiple fabric colors for your appliqué. Simply cut out larger and smaller shapes – circles, for example – and layer them on top of each other.
When you stack two or more fabrics, it often makes sense to assemble and satin-stitch the pieces of the appliqué first before you apply them to the fashion fabric. It is much easier to get clean seams that way because you’re only handling a small piece, rather than feeding the whole costume into the sewing machine.
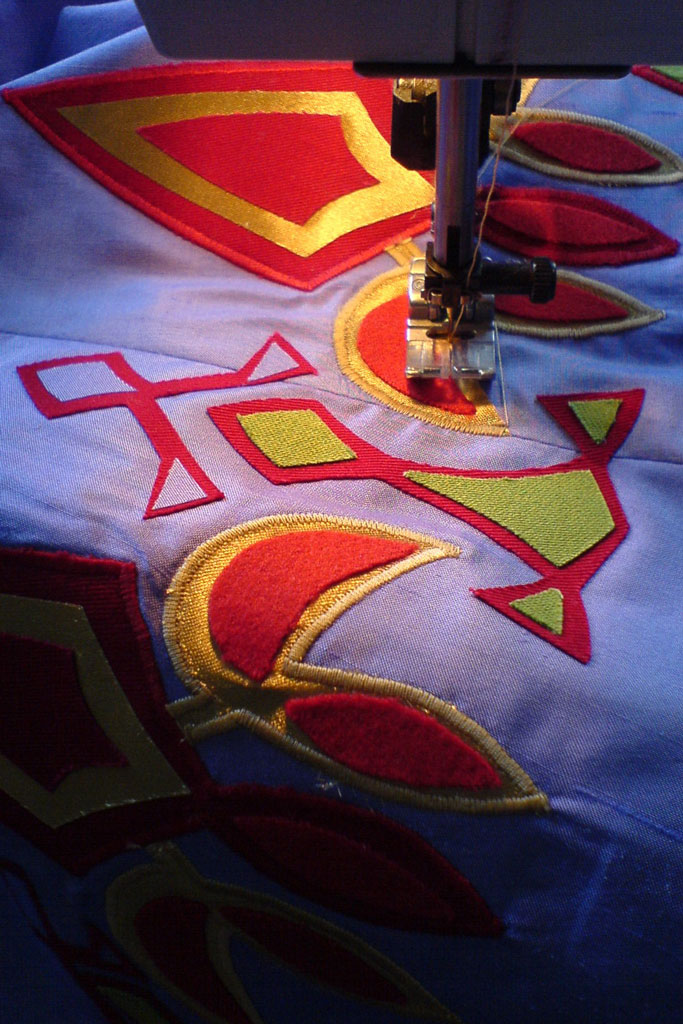
Back the appliqué with stabilizer (see basic tutorial) so that it doesn’t warp while you sew on the smaller pieces. Remove the stabilizer. Then cut out a piece of double-sided fusible web (Vliesofix), iron that to the back of the finished appliqué, and join it with the fashion fabric. Now you only need to satin-stitch the outline on the big piece, all the smaller details are already done. It’s like a big iron-on patch!
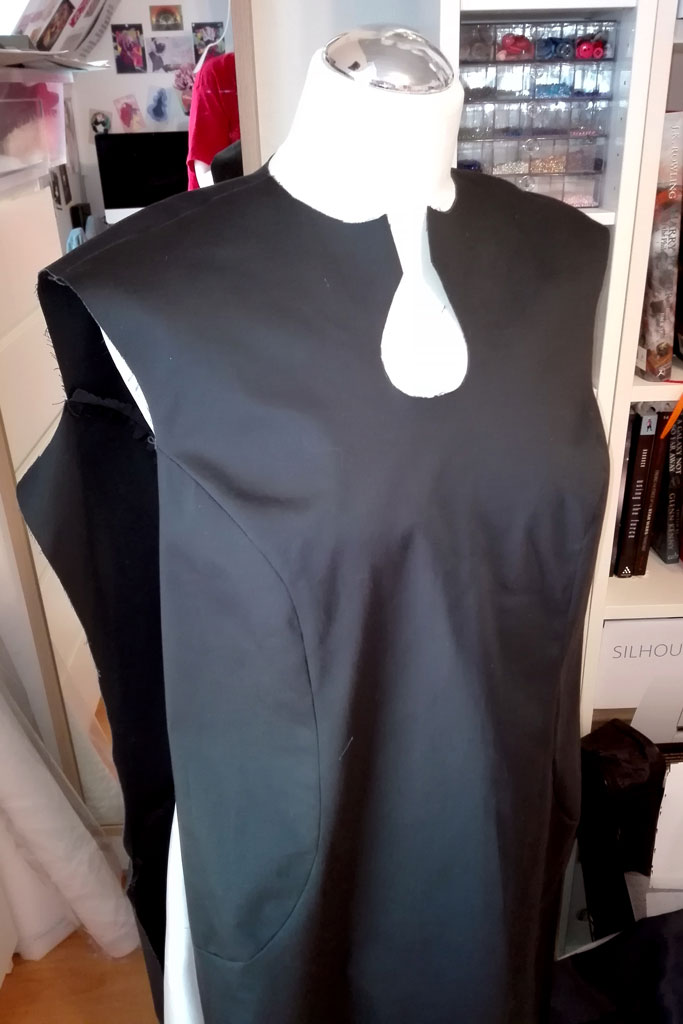
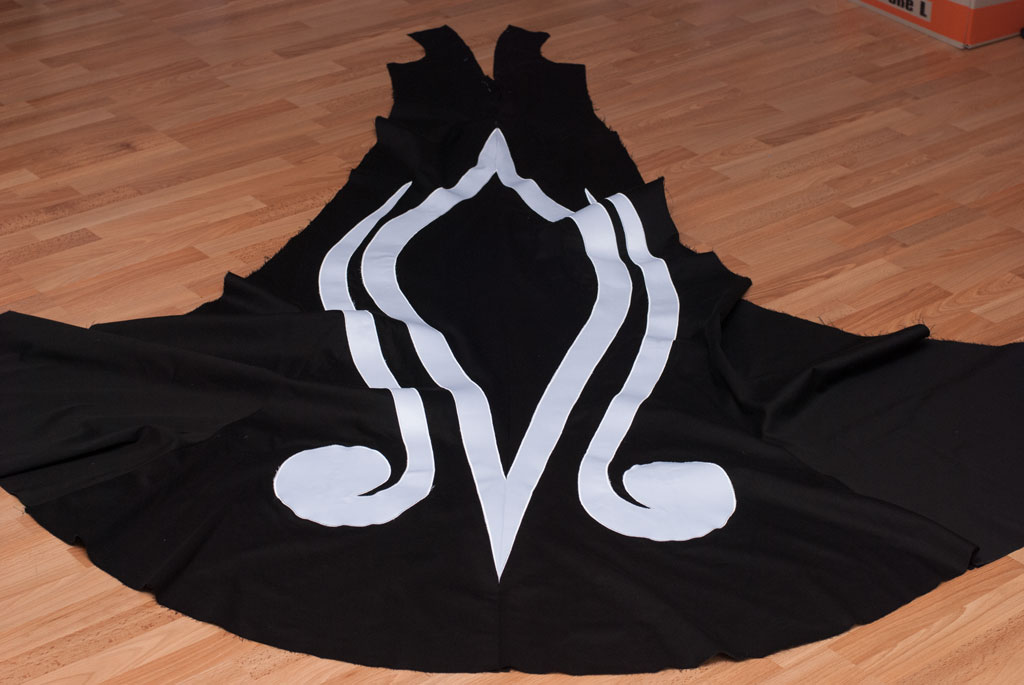
Multi-layer appliqué for Video Girl Len (one of my oldest costumes!)
Light on dark fabric
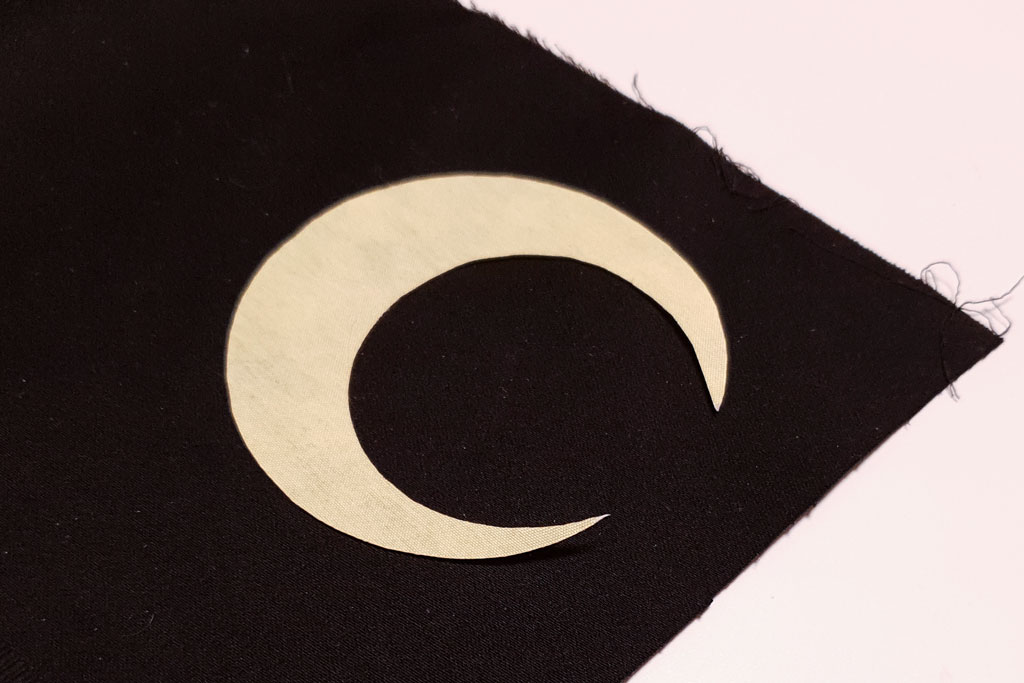
When you apply white or light-colored fabric to dark fabric, you’ll often see the dark fabric shining through, giving the appliqué a grayish tint.
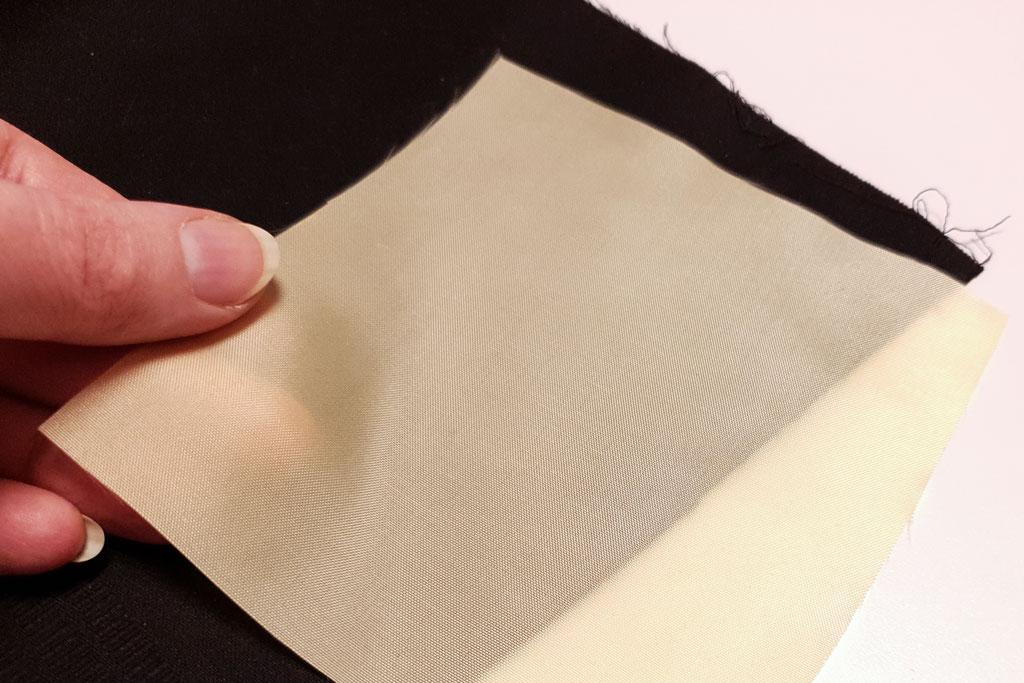
To counter this, back the fabric with white fusible interfacing. Then apply the double-sided fusible web (Vliesofix) on top of that, and join the light to the dark fabric. The layer of white interfacing blocks out the darker color underneath!
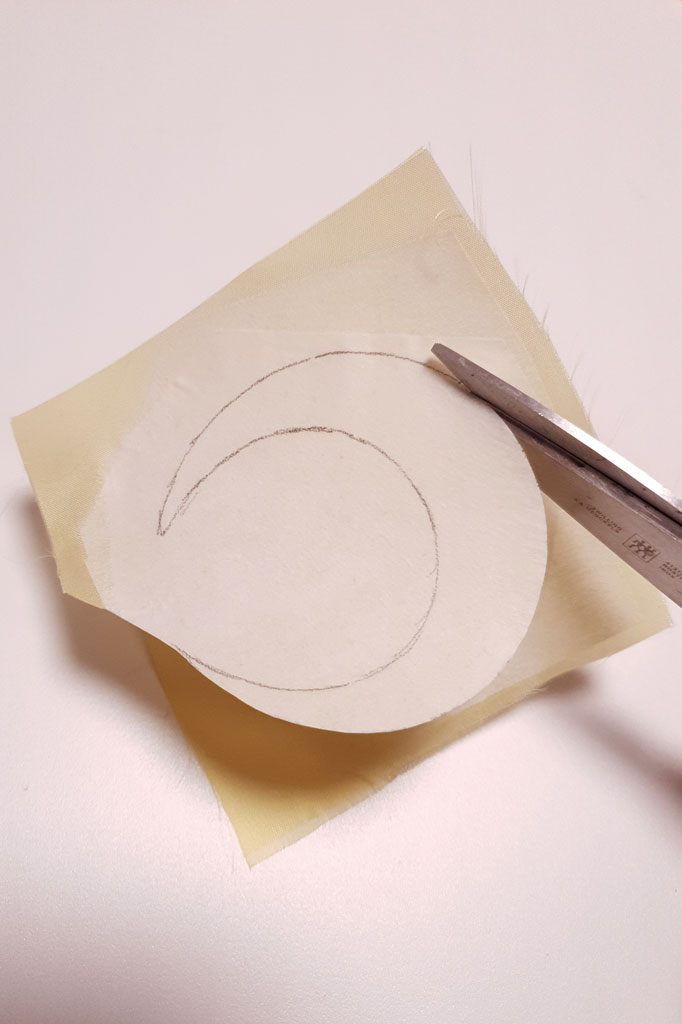
Sandwich a layer of interfacing (Vlieseline) between the light fabric and double-sided fusible web (Vliesofix)
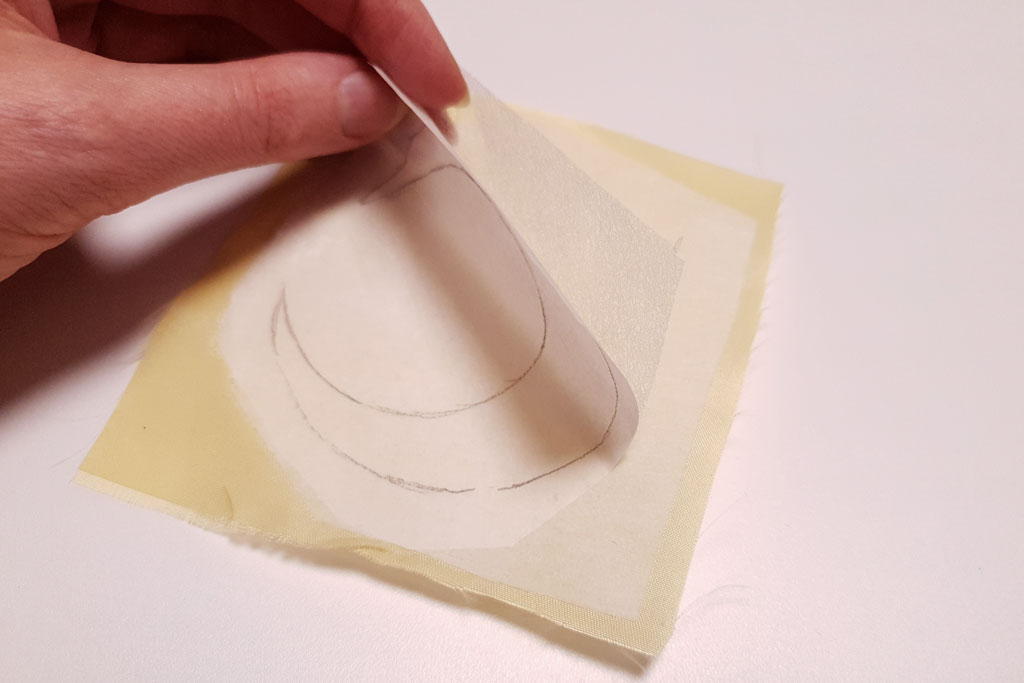
Cut out the appliqué using crafting or paper scissors The extra layer of white interfacing prevents the black fabric from shining through
Interfacing makes the fabric stiffer and heavier, so use it with care. Keep in mind that stacking multiple fabrics will make the appliqué even heavier. Do a test on a fabric swatch and try different weights of interfacing to find the best compromise.
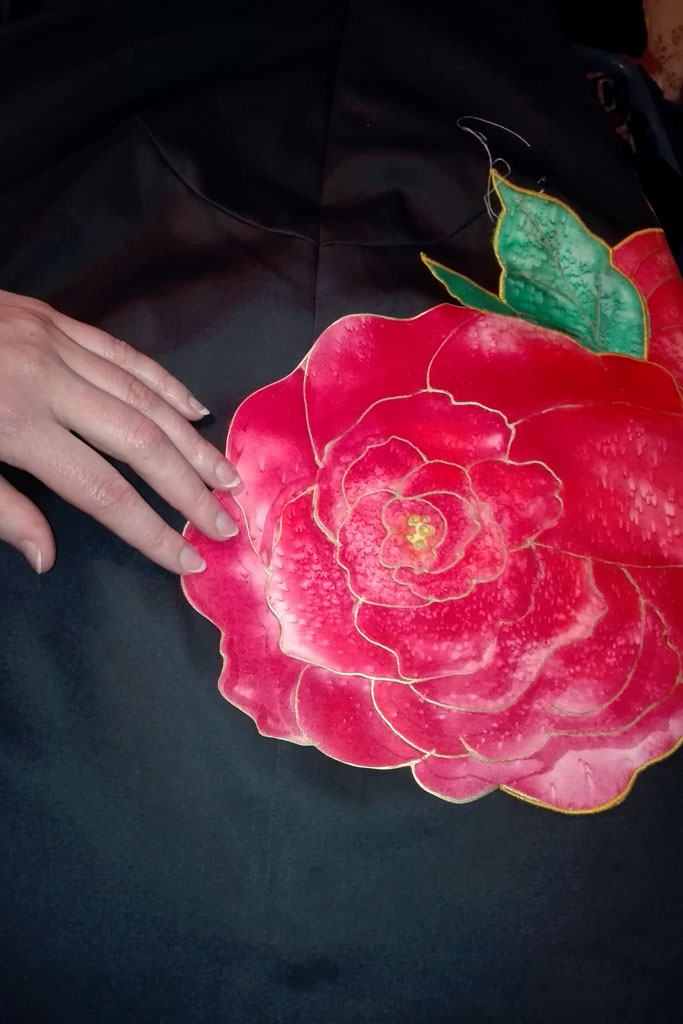
Pre-painted fabric
Some of the most beautiful appliqué work I’ve seen was a combination of decorating techniques: you can paint your fabric appliqué first before sewing it onto your costume!
Fabric paint or silk paint allows you to add details and subtle gradients that are not possible with appliqué.
Appliqué, on the other hand, allows you to apply a lighter color fabric to a dark ground, and to block colors with stark contrasts, without the sometimes spotty and uneven look of large painted areas.
That’s why I painted the flowers for Cheongsam Pluto on white silk, cut them out and applied them to the dark grey dress. I never would have been able to achieve the look using just one method, plain fabric appliqué or bright paint on dark fabric.
Stretch fabrics
The fabric appliqué method is easiest to use on non-stretch, sturdy fabrics like cotton sateen. However, it works on stretch fabric, too! This just takes a little practice and extra care to prevent the fabric from warping as you sew.
Your appliqué will be as stretchy as the least stretchy fabric you use.
So if you want the appliqué to be as stretchy as the fashion fabric, you must use a fabric with the same amount and direction of stretch. Do not reinforce the fashion fabric or the appliqué with interfacing that has a textile backing, only use the double-sided fusible web (Vliesofix) to join the two layers of fabric. It doesn’t have a grain, so it will stretch in any direction once you remove the paper backing.
Stretchy appliqué: spandex/lycra jersey on netting
Always place a layer of tear-away stabilizer under the fashion fabric and baste it thoroughly in place all around the appliqué. The sewing machine’s bottom feed will now transport it evenly like any non-stretch fabric. If possible on your machine, dial down the foot pressure or enable the dual feed (IDT) as well. These features are designed to prevent stretchy fabrics from puckering.
When you’re done, simply tear off the stabilizer and your fabric will regain its original drape and stretch!
Fix the stabilizer with hand-basting to keep the layers from shifting After satin-stitching the edges, remove the stabilizer
For Rei’s party dress in 2011, I used jersey knit for the dress which is very stretchy, and non-stretch satin and poly broadcloth to make the ornaments on the front. They consist of many small pieces, so the jersey dress is still able to stretch wherever there is no appliqué. For a tight bodysuit or an allover pattern, I would use a stretchier appliqué fabric.
Rei (Neon Genesis Evangelion) in her party dress. The dress and shirt are made of stretchy jersey knit
Closing seams
When you decorate your costume, try to apply as much of the design as possible before closing the the seams and assembling the costume.
Make sure your pattern is perfect before you start! For the fitting, you can close the seams with a long basting stitch and open them again to continue working on the appliqué.
Satin-stitching the edges is so much easier when you have easy access to every part of your appliqué, and when you don’t have a bulk of fabric to move through the sewing machine at every turn.
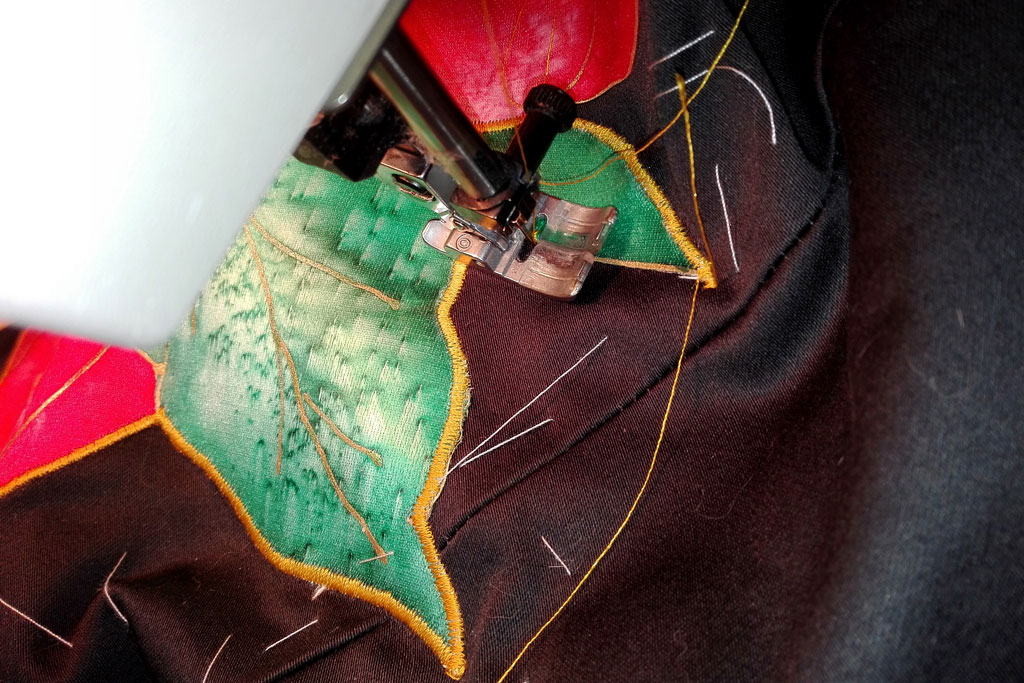
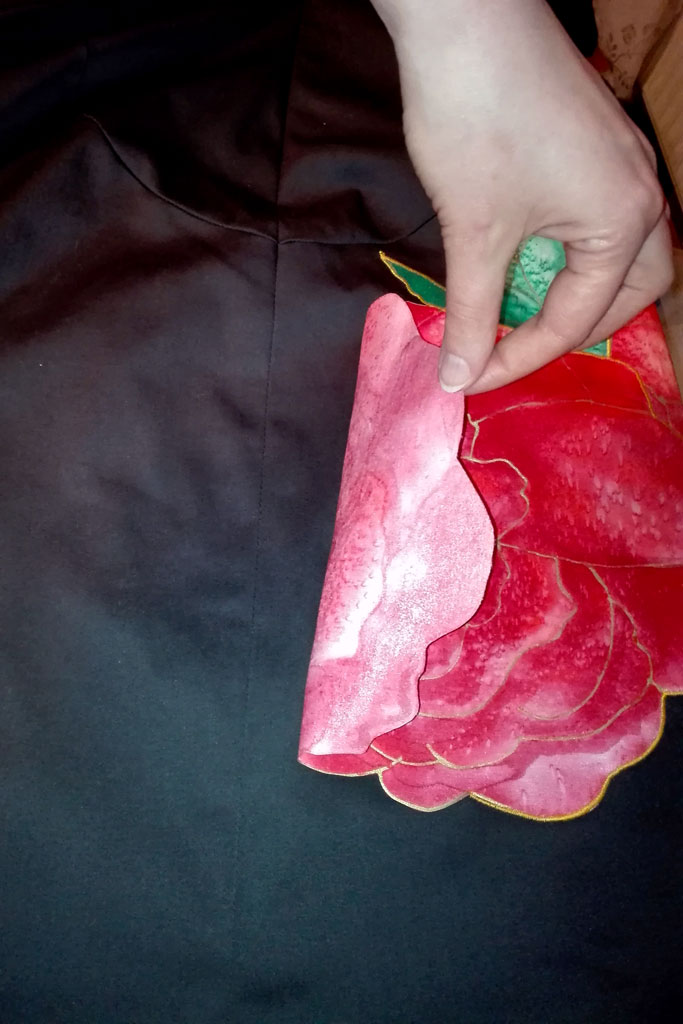
For my Cheongsam Pluto, I only closed the front and shoulder seams on the dress before applying the silk flowers.
Leave the side seams open Pin the appliqué in place Stitch the outlines of the appliqué

After finishing the front part of the design, I closed the side seams and sewed on the last part of the appliqué that extends across the seam into the back of the costume. This was maybe 10% of the whole design, everything else was completed before sewing the costume together!
Close the seam… …then iron on the rest of the appliqué. The finished appliqué (underside)
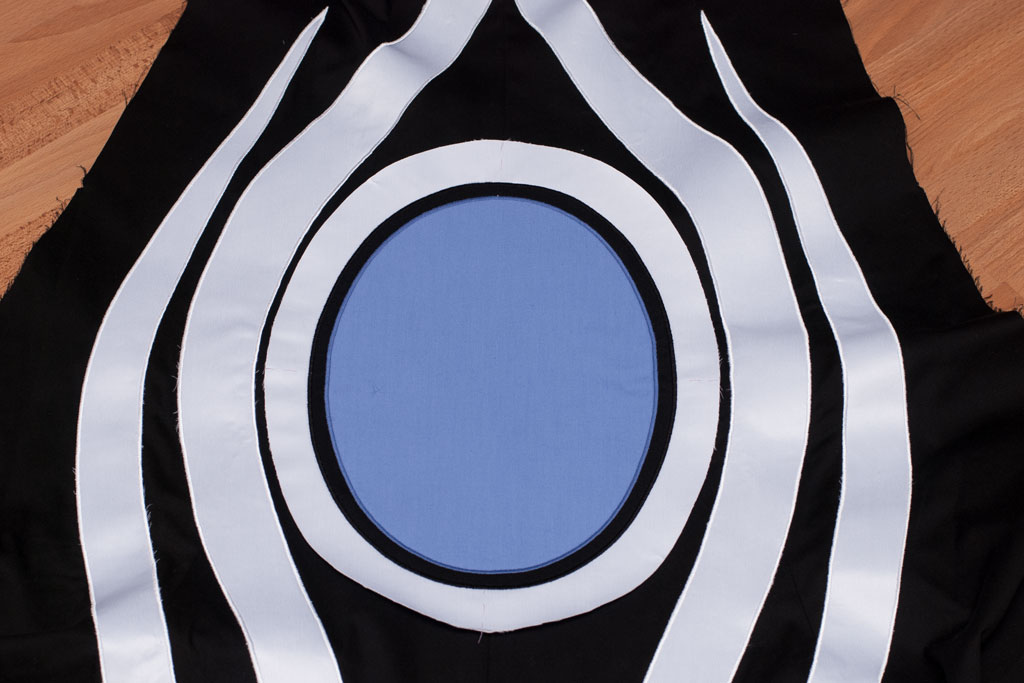
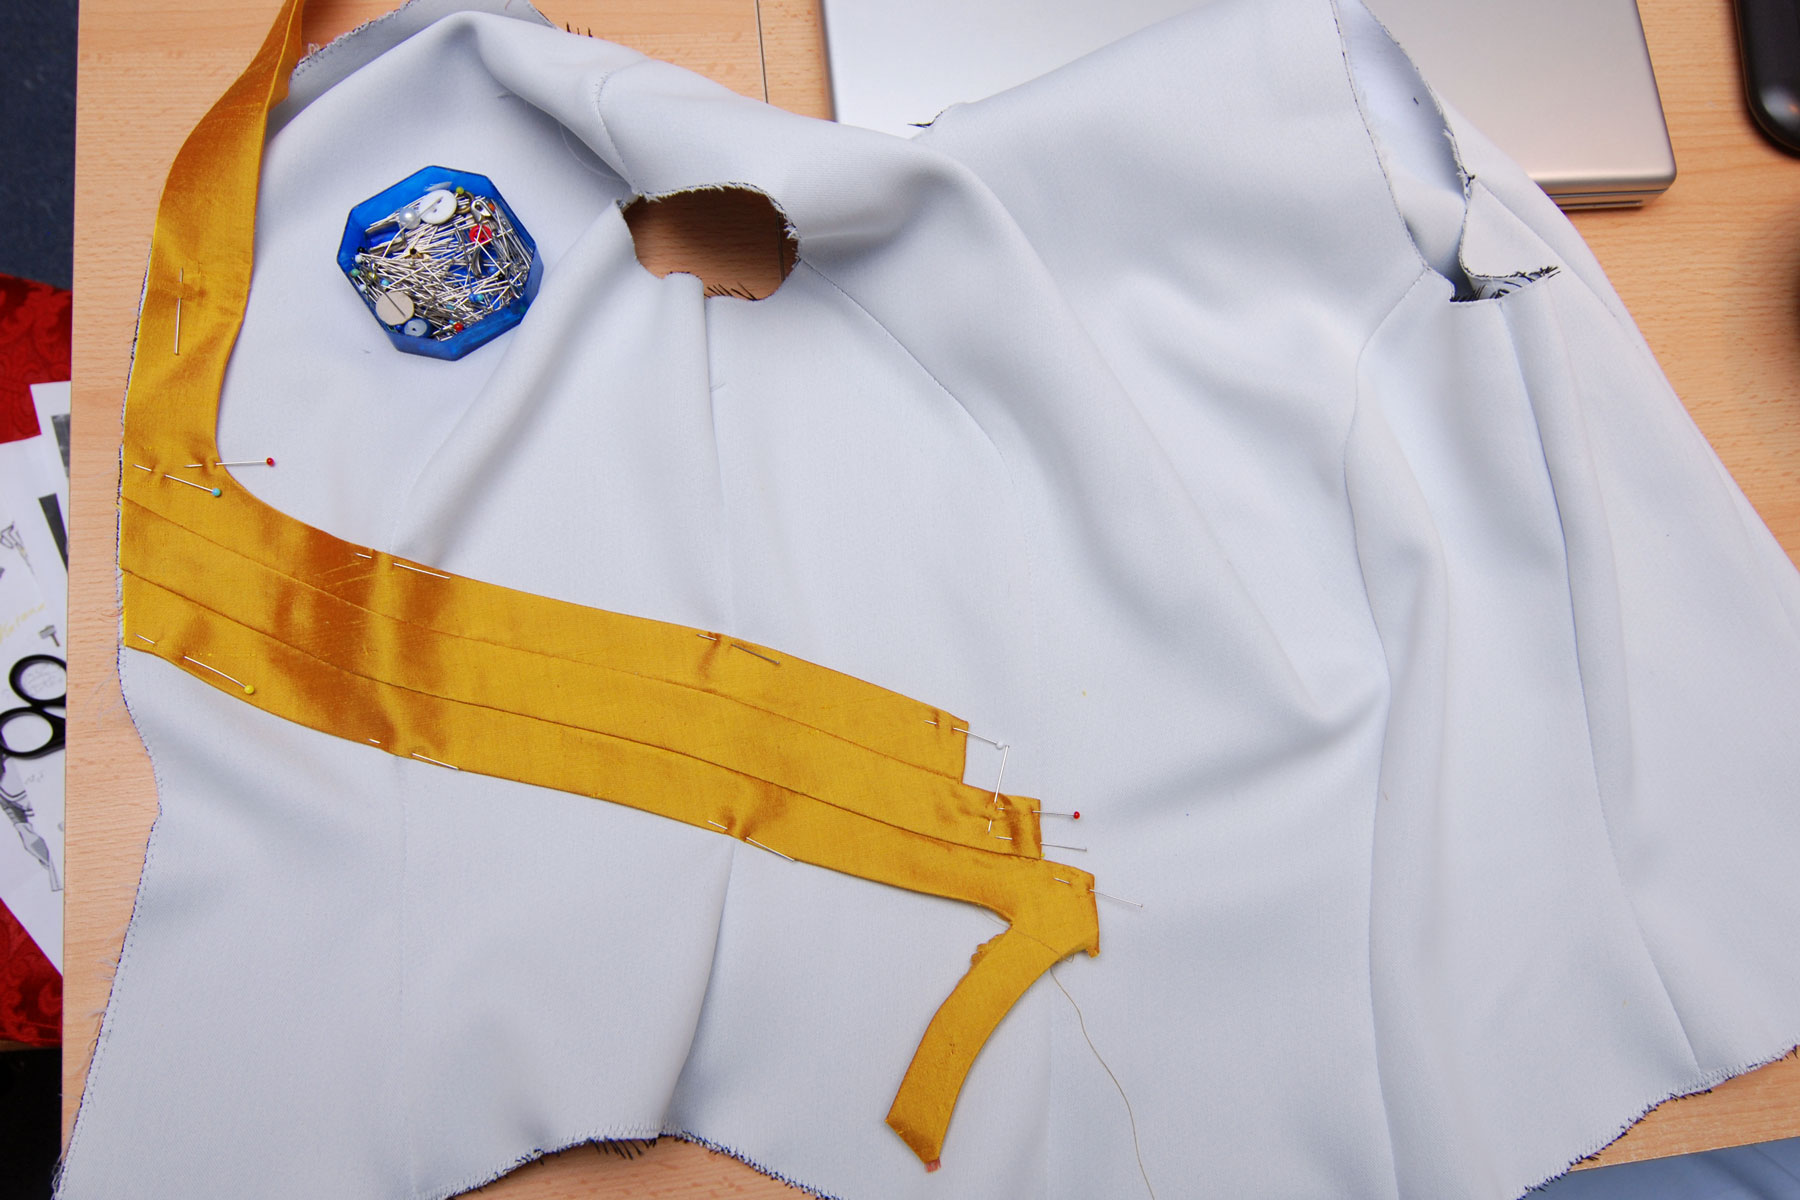
For Yuuko, I finished the appliqué on the left and right skirt piece separately. Only when the big swirls were done did I close the center back seam. There’s a big oval ornament that is placed right on top of the seam, this one had to be stitched on last.
The oval is a great example of a multi-layer appliqué that I assembled and stitched separately, before ironing the whole piece onto the dress. That way I only had to stitch the white outline to the dress fabric. Handling so much fabric in the sewing machine is difficult, so I was happy I’d already completed most of the satin-stitching before assembling the costume!
Yuuko’s dress On the center back seam… …I placed the finished oval appliqué

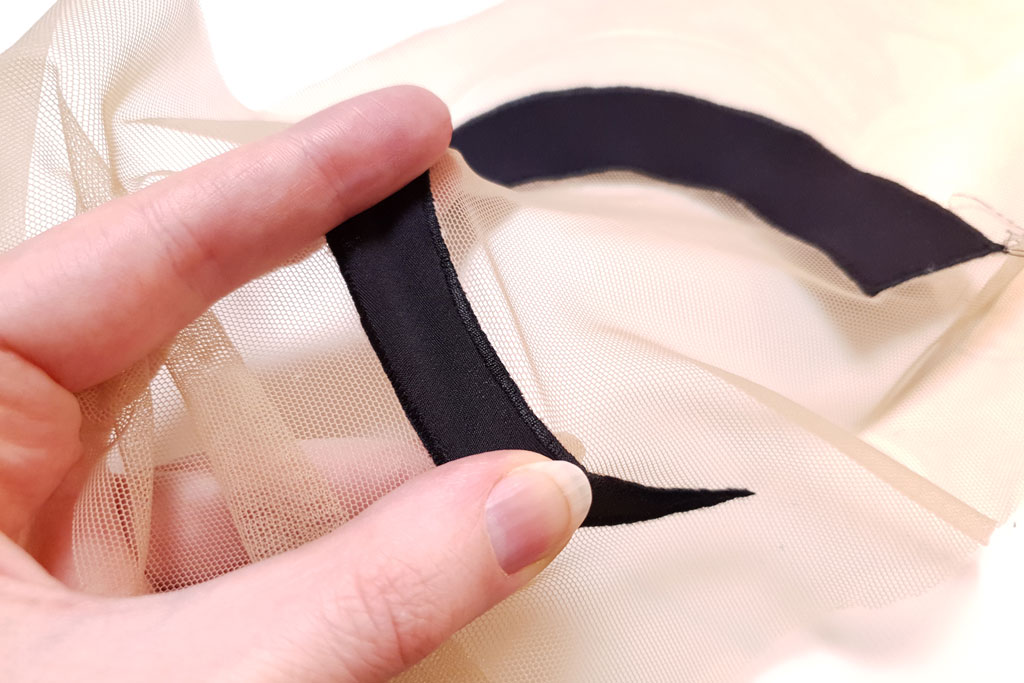
Hand-sewn appliqué
If you don’t like the look of appliqué outlined with machine stitching, you can level up to hand-sewn appliqué!
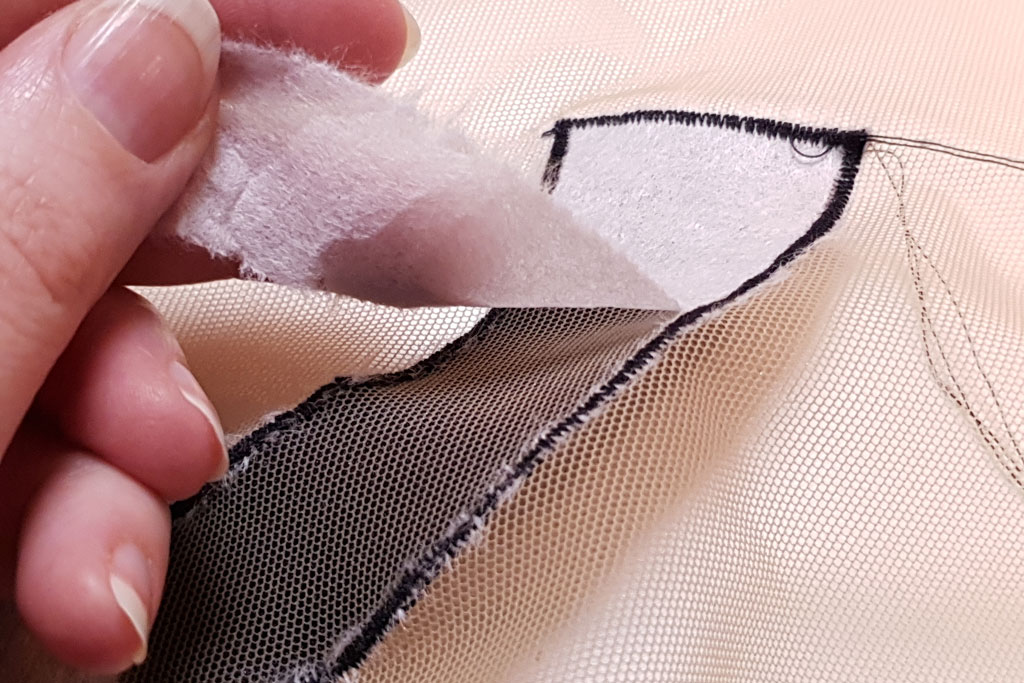
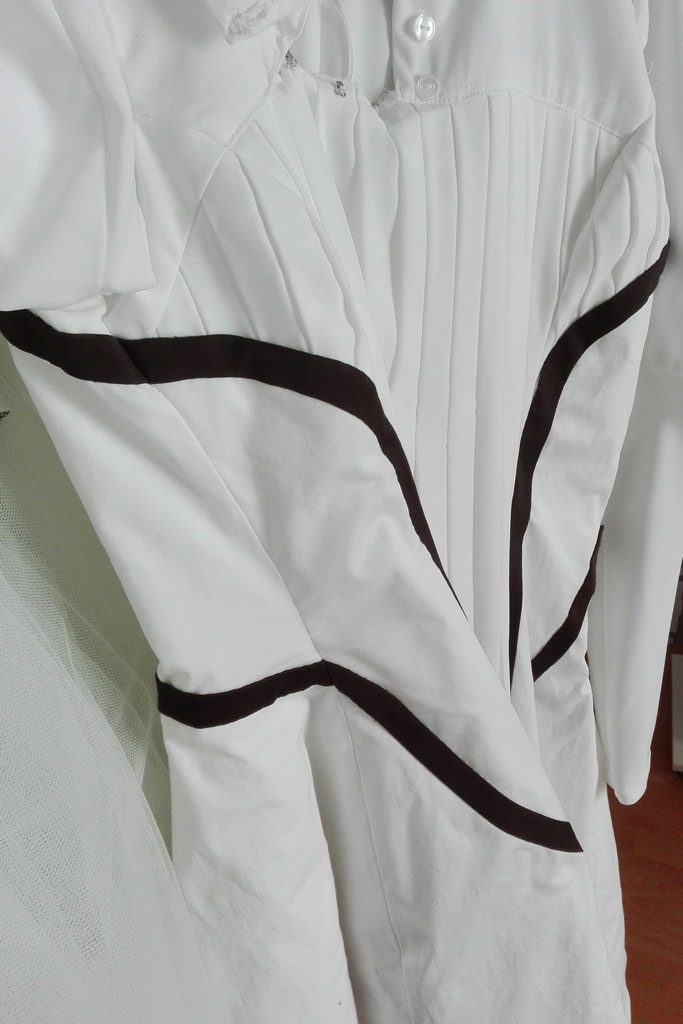
For my Violet Evergarden dress, I cut the dark brown stripes out of cotton stretch satin. I reinforced the fabric with lightweight interfacing, which adds stability and makes it easier to press and sew on the stripes.
Violet appliqué progress: from pattern to finished dress
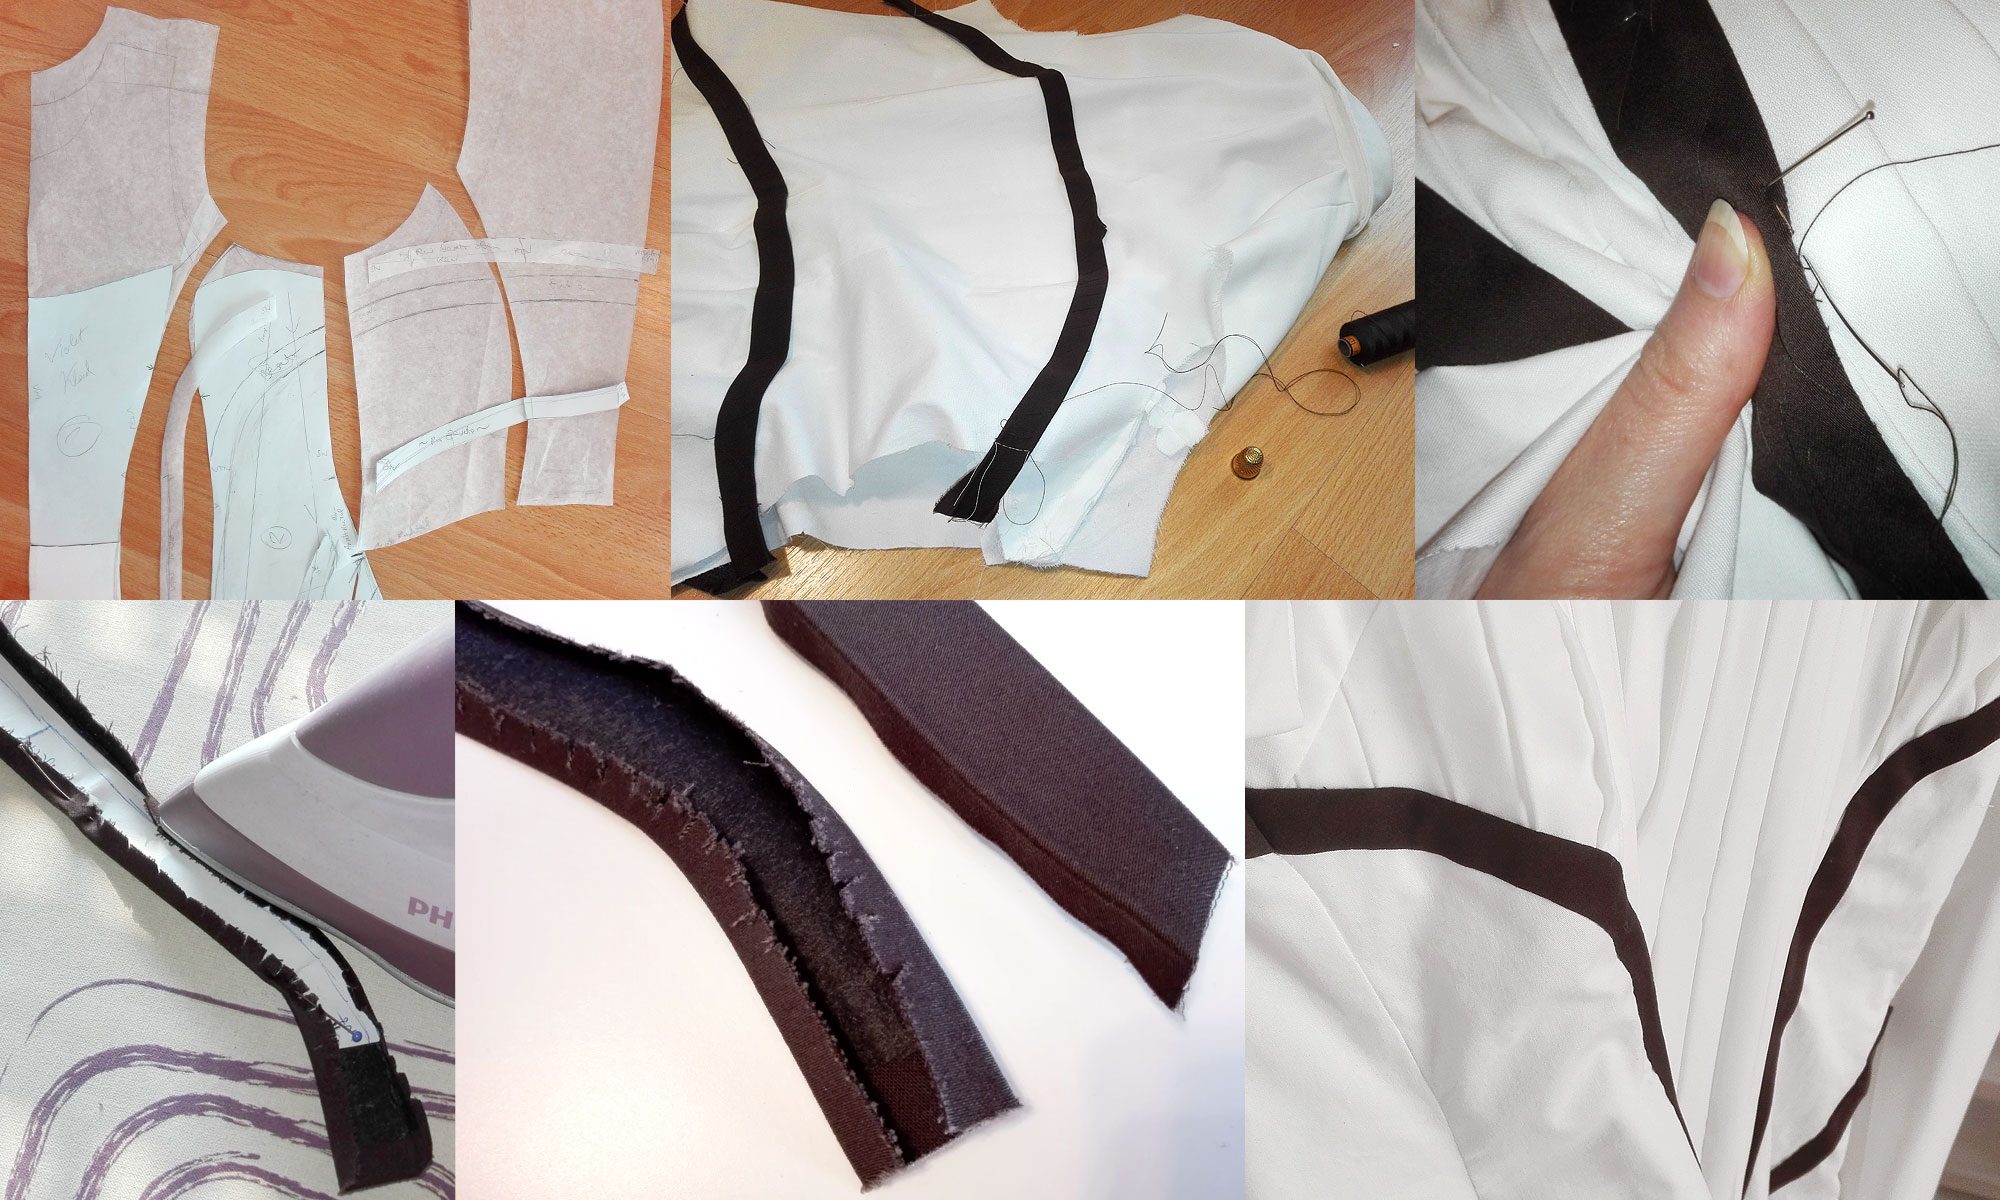
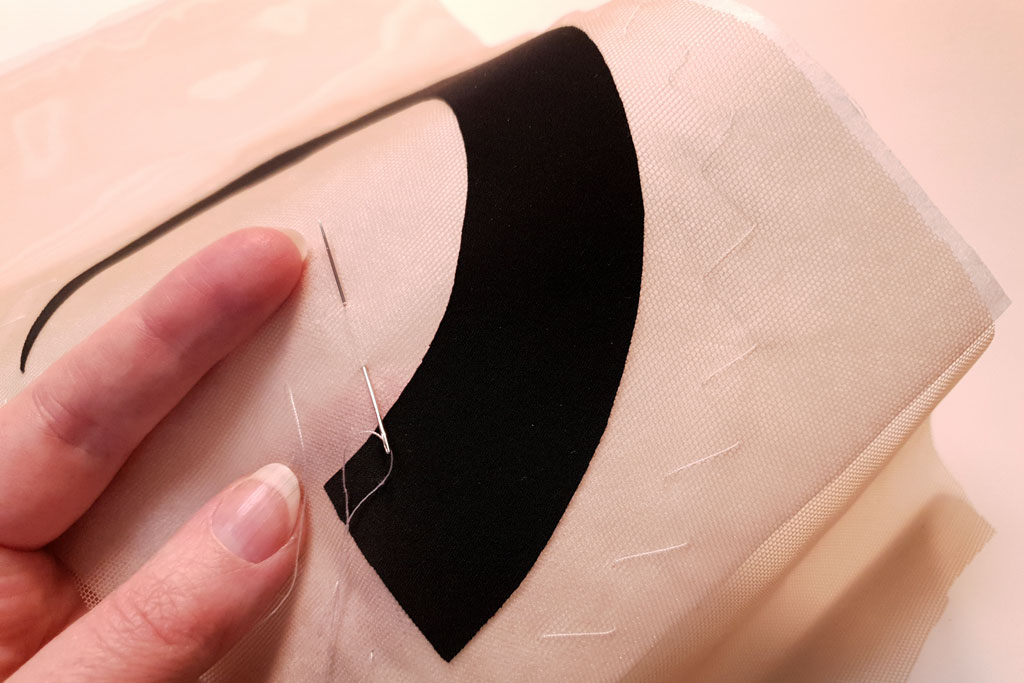
For hand-sewn appliqué, you need to add seam allowance so you can hem the edges without using a visible zigzag stitch. Clip the seam allowances, turn them under and press them flat. Pin and baste the appliqué to the fashion fabric (here: the white dress) to keep it in place.
Now sew it on with invisible hand stitches, allowing your needle to grab only 1 or 2 threads of the brown fabric at a time (inside the seam allowance if possible, so the stitches disappear completely under the appliqué).
Hand-sewn appliqué: stitches are clearly visible on the underside No stitches visible on the outside

Basting and hand-sewing the stripes onto Violet’s dress took me about a week’s worth of evenings.
This method is more time-consuming than machine-stitched appliqué, and it can get very fiddly when the ornaments are a more complex shape. Use it for historic costumes and to add décor to an already assembled costume, in places that you can’t reach with a sewing machine.
While the big ornaments on my Yuuko dress are all machine-stitched, I did hand-stitch the stripes on the top that cover the seam around the bust.
The white satin appliqué on Yuuko’s dress was sewn on by hand

With Inulein as Sakura-hime (photo by Octowana for WCS Germany)

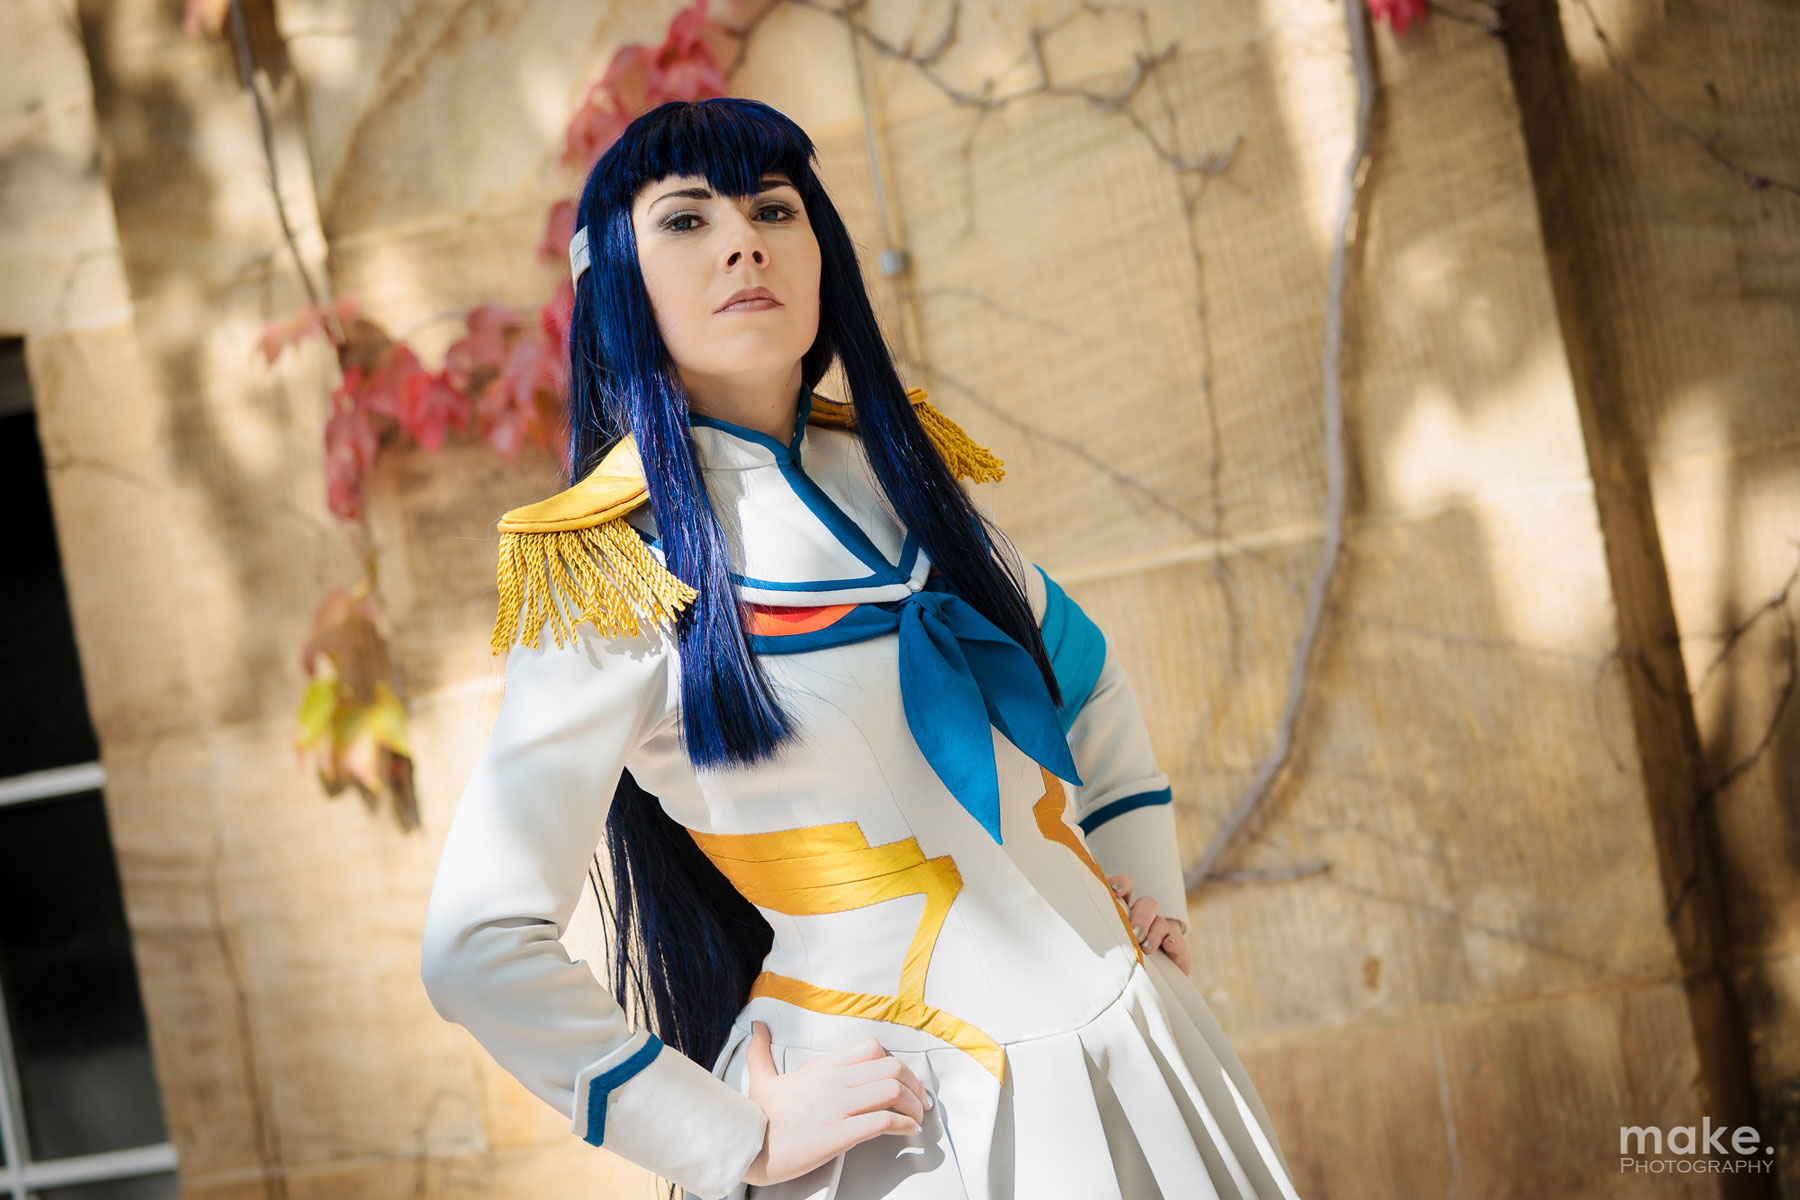
Satsuki progress: pinning the appliqué in place for hand-sewing Satsuki (Kill la Kill) cosplay with hand-sewn appliqué, photo by MaKe @ animexx
Do you want to learn more about the costumes shown in this tutorial? Check out my Top 10 Cosplays series where I talk about Violet Evergarden, Yuuko and more!
2 Gedanken zu “Tips & Tricks for Fabric Appliqué”